Aircraft maintenance, Repair, & Overhaul (MRO)
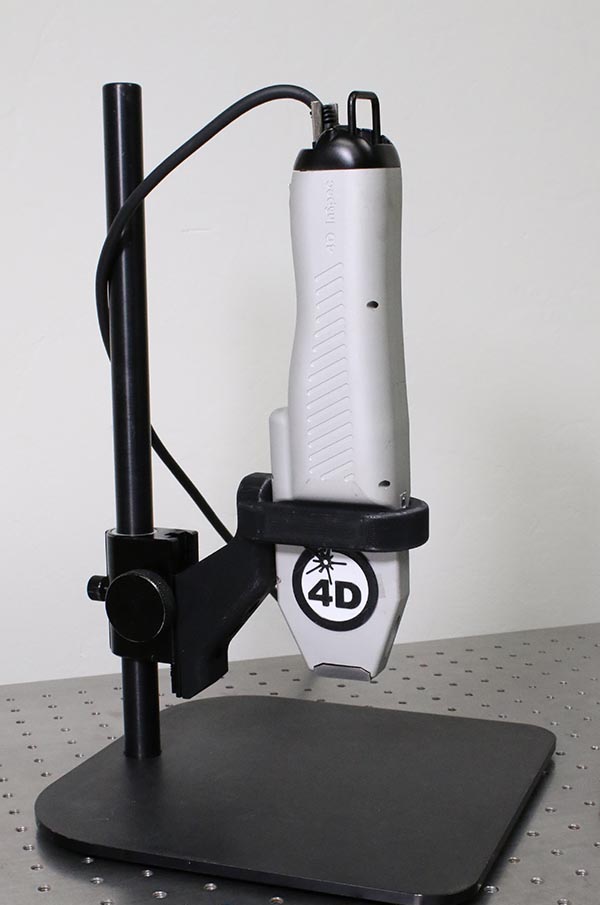
Save aircraft engine parts from unnecessary scrap and improve your bottom line with the 4D InSpec®
Improve your inspection techniques
For many years, the industry standard visual and tactile methods of measuring defects on aircraft parts have proven to be insufficient, and slow. Studies have shown using these traditional methods, 40-80% of parts sent to be scrapped are still able to be repaired. The 4D InSpec is designed to help solve these problems.
“They are able to measure around a curved surface, they are able to measure in a divot, or measure many different areas of the engine we were not able to measure before accurately, you could just not do it. There was nothing out there that could do it.”
Surface metrology that pays for itself
With traditional MRO inspection methods, surface defects can take hours to quantify and may even further scratch the part being measured. The 4D InSpec improves upon both of these problems using non-contact 3D surface metrology. By utilizing this technology, MRO inspection can be done quickly without causing the part any further damage.
The 4D InSpec was designed to help MRO inspectors save expensive aircraft engine parts from unnecessary scrap. Since aircraft engines are so expensive to repair, 4D InSpec customers often see a return on their investment in just one measurement. Recently, a major airline purchased a 4D InSpec and within one day of installation, they were able to save a $1 million turbine blisk from being scrapped.
Here are some aircraft engines that the device is already making measurements on:
CF6-80, CF6-50, CF34, CFMI 56, CFMI 56 -5, LEAP 1A, LEAP 1B, GE NX 1A, JT8D, JT3C, PW2000, PW4000, GP7200, GE90, Trent700, Trent800, Trent XWB, Trent 1000, Trent 900, F135, F108, F100, F119, TF33, F101, F110, F119
Benefits of the 4D InSpec
- Handheld or workstation operation
- Instant 3D surface measurment
- Measure large components with no replication needed
- Measures dents, scratches, and other surface defects between 4µm–2.5 mm deep
- Customers typically report a 20-40% increase in part yield after installation
Available in two models

4D InSpec
-
Field of view (standard): 0.3 x 0.3 in (7.7 x 7.7 mm)
-
Vertical resolution: 0.00016 in (4.0 µm)
-
Depth of focus: > 0.10 inches (2.5 mm)

4D InSpec XL
-
Field of view (XL): 0.6 x 0.6 inches (15 x 15 mm)
-
Vertical resolution: 0.00027 inches (7 µm)
-
Depth of focus: > 0.35 in (9 mm)
Not sure which model is right for you?
Follow the link to learn more
Get In Touch
(520) 294-5600
Location
3280 E Hemisphere Loop, Ste 146
Tucson, AZ 85706
4Dinfo@ontoinnovation.com
Office Hours (Arizona Time)
Mon: 8am - 5pm
Tue: 8am - 5pm
Wed: 8am - 5pm
Thur: 8am - 5pm
Fri: 8am - 5pm
Sat: Closed
Sun: Closed

