Rubber
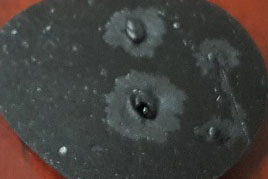
With a rubber object, like the cast rubber form of four pits in a metal surface pictured below, measurement is quick, easy and precise with 4D InSpec.

In the screen capture from the analysis software shown below, you can see that the field of view is large enough (either 7mm x7mm, or 15mm x 15mm, depending on your 4D InSpec model) to measure all four bumps in the rubber cast. The rough area around each pit, where the coating flaked off, is also characterized. At the left in green, is the false-color camera view, in the center in the green square with red and orange dots, is the peak to valley representation of the bumps. At the upper right, with the gray area representing undefined features, the four bumps are classified according to feature definitions in the Features Analysis functions of the 4D InSpec software. Since each of the four bumps fit into a separate “bucket” of the parameters, there are four colors of feature found.

App Note on Replica Measurements
Measurements of Various Defects and Their Replicas Using the 4D InSpec
This paper asks and answers the question, “Can direct, 3D, defect measurement mitigate the risks and limitations of replica materials?” through several approaches, sample measurements and tests.
Learn more about the products

4D InSpec
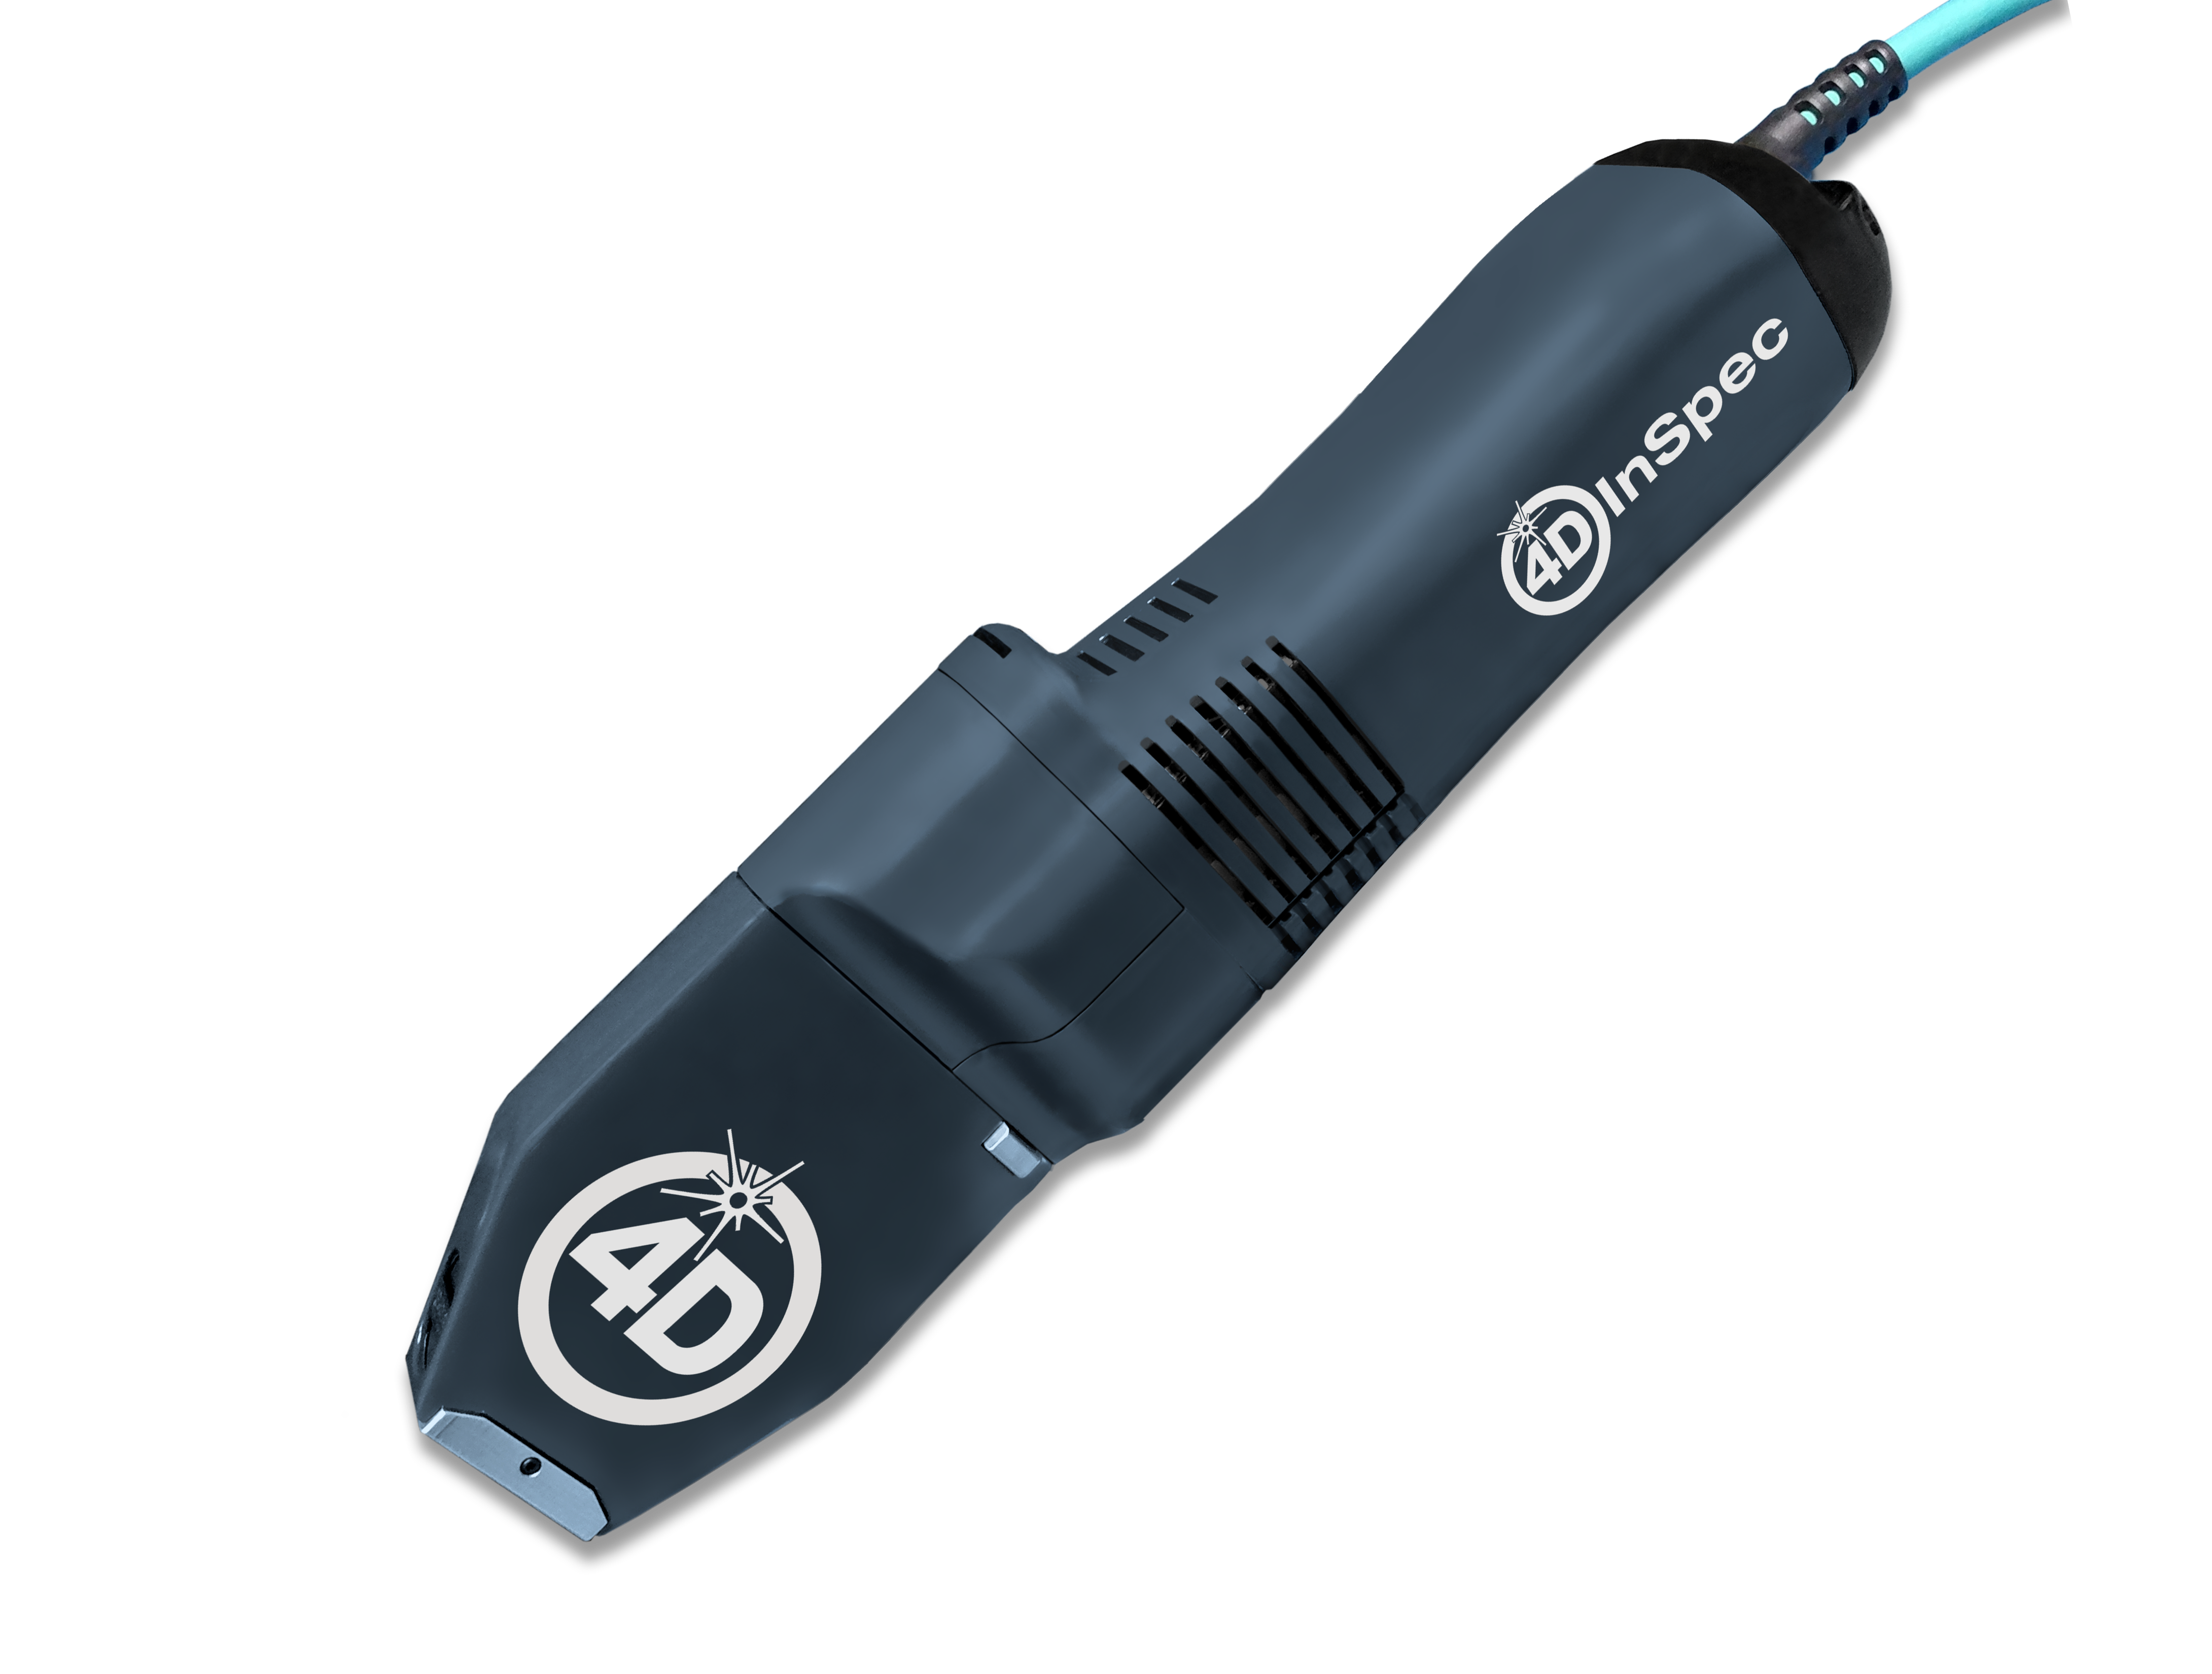
4D InSpec provides non-contact measurement of surface features and defects, on the factory floor, in machine shops and in field service applications.

4D InSpec XL
A handheld defect inspection gauge that works like 4D InSpec standard, but with a larger field of view, to measure wider and deeper features.

InSpec Accessories
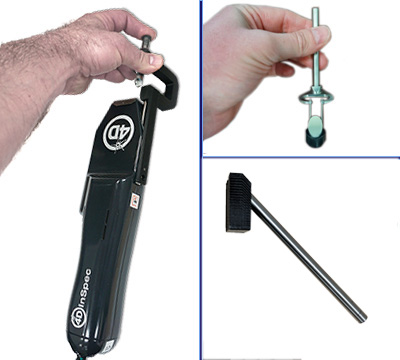
Accessories for improving portability, ease of use, or for accessing hard to reach measurements like sidewalls and through-holes.
Get In Touch
(520) 294-5600
Location
3280 E Hemisphere Loop, Ste 146
Tucson, AZ 85706
4Dinfo@ontoinnovation.com
Office Hours (Arizona Time)
Mon: 8am - 5pm
Tue: 8am - 5pm
Wed: 8am - 5pm
Thur: 8am - 5pm
Fri: 8am - 5pm
Sat: Closed
Sun: Closed
