Nicks

Nicks in Surfaces
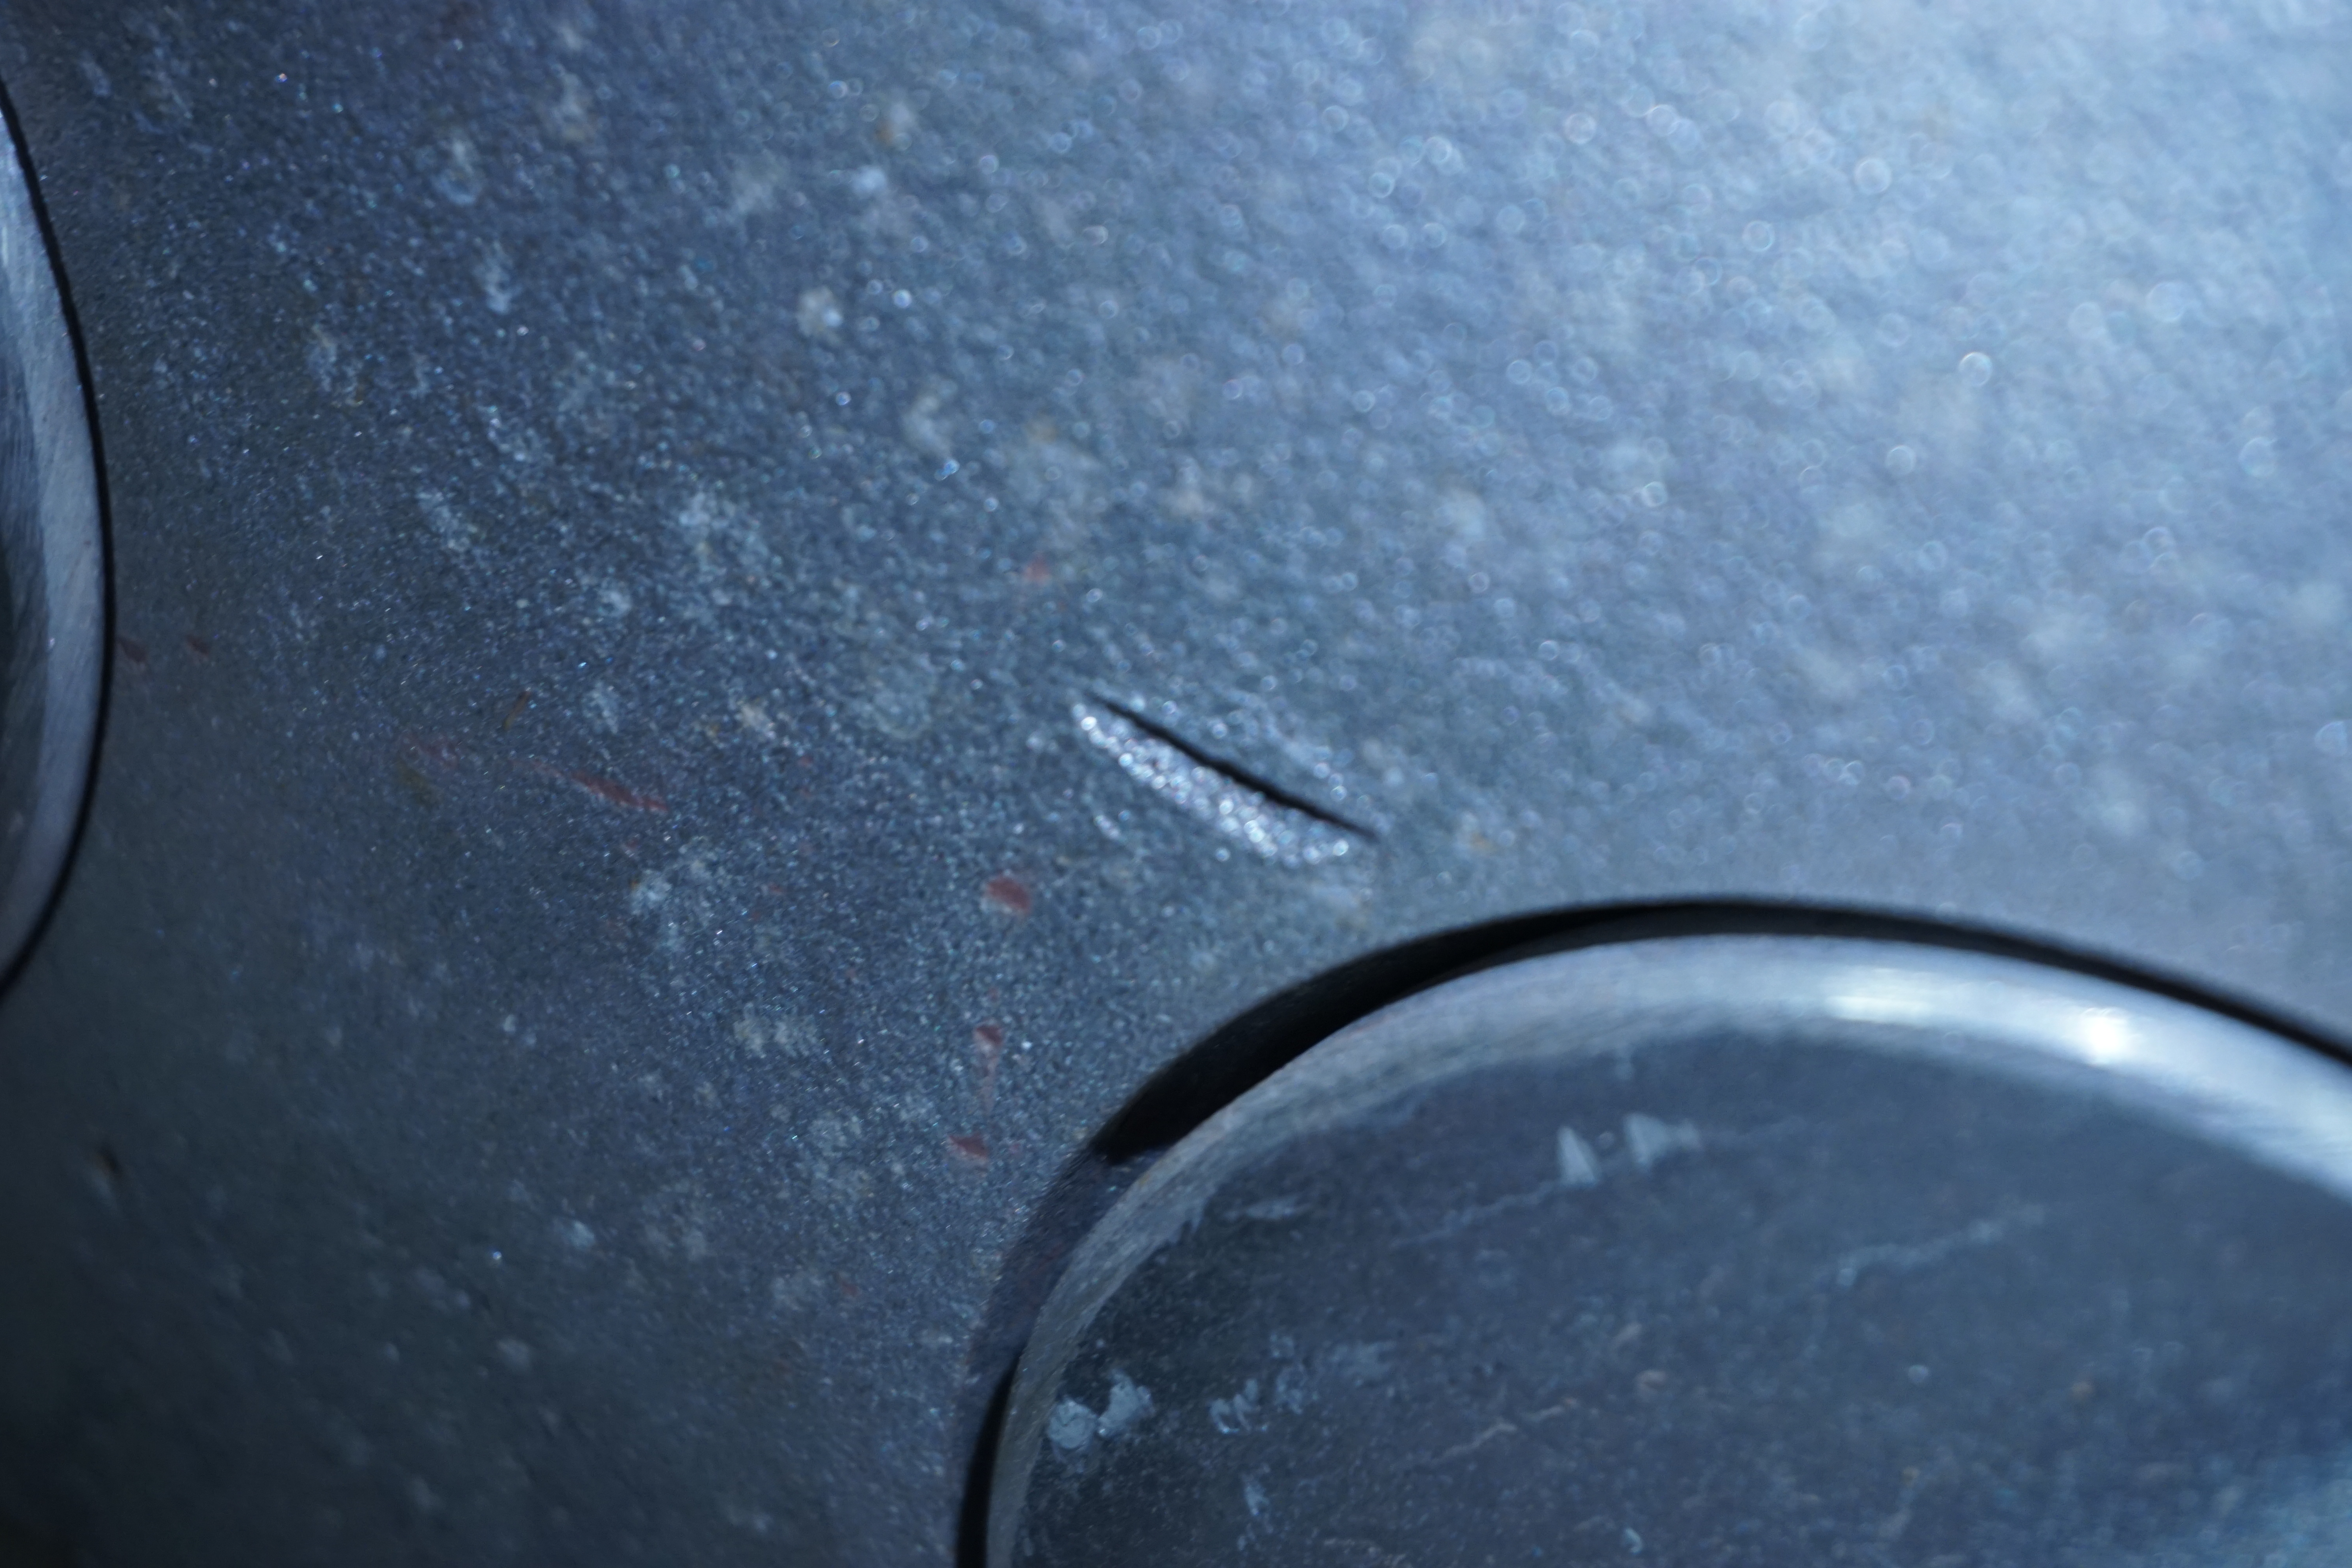
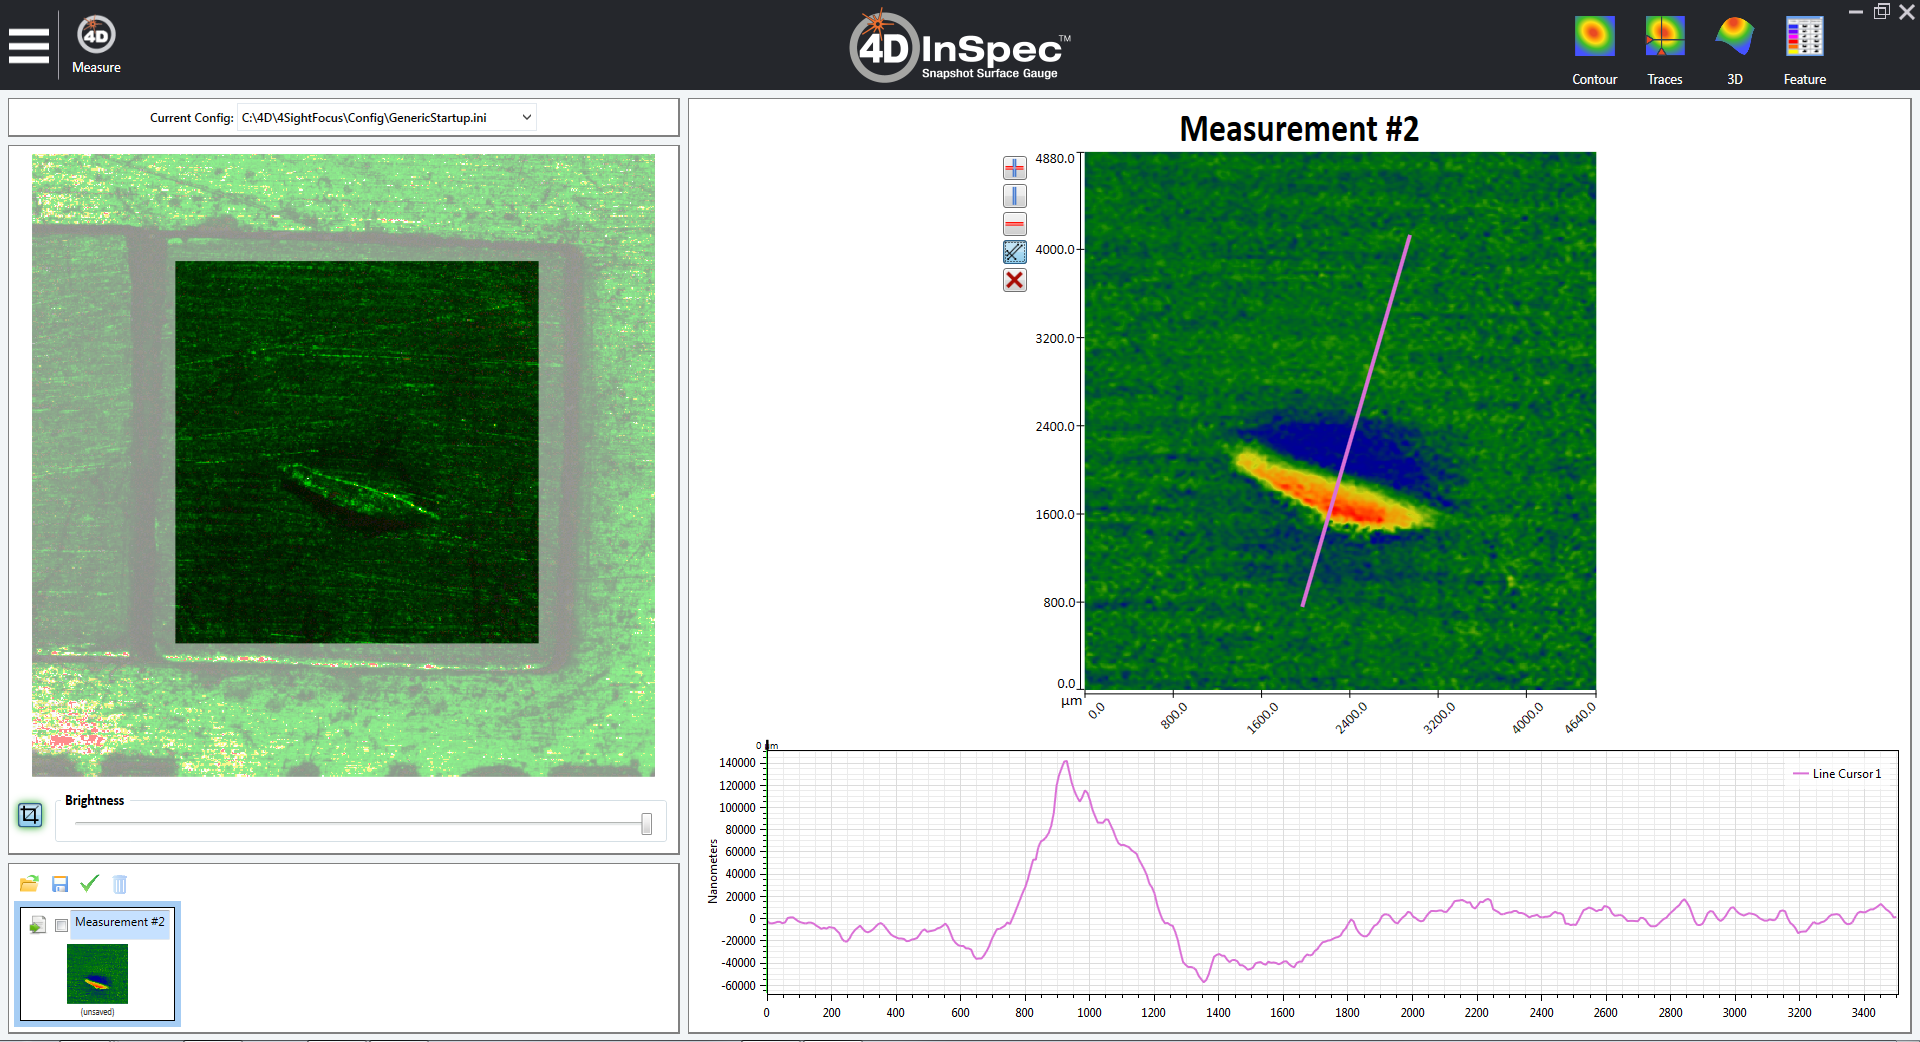
Surface nicks, like cracks, are difficult to measure in 2D, because one can’t be sure the profile is being drawn through the deepest location. The task is further complicated if the nick-producing impact also raised a burr.
In cases when visual inspection is used, nicks are hard to assess if deep enough to generate a shadowed recess. Variability of color and lighting can make it difficult to determine if a small feature is even recessed or raised, much less whether or not the feature is detrimental.

Blade Edge Nicks
Nicks in fan edges, blades and corners are notoriously hard to measure.
4D InSpec’s measurements not only ensure you can measure the amount the edge has been deflected down, but also out of alignment.
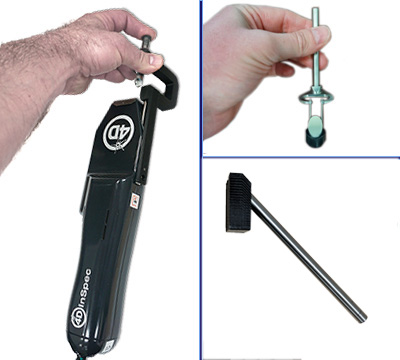
For very thin blades, users can easily focus on the area of interest using the blade edge accessory, that comes in the fold mirror accessory package. Tool has a guide notch to center your gauge on the edge, and a compressible stand-off distance to help you get best focus.
The video demonstration below shows how easy it is to get a good measurement, and how many terrific, built-in features in the software make sure your data is good.
Watch a demonstration
Video: Measuring a turbine blade edge
Learn more about the products

4D InSpec
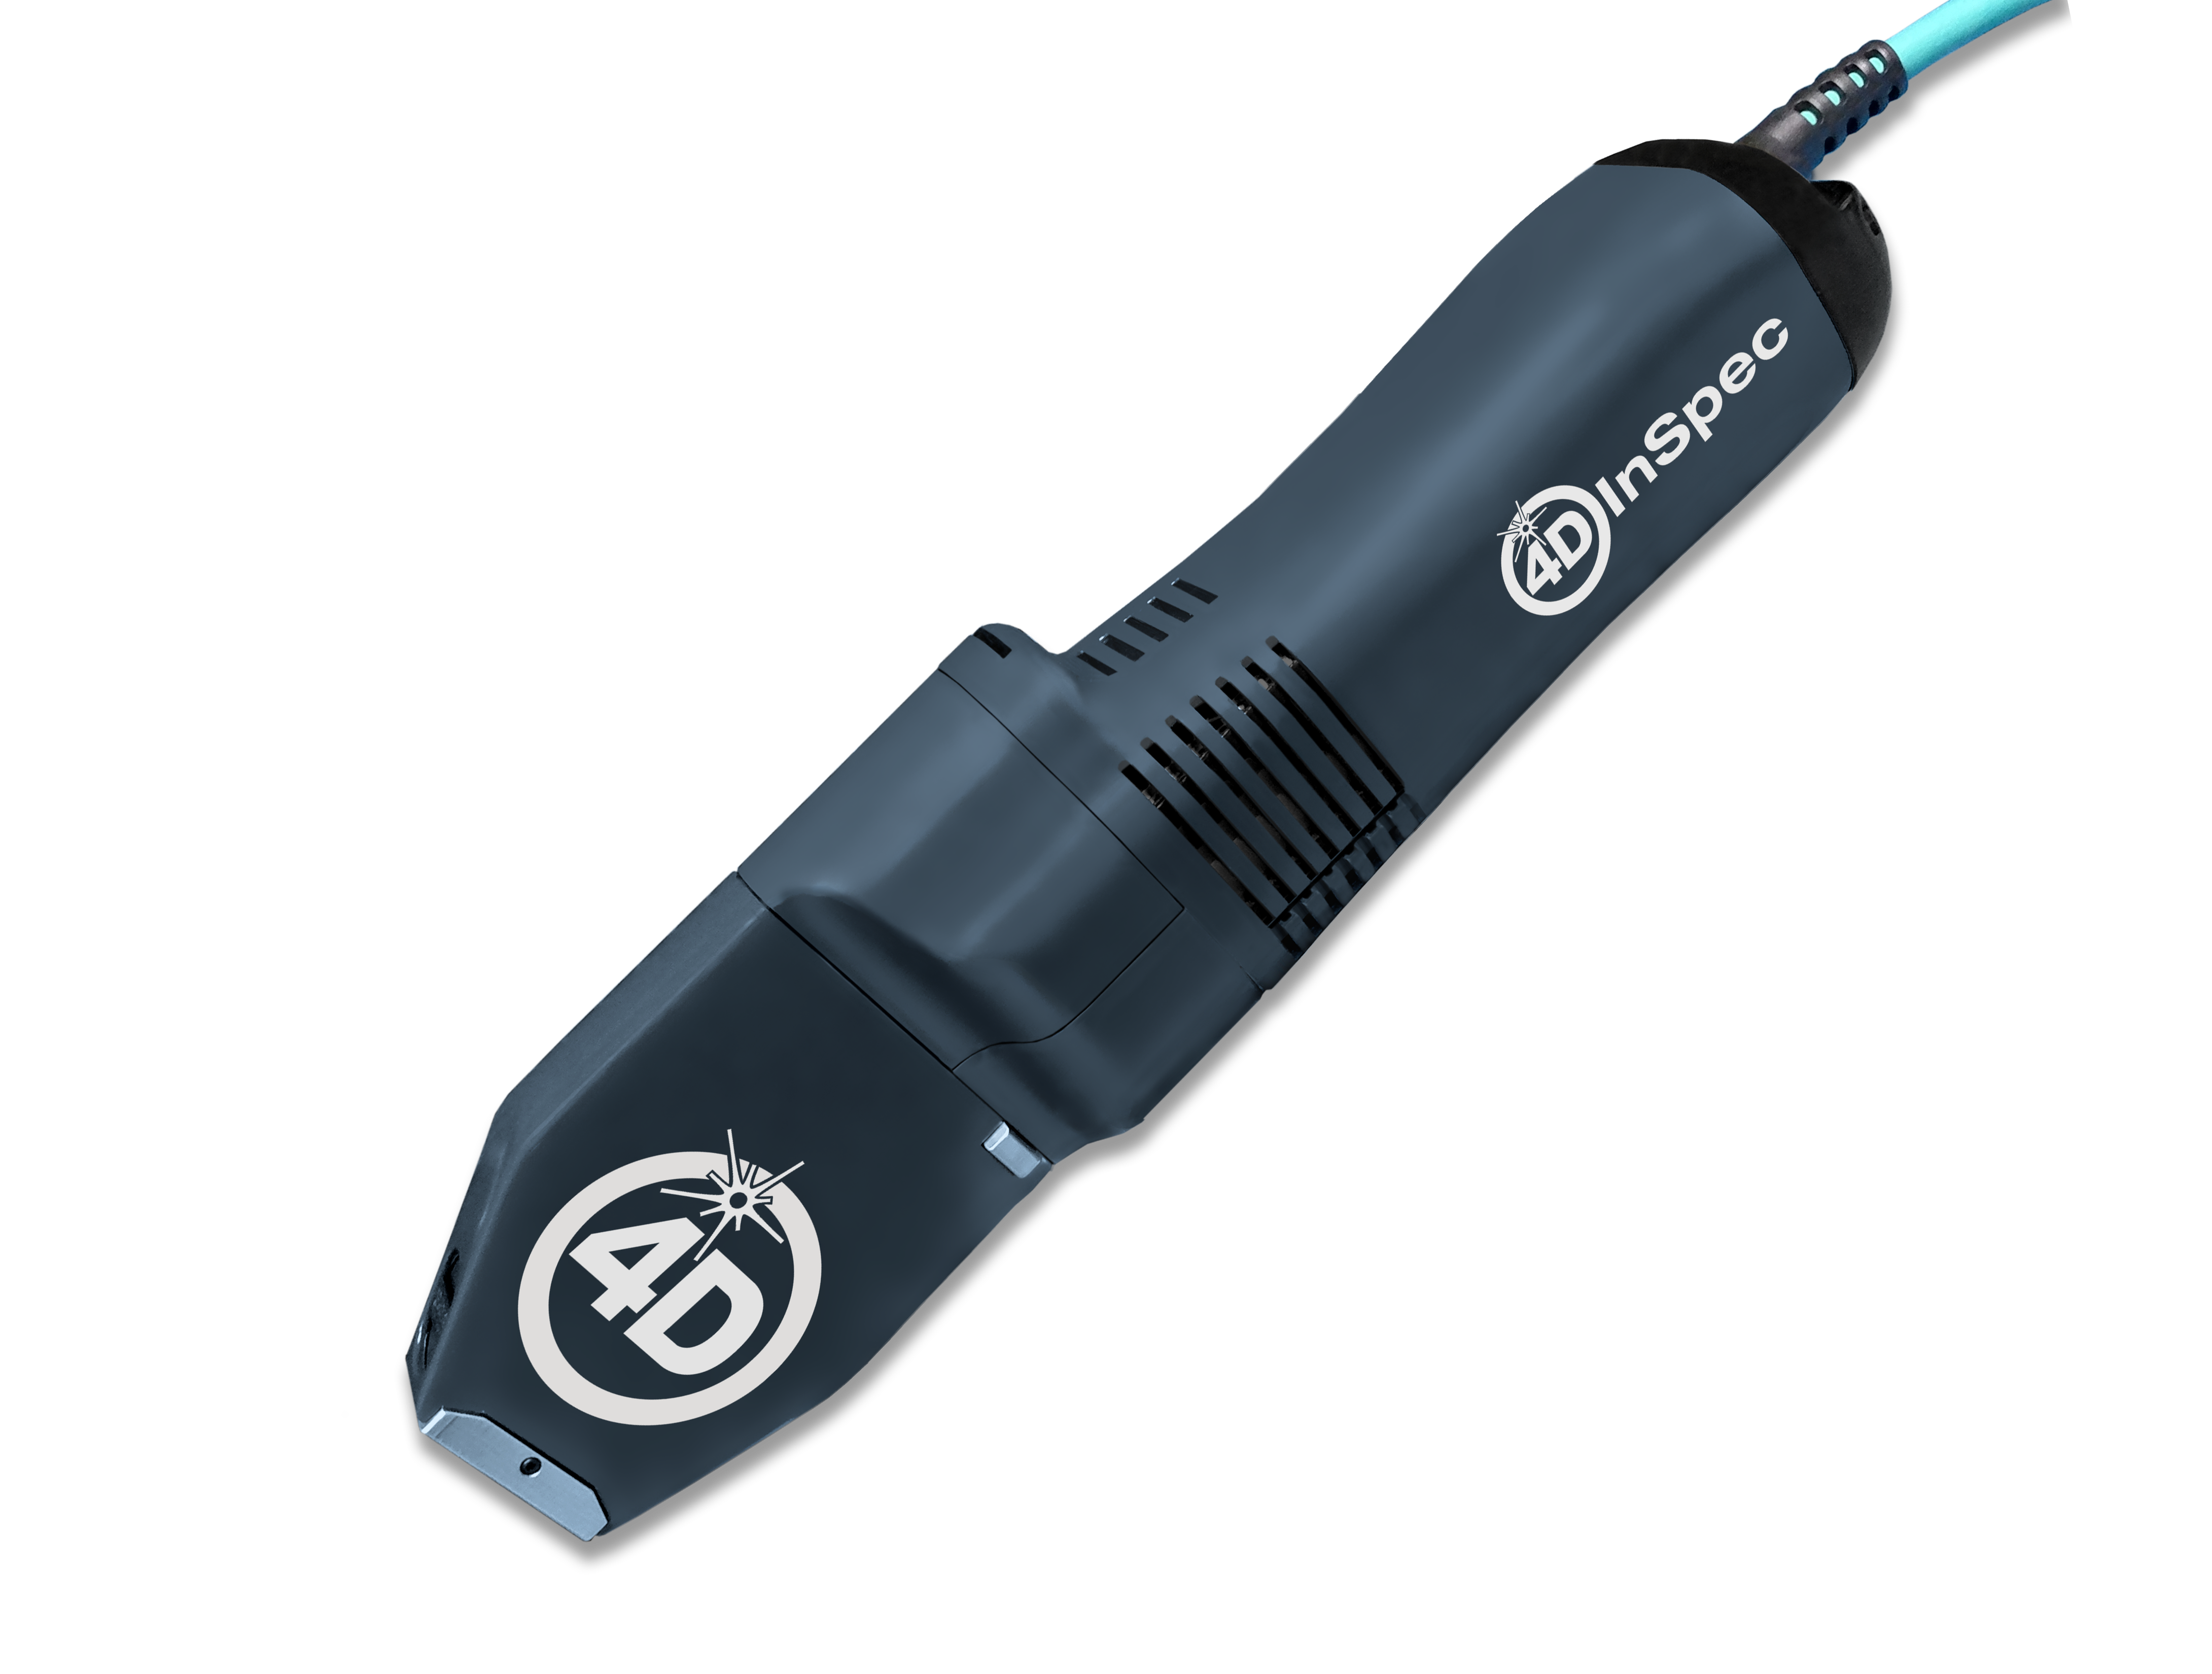
4D InSpec provides non-contact measurement of surface features and defects, on the factory floor, in machine shops and in field service applications.

4D InSpec XL
A handheld defect inspection gauge that works like 4D InSpec standard, but with a larger field of view, to measure wider and deeper features.

InSpec Accessories
Accessories for improving portability, ease of use, or for accessing hard to reach measurements like sidewalls and through-holes.
Get In Touch
(520) 294-5600
Location
3280 E Hemisphere Loop, Ste 146
Tucson, AZ 85706
4Dinfo@ontoinnovation.com
Office Hours (Arizona Time)
Mon: 8am - 5pm
Tue: 8am - 5pm
Wed: 8am - 5pm
Thur: 8am - 5pm
Fri: 8am - 5pm
Sat: Closed
Sun: Closed
