Select Page

Measuring up to NASA’s James Webb Space Telescope
Measuring optics for space-based optical systems, like the James Webb Space Telescope, comes with a high risk-profile. After all, it’s difficult to get systems into space, and once deployed, it can be very hard to make a repair visit. NASA is understandably careful not to leave their next big optics project to chance, and they have reformulated their testing criteria over the years. NASA senior optical physicist H. Philip Stahl has written extensively on the approach they have chosen. He called it “probably the most difficult metrology project in a generation of astronomical optics.”
The 18 mirror segments, the secondary mirror, and the tertiary mirror were measured individually and in sets, for surface figure and surface roughness. They were re-measured in cryogenic vacuum conditions. It required a giant helium refrigeration chamber to bring the optics to -240 °C (30K). With pump vibrations surrounding the mirrors, the vibration would be high.
4D Technology was designated primary metrology supplier, providing instruments for several measurements of the optics and the support structure. The selection was in part because of our dynamic metrology technology, and in part because of our willingness to engineer and design to the extremely stringent requirements.

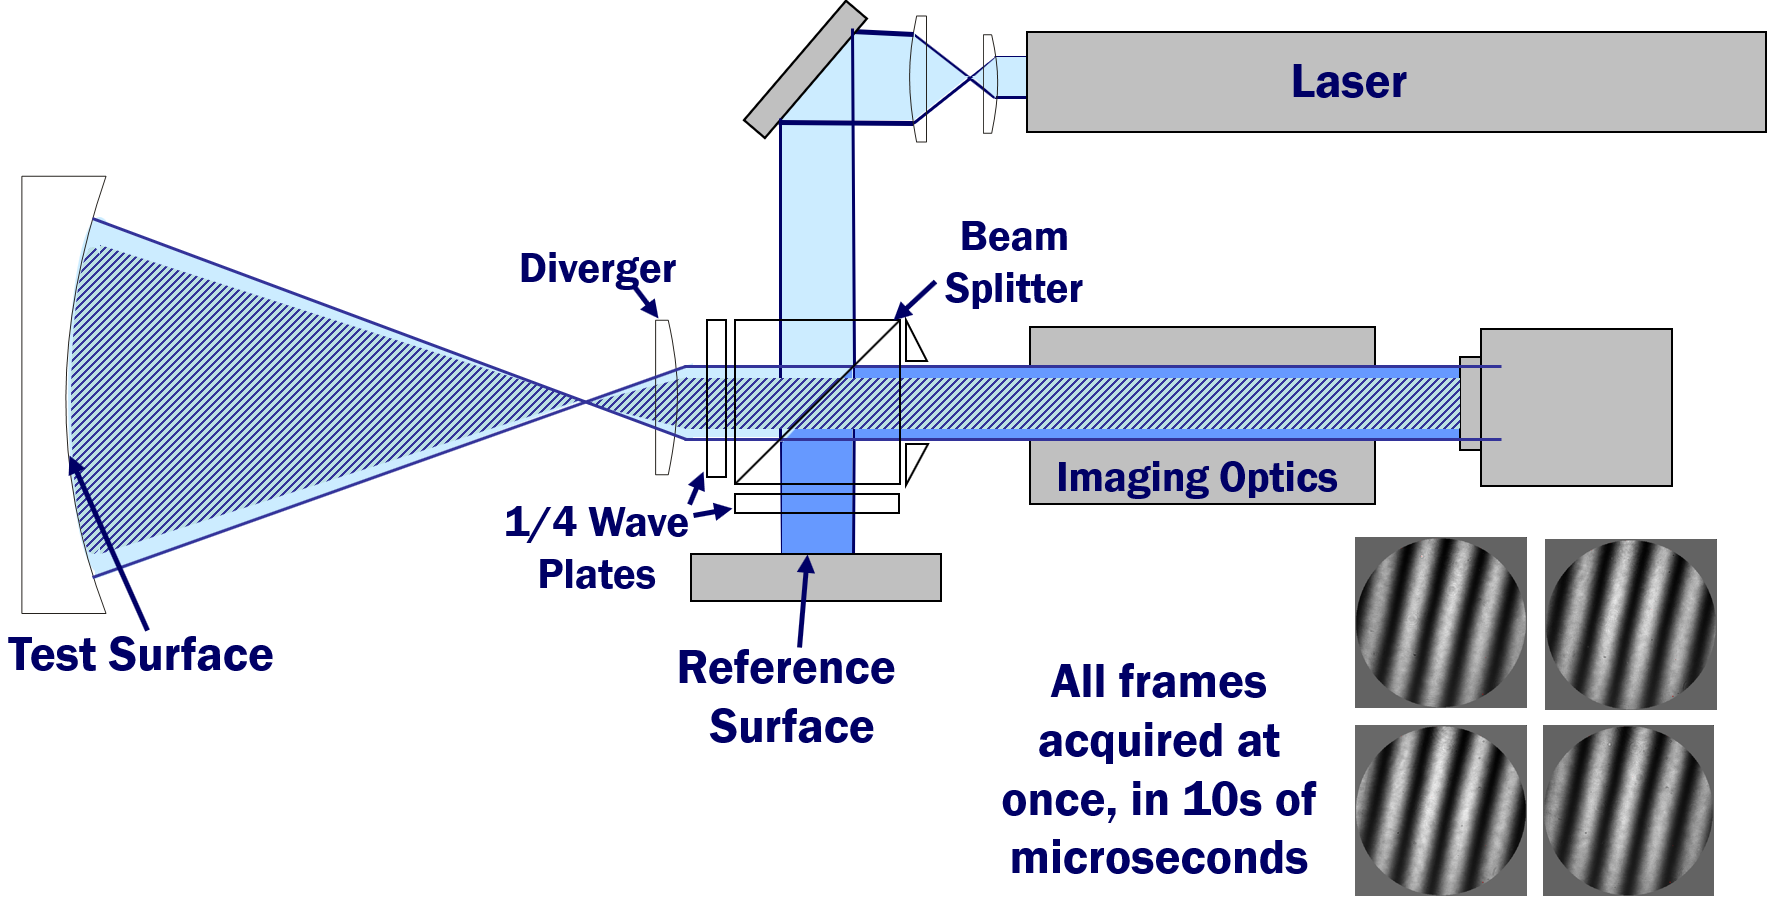
The reason Twyman-Green was best

A Twyman-Green configuration of interferometer is capable of retaining light, and expanding to large spherical surfaces.
Measuring concave segmented mirrors

One challenge of measuring a segmented mirror, using interferometry, is that the interferometer has a small tolerance for measuring step discontinuities—that is, the difference in Z of one mirror segment to its neighbors in the array. The system is prone to vibration, because the focal lengths and the size of the array could not permit the interferometer and the optical array to be coupled together.

To ensure NASA could make a measurement that 1) would be vibration immune, 2) could tolerate the step discontinuities, and 3) could capture enough light in a light-absorbing computer-generated hologram measurement, we offered our dynamic interferometry technique in a Twyman-Green interferometer, using two-wavelength measurements. The ability of an interferometer to differentiate step discontinuities is just ¼ of the wavelength used to measure. By using two-wavelength interferometry, the dynamic range increases dramatically by creating a longer functional wavelength. The downside is that the time taken to acquire two measurements makes the results more likely to be obscured by vibration. In one proof of concept test, we demonstrated two wavelength acquisitions in less than 100 millionths of a second – effectively making ‘stop-action’ out of any vibration.

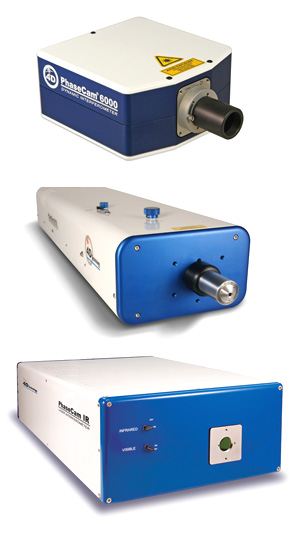
The 4D PhaseCam line of Twyman-Green dynamic interferometers we first released for this project served in both the ambient and cryo-chamber tests, and the end-to-end test.

PhaseCam Models

Three models of PhaseCam, a Twyman-Green interferometer with dynamic measurement capabilities.
Shorter frequency measurements

A Tywman-Green interferometer, measuring surface figure, is unable to resolve the microscopic variances and roughness of polish that affect scatter. In space telescopes attempting to image exoplanets, and in X-ray telescopes, ultralow surface roughness and the complex shapes of the optics themselves require tools capable of rapidly measuring surface quality across a very large aperture.

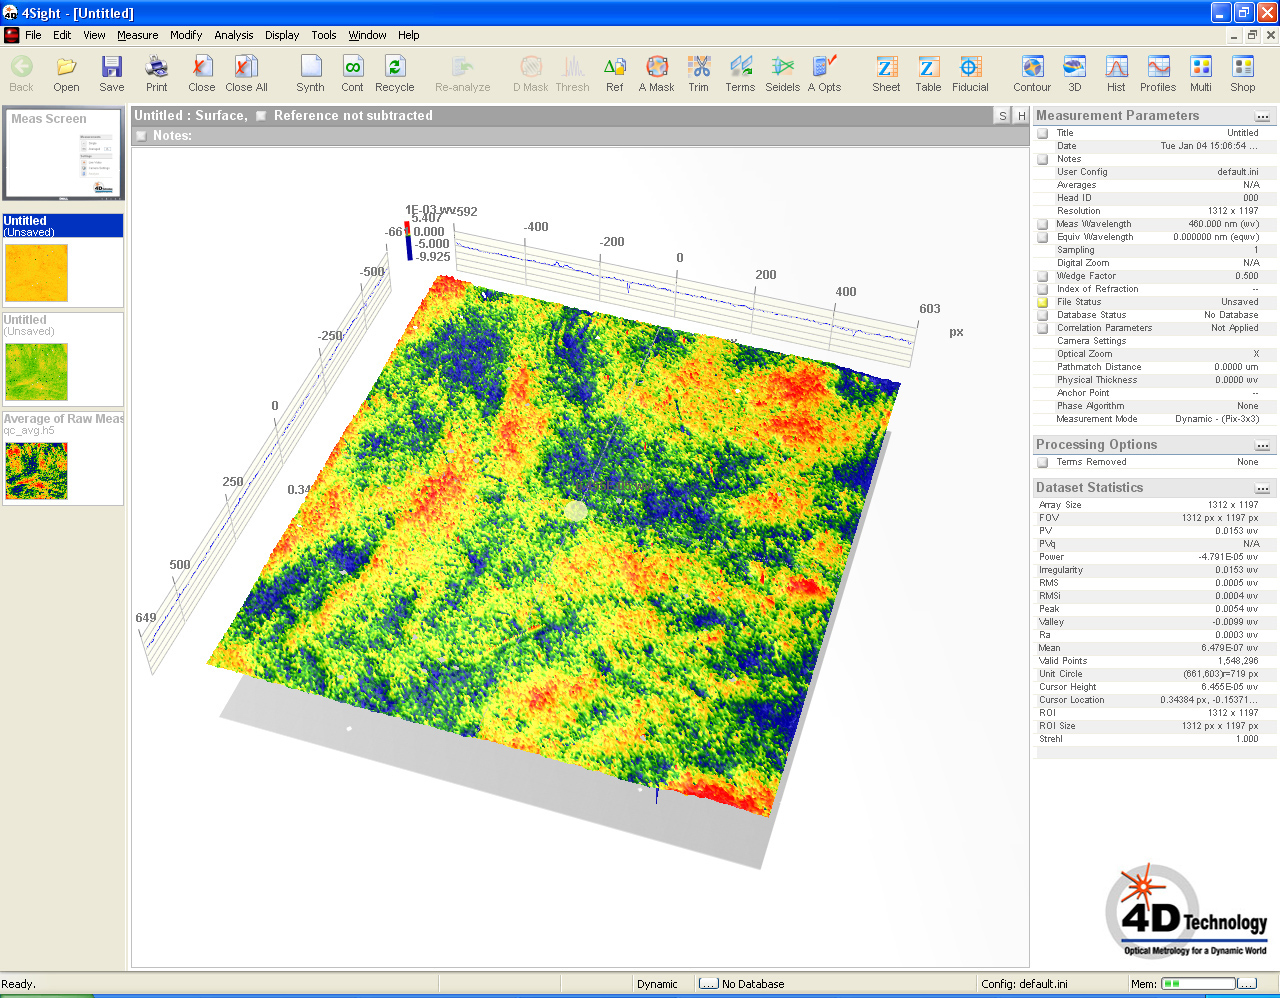
NanoCam Sq, 4D Technology’s optical profiler, has demonstrated a sub-angstrom noise floor with rapid averaging. Because it’s a dynamic interferometer, it can be mounted on a robot arm or held above the optic on a bridge, because acquisition times are so fast that vibration coupling is unneeded. Also, due to the specialized objective design, the NanoCam can measure finer features at a given magnification than other interferometer-based profilers, allowing greater capability for fine roughness quantification.

NanoCam's 3D roughness measurement

Sub-Angstrom RMS precision makes NanoCam Sq the best choice for highly demanding roughness measurements of optical finish.
Dynamic interferometers have advantages for demanding optics

Whether for measuring surface polish, the surface figure of aspheric mirror elements, or end-to-end system measurements, NASA’s metrology scientists understand the importance of using the tool best suited for the job. 4D Technology’s dynamic measurements provided the best option for measuring one of science’s grandest space science optical systems.

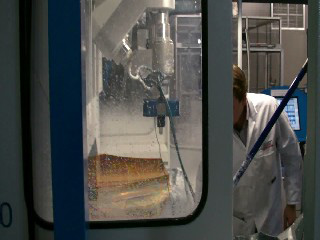
NanoCam inside glass machining CNC

Dynamic measurements enable quality assurance measurements in-line and within the manufacturing equipment. The dark blue T-shaped object behind the wet glass is a NanoCam Sq optical profiler.

Get In Touch

(520) 294-5600

Location

3280 E Hemisphere Loop, Ste 146
Tucson, AZ 85706

Email

4Dinfo@ontoinnovation.com

Office Hours (Arizona Time)

Mon: 8am - 5pm
Tue: 8am - 5pm
Wed: 8am - 5pm
Thur: 8am - 5pm
Fri: 8am - 5pm
Sat: Closed
Sun: Closed

Send a Message