Measuring Flanges
Measure pits, wear, corrosion and welds on flanges.
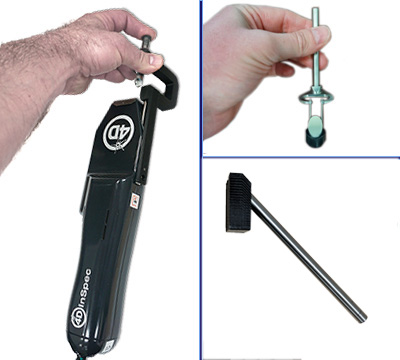
Also look into clamp holes, using our fold mirror accessory.
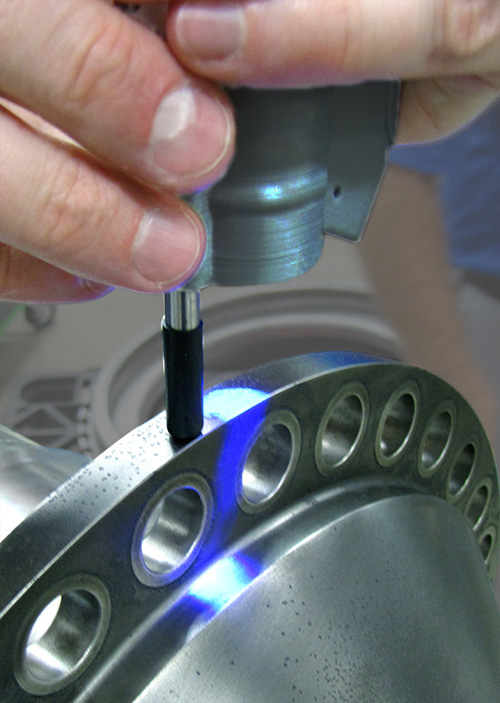
In this image, 4D InSpec is used with a focus aid to measure corrosion pits on the edge of a flange.

Because the depth of field of the measurement is substantial, you can use 4D InSpec to measure the radius of curvature of a feature like a weld, or a defect that is close to an inside corner in a weld.

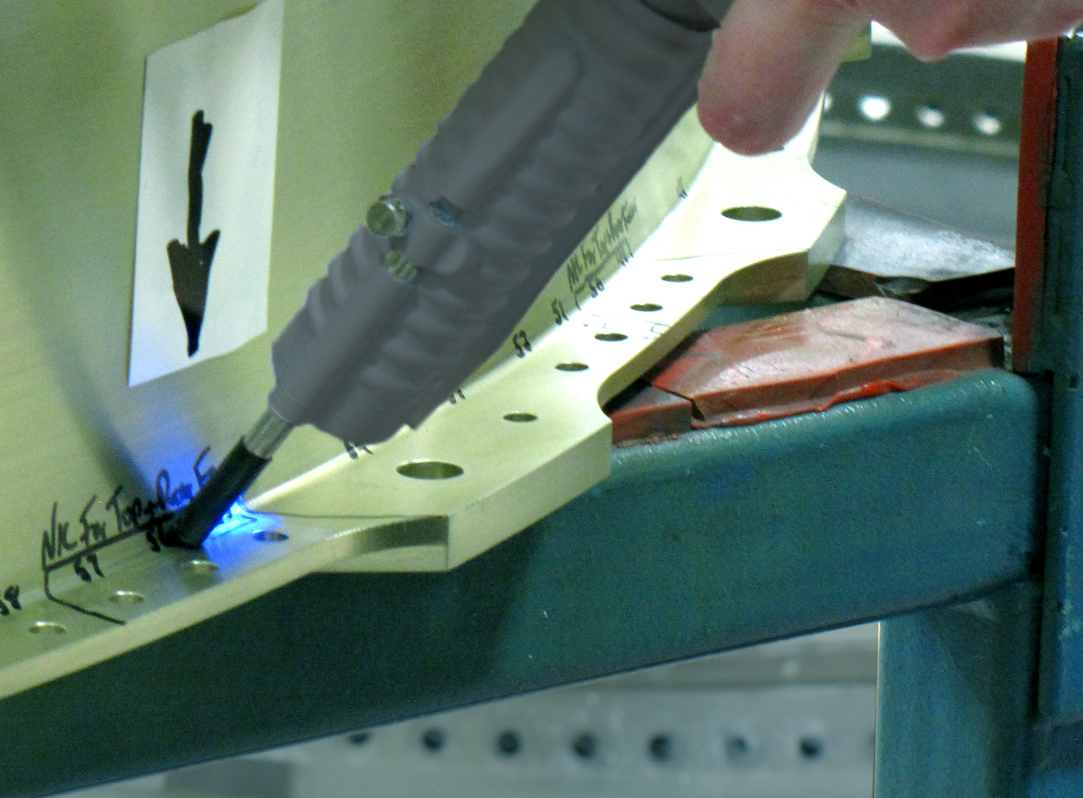
Below, a defect that is close to the edge of a flange is reviewed with a click of a measurement.

Added Resources
Measuring Surface Features with High Resolution in Factory Environments
Because of the lack of rapid, accurate, shop floor measurement, inspectors often lack confidence in their assessments. The overly cautious estimations that result mean that rejection rates are typically much higher than necessary.
Learn more about the products

4D InSpec
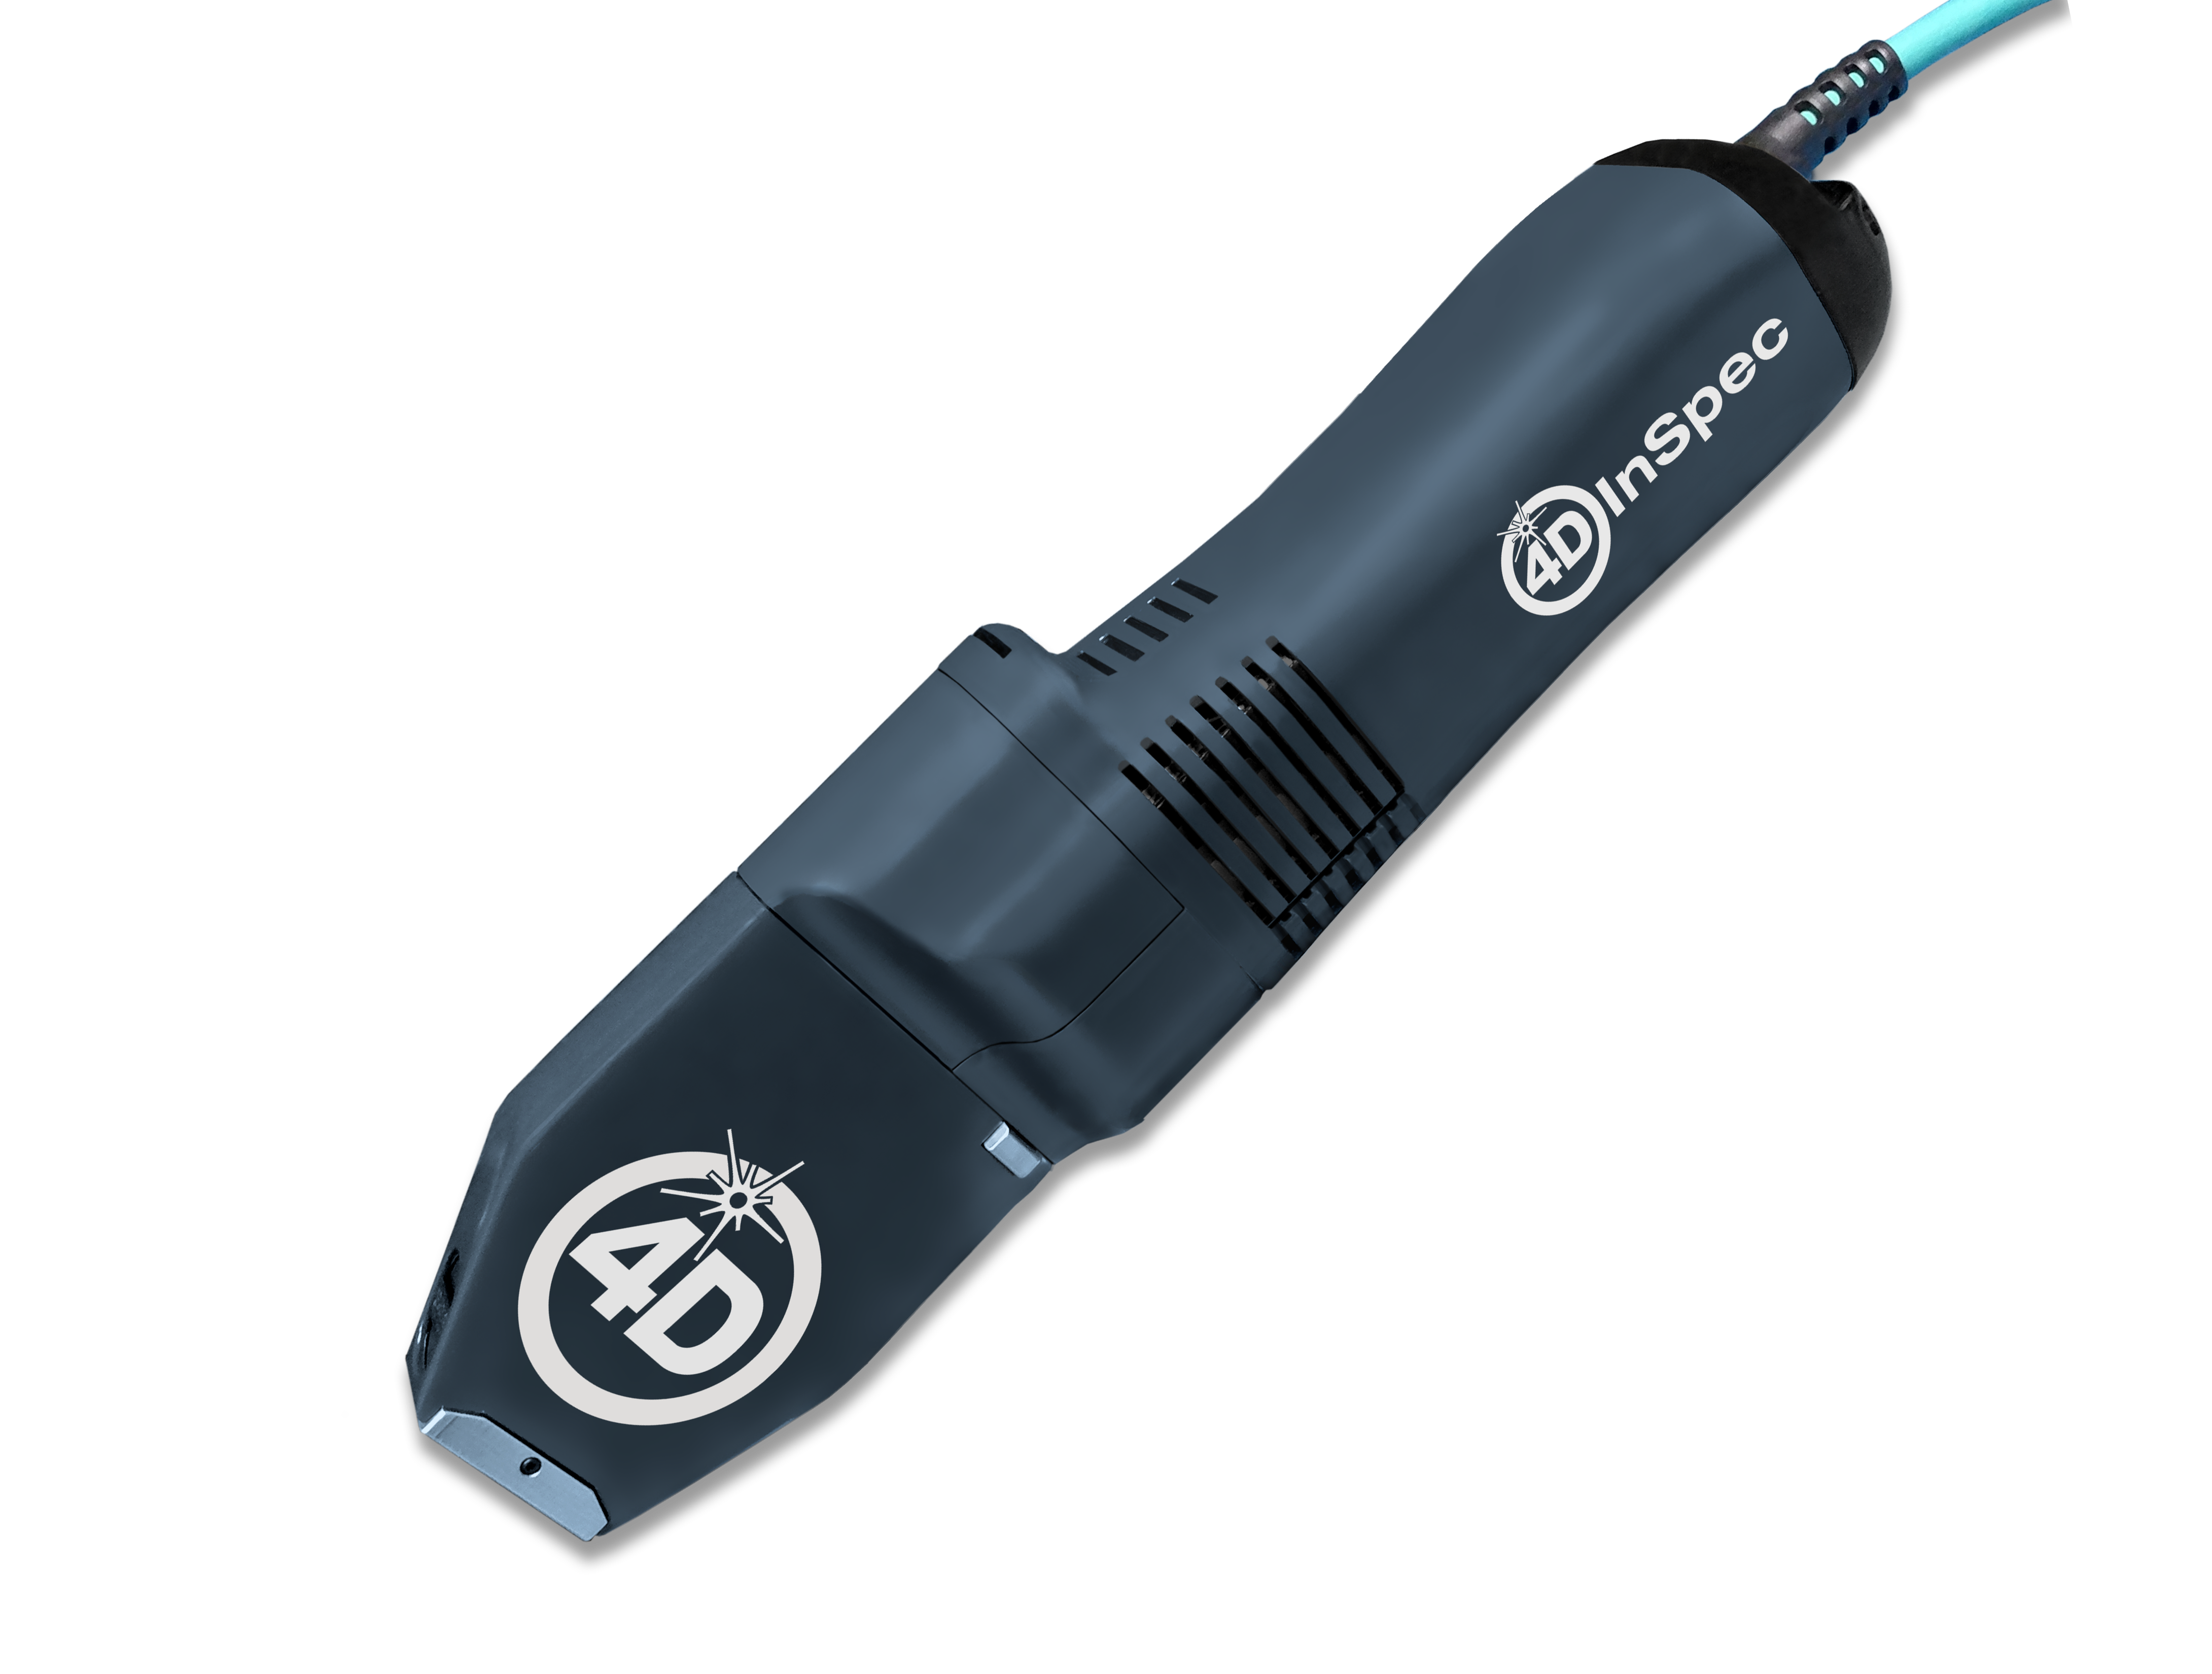
4D InSpec provides non-contact measurement of surface features and defects, on the factory floor, in machine shops and in field service applications.

4D InSpec XL
A handheld defect inspection gauge that works like 4D InSpec standard, but with a larger field of view, to measure wider and deeper features.

InSpec Accessories
Accessories for improving portability, ease of use, or for accessing hard to reach measurements like sidewalls and through-holes.
Get In Touch
(520) 294-5600
Location
3280 E Hemisphere Loop, Ste 146
Tucson, AZ 85706
4Dinfo@ontoinnovation.com
Office Hours (Arizona Time)
Mon: 8am - 5pm
Tue: 8am - 5pm
Wed: 8am - 5pm
Thur: 8am - 5pm
Fri: 8am - 5pm
Sat: Closed
Sun: Closed
