Blend Radius
On a manufactured part, in for rework and refurbish, a blend radius measurement is taken after removing a defect –often by grinding– and then refilling the material through an additive process, and then shaping, grinding, and polishing the new materials back down to the original surface height.
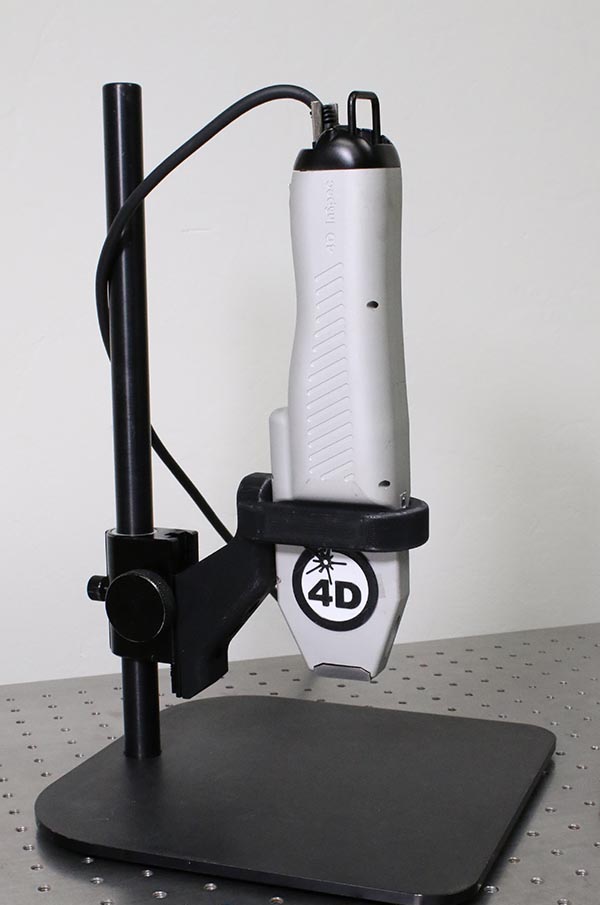
The Blend Radius measurement in this application checks how well the repair matches the surrounding original surface in height and shape. 4D InSpec’s three dimensional measurement is a great way to assess this interface between the old and new surfaces.

Feature analysis, a screen built into every 4D InSpec software package, helps to determine if a part is in specification or not, based on finding and quantifying surface features that fit within your custom parameters for height, depth, width, and so on.

Added Technical Resources
Measuring Curved Surfaces With 4D InSpec
Learn why curved surfaces present a special challenge, and how to overcome them when making your measurements.
Measuring Transparent or Shiny Surfaces with 4D InSpec
Learn why transparent and shiny surfaces present a special challenge, and how to make good measurements with 4D InSpec.
Learn more about the products

4D InSpec
4D InSpec provides non-contact measurement of surface features and defects, on the factory floor, in machine shops and in field service applications.

4D InSpec XL
A handheld defect inspection gauge that works like 4D InSpec standard, but with a larger field of view, to measure wider and deeper features.

InSpec Accessories
Accessories for improving portability, ease of use, or for accessing hard to reach measurements like sidewalls and through-holes.
Get In Touch
(520) 294-5600
Location
3280 E Hemisphere Loop, Ste 146
Tucson, AZ 85706
4Dinfo@ontoinnovation.com
Office Hours (Arizona Time)
Mon: 8am - 5pm
Tue: 8am - 5pm
Wed: 8am - 5pm
Thur: 8am - 5pm
Fri: 8am - 5pm
Sat: Closed
Sun: Closed
