Peen & Scribe marked Parts
Peen marking is important to parts identification requirements. The mark quality is important to quantify. Errors of shallowness reduce the longevity and durability of the identification of the parts themselves in case of wear and tear. Errors of excessive depth may create an ingress point for corrosion.
Difficult to quantify, each dot might be of a different depth, meaning that all the dots need to be measured. Scribe marks are equally tricky, because of variability and burrs that can be created.
The video above illustrates the value of a large field of view, and of the features analysis capabilities built-in to the software.
Below, a features analysis screen shot illustrates the variability of different dots, and how readily the software can bin them as groups.

Video tutorial
Video: Measure Radius of Curvature
This six-and-a-half minute video demonstrates how to take a measurement and get the Radius of Curvature profiles you need from it. You can see more tutorials on our Training Video Page.
Learn more about the products

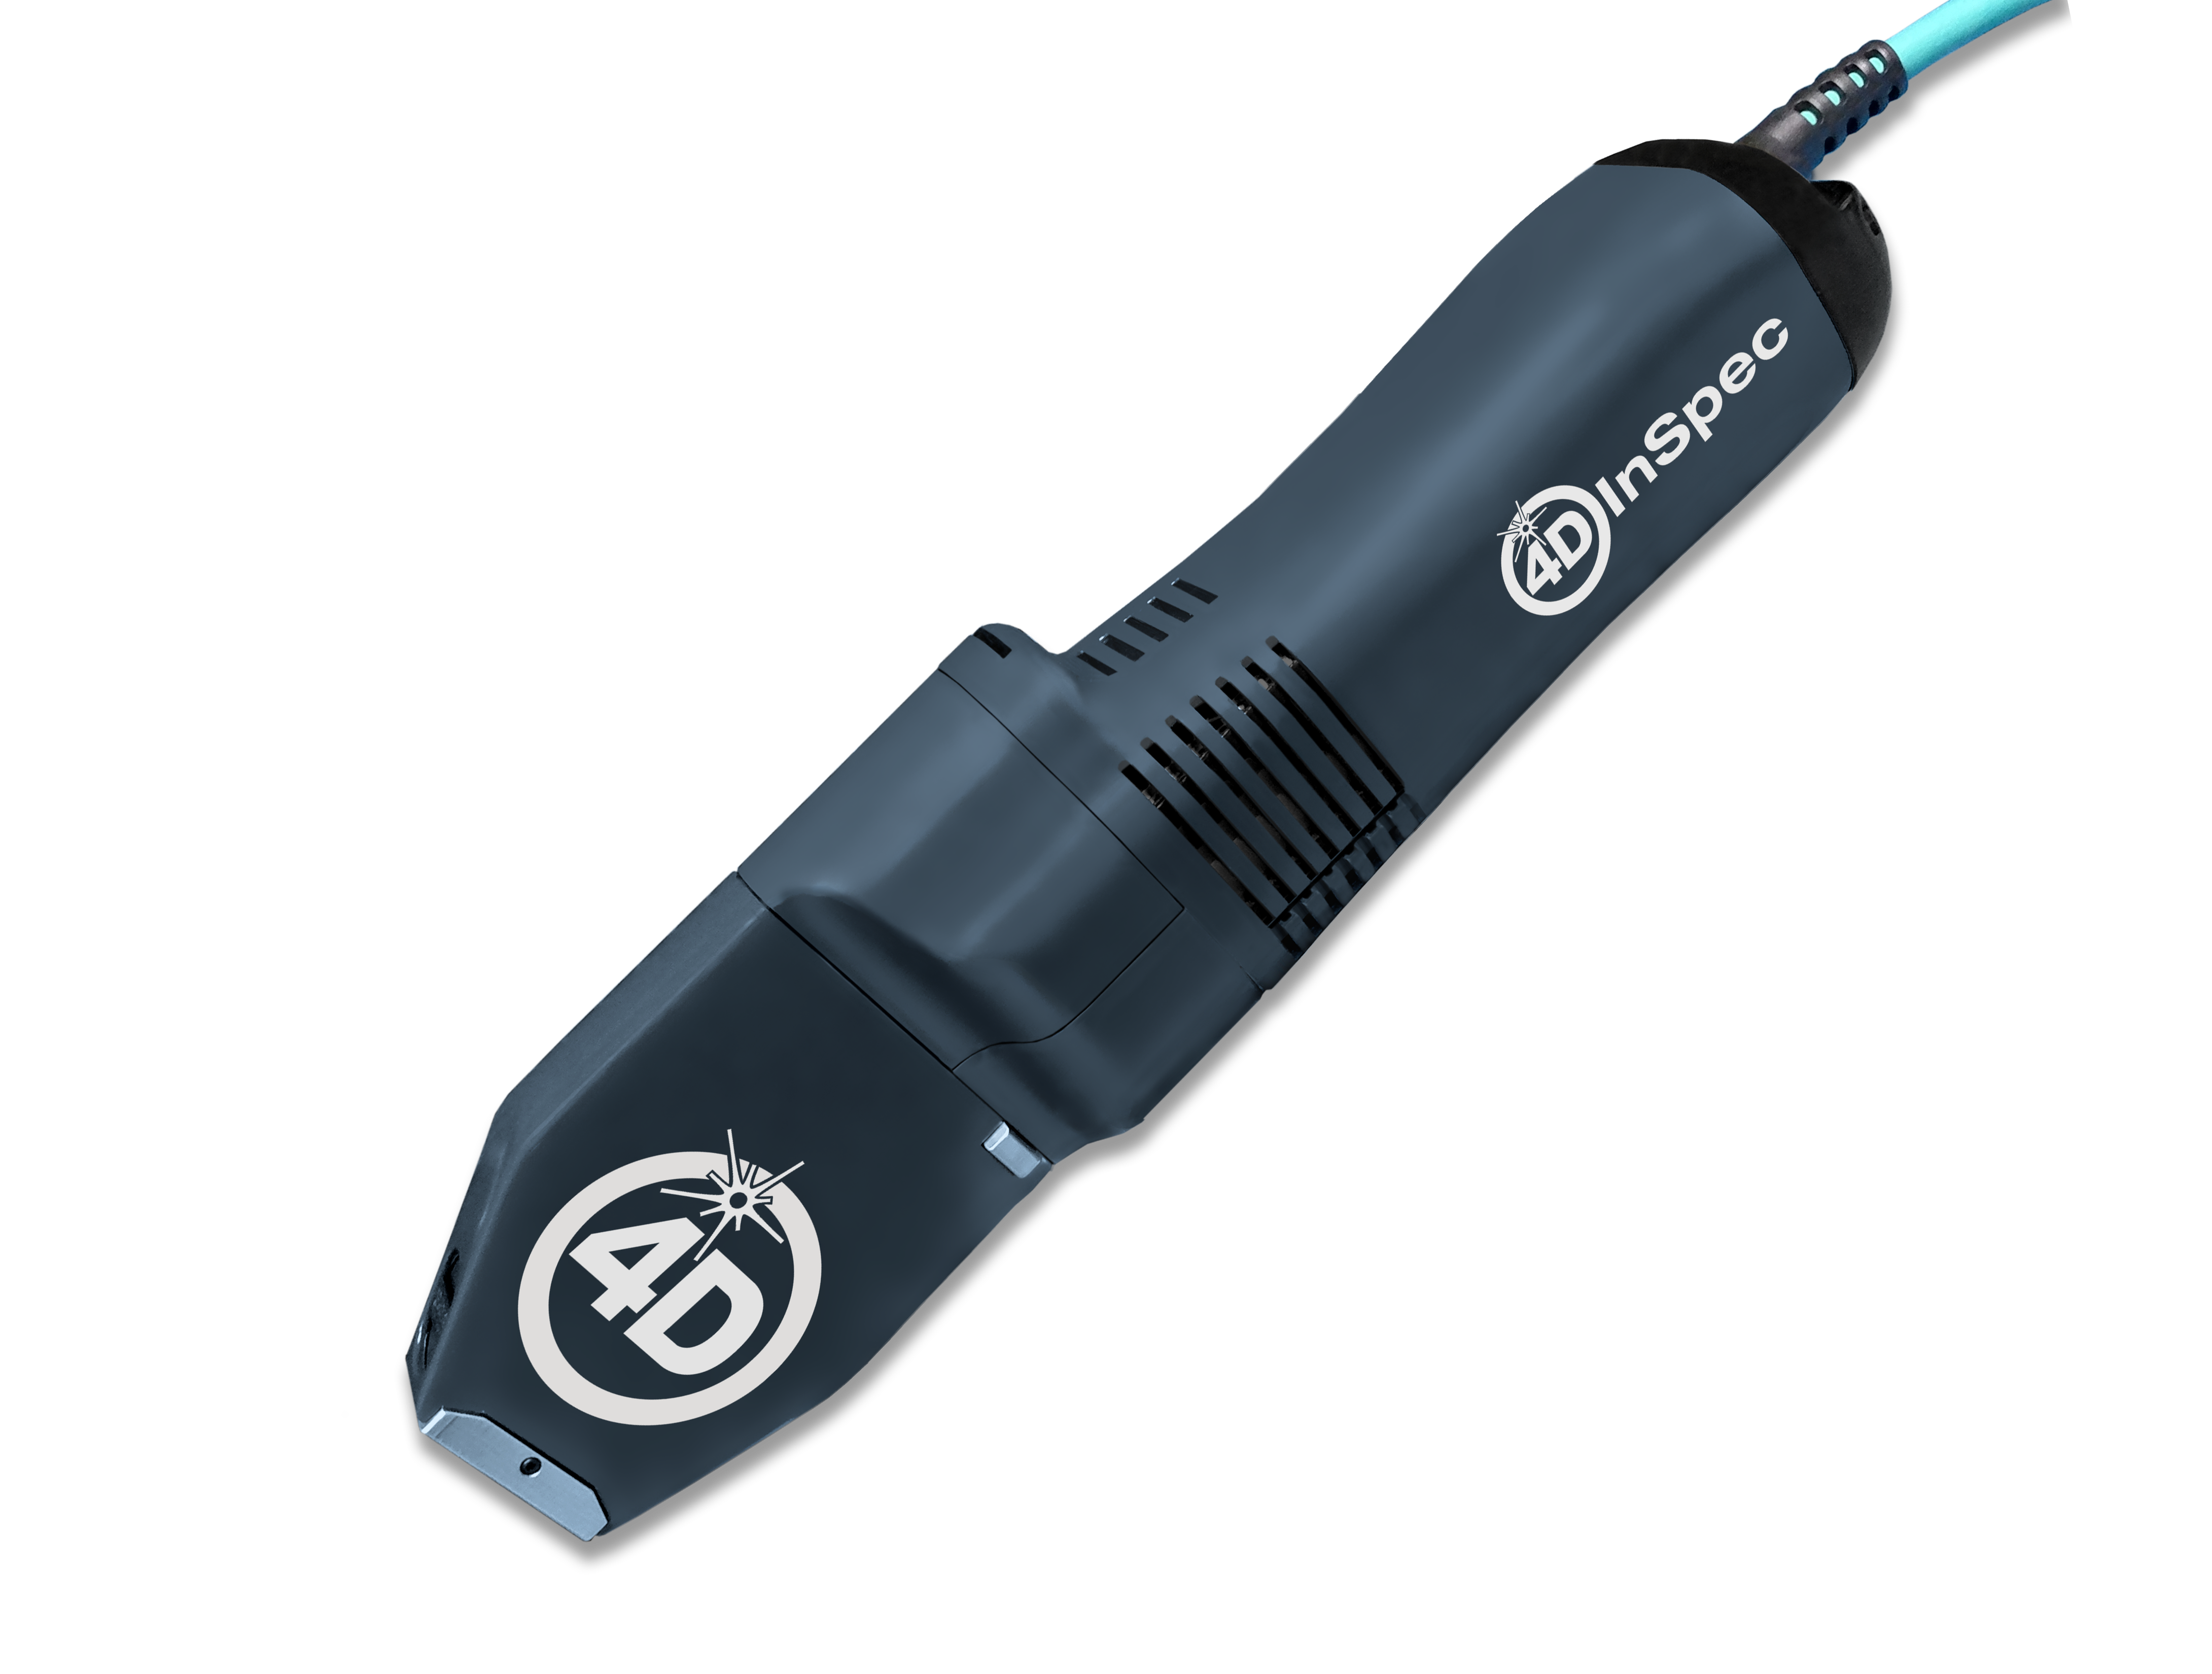
4D InSpec
4D InSpec provides non-contact measurement of surface features and defects, on the factory floor, in machine shops and in field service applications.

4D InSpec XL
A handheld defect inspection gauge that works like 4D InSpec standard, but with a larger field of view, to measure wider and deeper features.

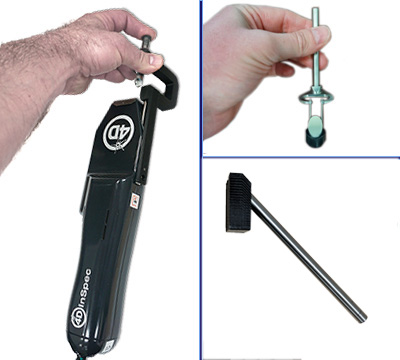
InSpec Accessories
Accessories for improving portability, ease of use, or for accessing hard to reach measurements like sidewalls and through-holes.
Get In Touch
(520) 294-5600
Location
3280 E Hemisphere Loop, Ste 146
Tucson, AZ 85706
4Dinfo@ontoinnovation.com
Office Hours (Arizona Time)
Mon: 8am - 5pm
Tue: 8am - 5pm
Wed: 8am - 5pm
Thur: 8am - 5pm
Fri: 8am - 5pm
Sat: Closed
Sun: Closed
