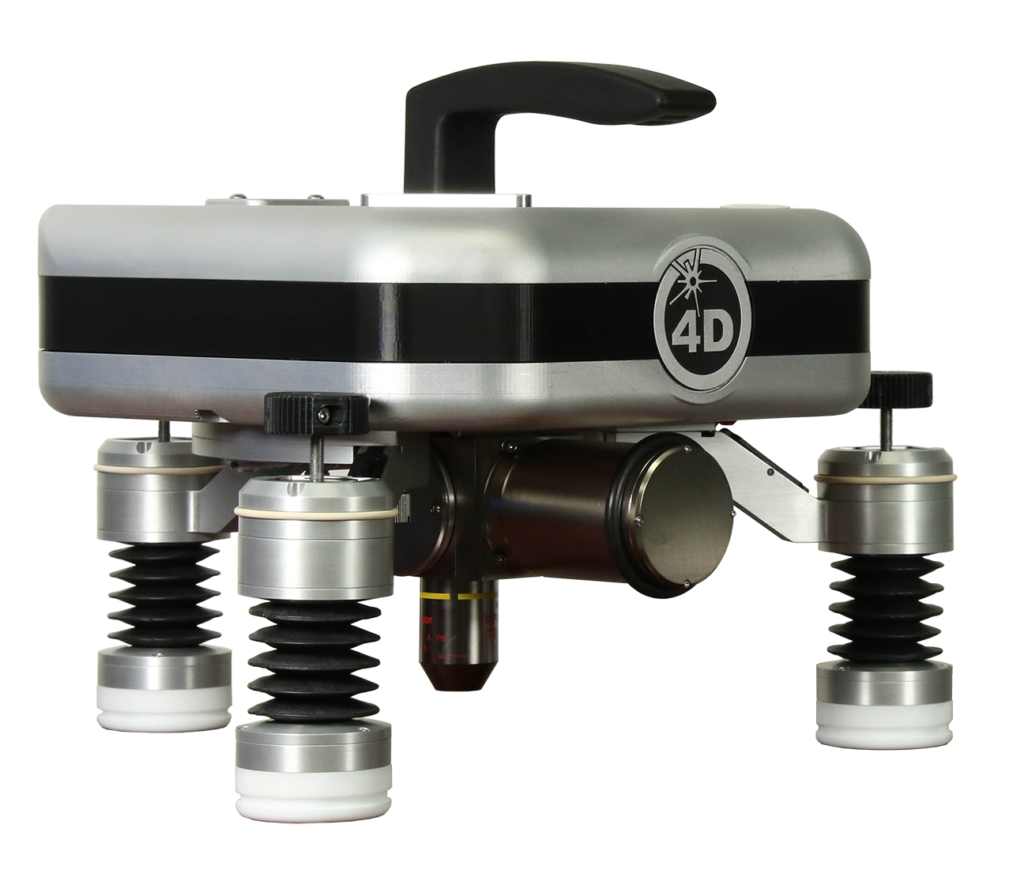
Supersmooth Optics
Supersmooth optical surfaces are required in applications such as X-ray and Deep EUV mirrors, synchrotron optics, lenses for semiconductor equipment, laser gyro mirrors, and laser resonators.
While newer manufacturing techniques have impoved production of supersmooth optics, the metrology to accurately measure these surfaces has lagged behind. 4D Technology’s NanoCam HD optical profiler has been proven to provide reliable, non-contact measurement of supersmooth surface texture, in situ on the shop floor.
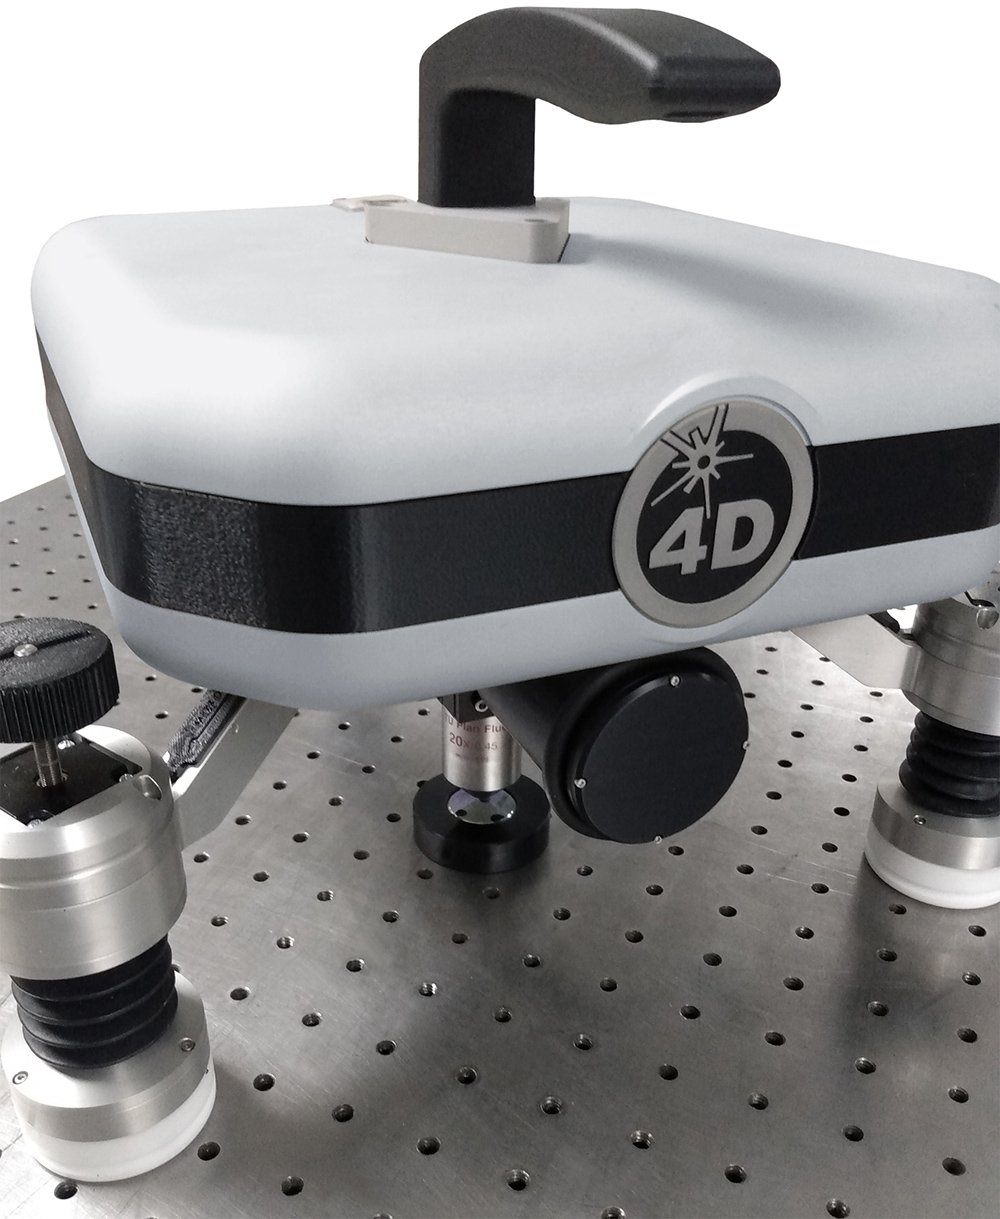
NanoCam HD measuring a supersmooth reference optic.
The Challenge of Measuring Supersmooth Optics
“Supersmooth” surfaces typically have an RMS roughness (Sq) of less than 0.1 nm.
Non-contact, optical profiling is the preferred method for acquiring 3D data of optical surfaces. However, the noise floor of commonly used scanning white light systems is typically too high to measure sub-angstrom roughness, even using phase-shifting interferometry (PSI) mode.
“Dynamic” instruments such as the NanoCam HD, however, acquire all measurement data simultaneously, rather than sequentially as in scanning methods. Such fast acquisition enables the NanoCam HD to measure supersmooth surfaces, in shop floor environments.
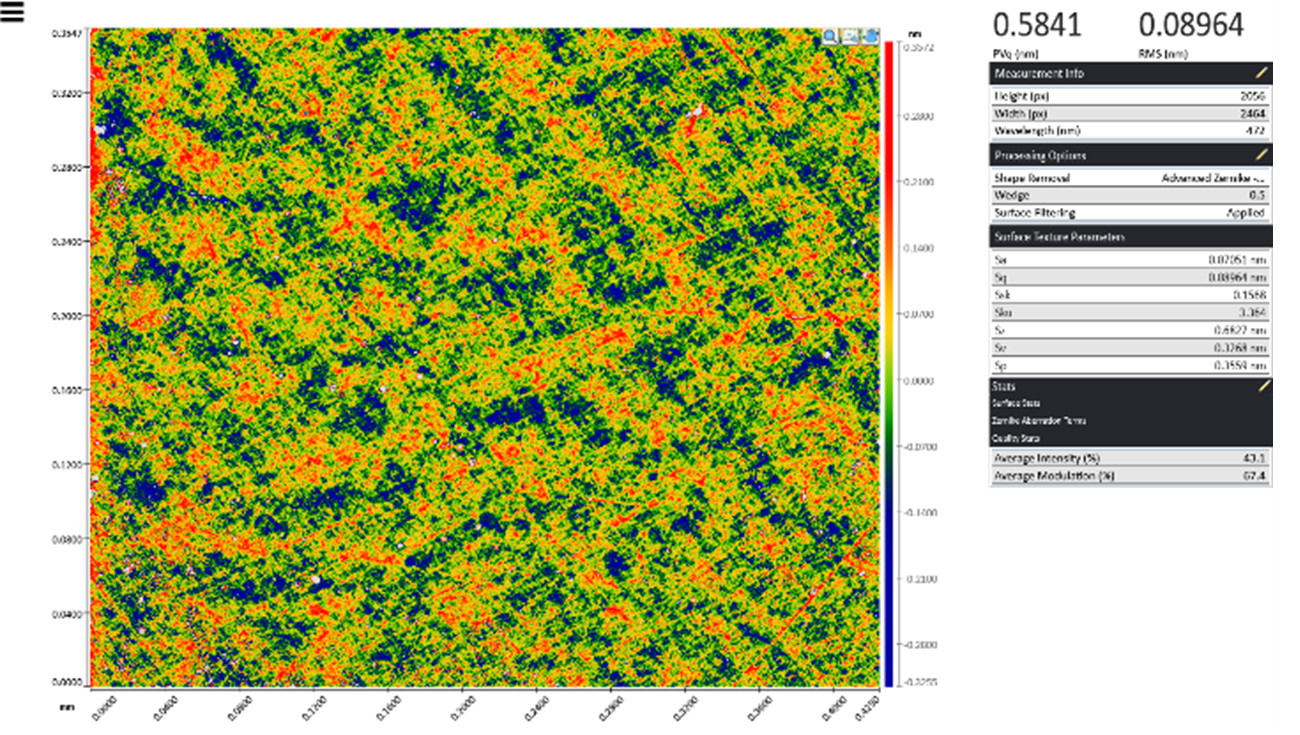
Reference data set taken with the NanoCam HD and 20X objective. RMS = 0.089 nm.
NanoCam HD Measures Supersmooth Surfaces
4D Technology’s NanoCam HD is an enabling technology for controlling the production of supersmooth surfaces. The NanoCam HD offers several benefits that make sub-angstrom measurement possible:
More on Supersmooth Optics
Read more in the application note, “Portable Interferometer Enables Instantaneous Supersmooth Roughness Measurements.”

- Dynamic Interferometry enables the NanoCam HD to measure roughness in shop floor environments without expensive vibration isolation
- High-resolution Linnik objectives provide superior spatial resolution to the Mirau objectives used in many white light systems
- In Burst mode the system acquires measurements in rapid succession, followed by analysis as a post-processing stage. Bursting minimizes drift due to changing environmental conditions
- Adjustable beam ratio achieves the highest signal-to-noise ratio and thus the lowest noise measurements. The NanoCam HD is the only system with this ability.
- Automatic focusing adapts to small changes in the environment, including thermal drift
- Reference subtraction removes the small error in the test system’s optics from each measurement.
Enabling Features for Supersmooth Measurements
-
Vibration Immunity
-
High Resolution
-
Fast Acquisition
-
Adjustable Beam Ratio
-
Autofocus
-
Reference Subtraction
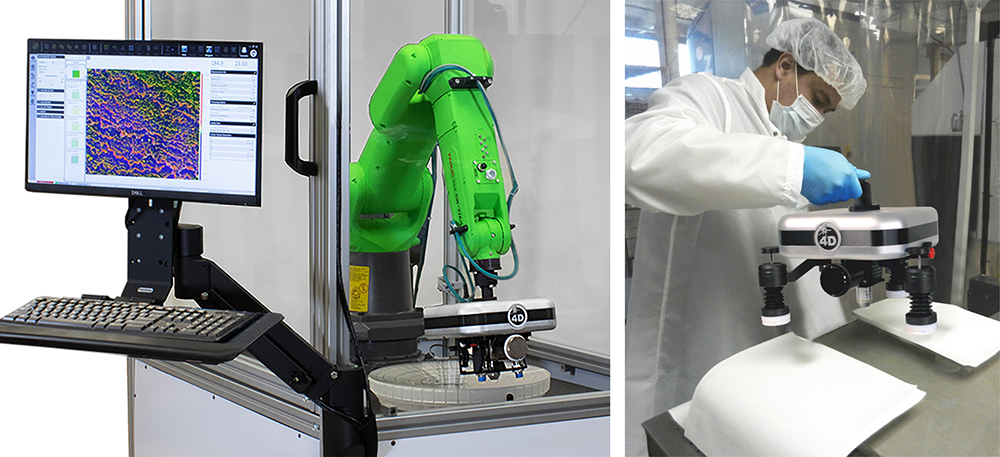
Measuring a large optical surface with the NanoCam AT automated measurement cell, and with the manual tripod option.
Measuring Large Optics
Because the NanoCam HD is vibration-insensitive, it can be positioned with a robot to measure large optics. Robotic positioning enables rapid measurement at many locations around the optic. The instrument can also be placed manually on the surface, using its protective tripod feet and lint-free cloths.
4D Optical Profilers
NanoCam HD
Robot-mounted or handheld, the NanoCam HD optical profiler measures surface roughness on smooth and supersmooth optics.

