Burrs & Displaced Material
Whether material is displaced during manufacturing, damage or ongoing use, the resulting debris can be affect performance, hasten wear or even cause injury.
Burrs
Sharp burrs may be created by manufacturing processes, damage, ongoing wear, or spalling in high stress applications. A burr can damage mating surfaces, or it can break loose and potentially damage other parts of a system.
Burrs also pose a hazard to manufacturing personnel and to end users.
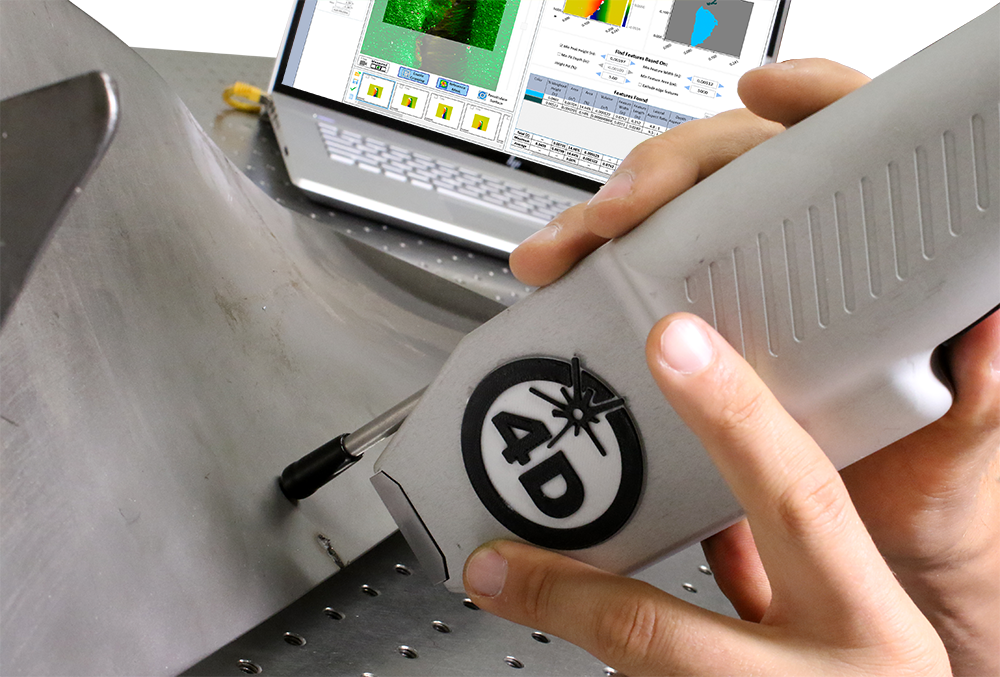
The 4D InSpec surface gauge lets you identify the presence of burrs on a surface, over a large field of view. Locate and count burrs easily on edges, around holes, on chamfers, and in difficult to access areas.
Scratches, Nicks and Bumps
When we think of surface damage such as scratches, nicks and bumps we tend to think of the material that has been removed, leaving a void. But in many cases that material is forced upward into ridges or peaks that rub on or dig into mating surfaces. The raised material can generate heat, damage the mating surfaces and impact performance.
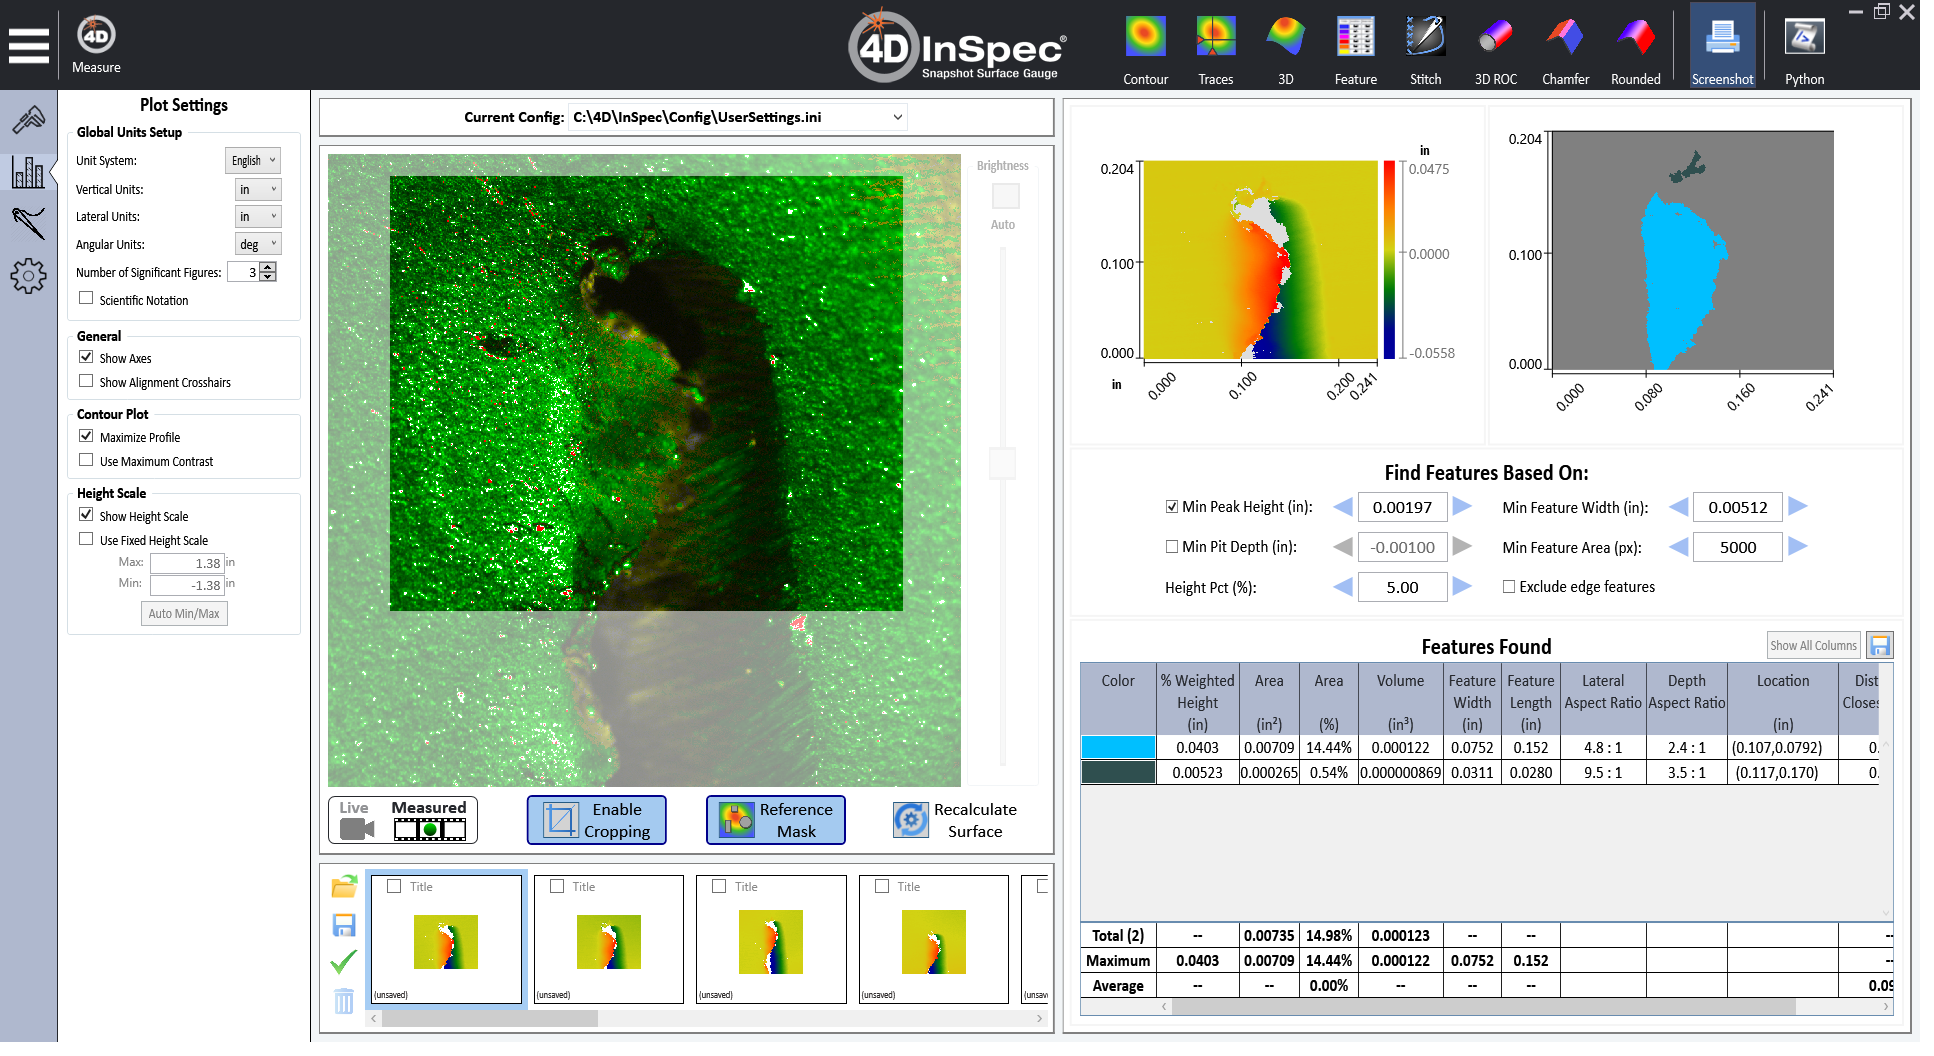
The 4D InSpec lets you quantify the location and amount of displaced material around these damaged zones. Use the adjustable thresholds to determine the amount of material above the plane of the surface or above of a specified vertical limit.
Find Defects Over a Large Area of the Surface
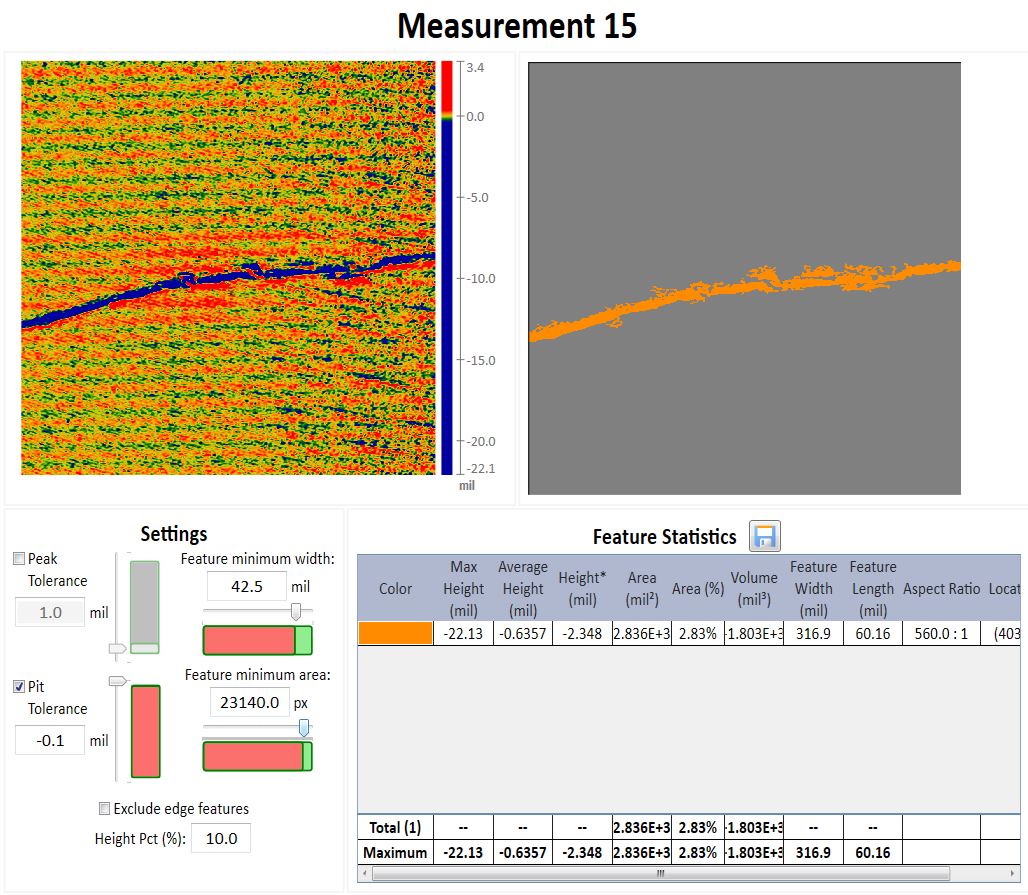
The 4D InSpec’s large field-of-view (0.3 x 0.3″, 7 x 7 mm) and depth-of-field (up to 0.1″, 2.5 mm) lets you characterize multiple burrs and areas of displaced material, in seconds. Capture both the displaced material and the depth, volume and surface of the dents and scratches left behind, in a single measurement.
When the application requires, the 4D InSpec XL has an even larger field-of-view (0.6″ x 0.6″ (15mm x 15mm), and and a larger depth-of-view of 0.35″ (9mm) as well.

3D optical measurement provides quantitative production data
3D optical measurement provides quantitative measurement of surface defects, reduces measurement time, and improves accuracy and repeatability.
Traditional optical measurement systems have been confined to metrology labs, limiting their usefulness for measuring larger components. These systems also tend to require a steep learning curve to use.
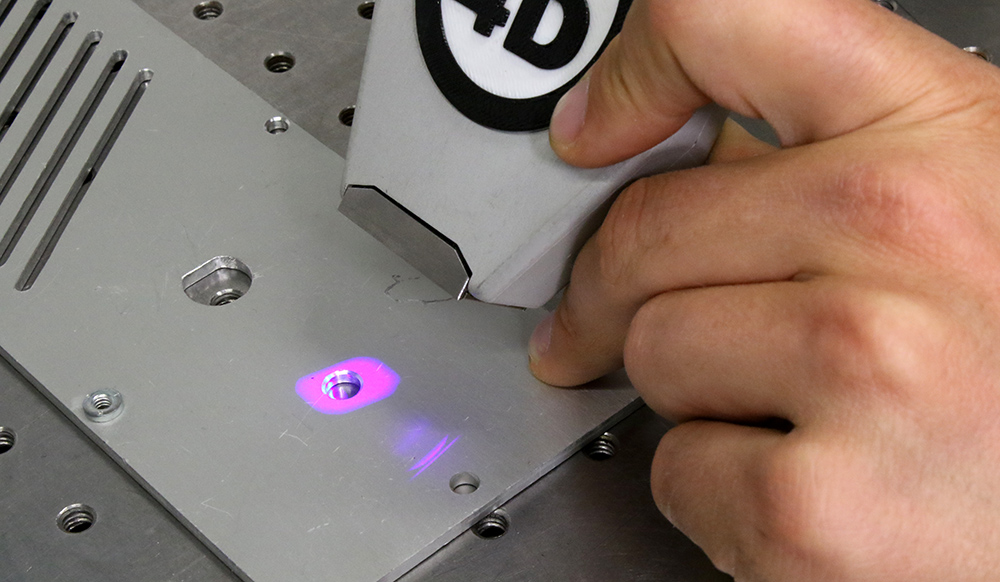
The 4D InSpec Surface Gauge, however, is a one-button, handheld, device for rapid measurement of scratches, nicks, bumps and other defects. The 4D InSpec is designed for shop floor measurement in production and in repair/overhaul facilities.
Added Technical Resources
3D Shop Floor Characterization of Radii and Chamfers
A published paper on how best to get a measurement from a chamfered surface or a corner that needs edge break.
Developing Chamfer and Edge Break Measurements
Manufacturers of many types can benefit from measuring edge break. To help those customers, we are testing our Edge Break application for 4D InSpec.
Learn more about the products
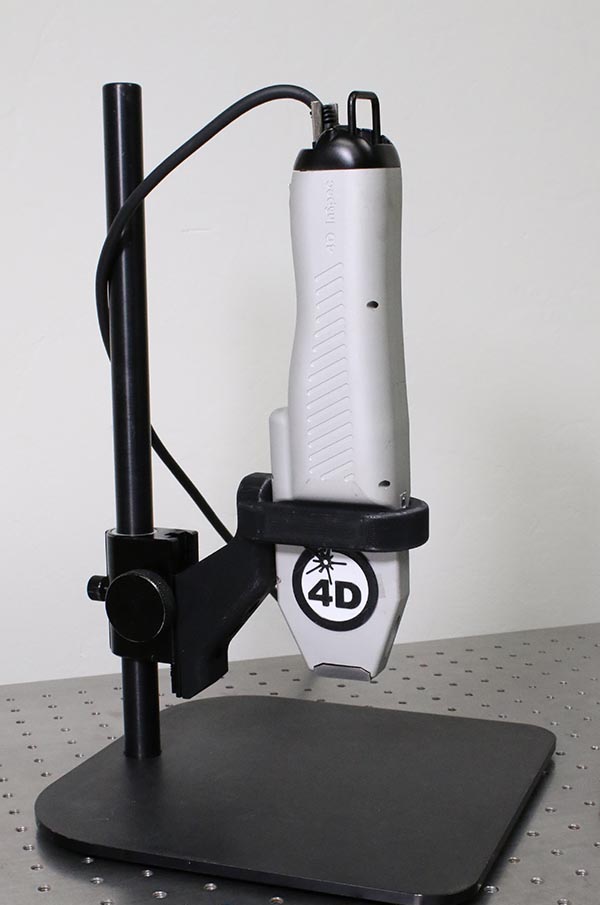
4D InSpec
4D InSpec provides non-contact measurement of surface features and defects, on the factory floor, in machine shops and in field service applications.

4D InSpec XL
A handheld defect inspection gauge that works like 4D InSpec standard, but with a larger field of view, to measure wider and deeper features.
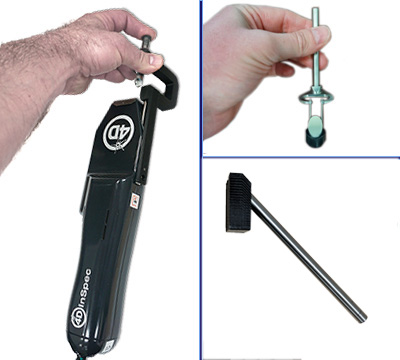
InSpec Accessories
Accessories for improving portability, ease of use, or for accessing hard to reach measurements like sidewalls and through-holes.
Get In Touch
(520) 294-5600
Location
3280 E Hemisphere Loop, Ste 146
Tucson, AZ 85706
4Dinfo@ontoinnovation.com
Office Hours (Arizona Time)
Mon: 8am - 5pm
Tue: 8am - 5pm
Wed: 8am - 5pm
Thur: 8am - 5pm
Fri: 8am - 5pm
Sat: Closed
Sun: Closed

