Surface Cracks
Evaluating the width and depth of surface cracks is important for a great many materials and parts. The depth of the crack is hardest to determine, and is usually the most critical parameter.
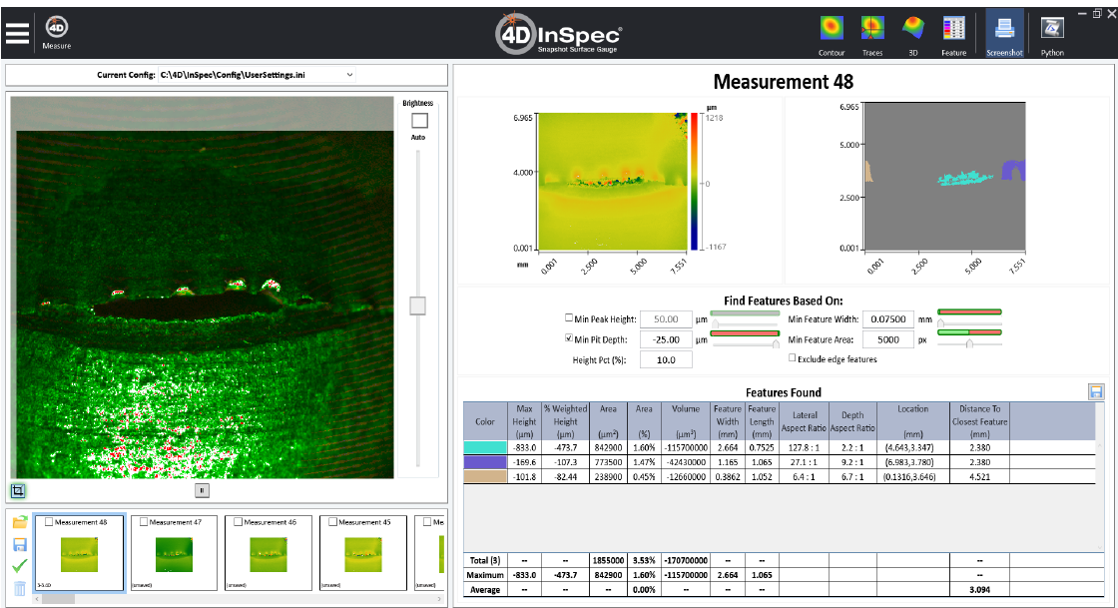
4D InSpec is able to look down into cracks with remarkable success. In the screenshot below, the crack (on the left) is measured and analyzed using the Find Features analysis screen. The software three areas that match the parameters, including a light blue area that is over 400µm deep, and adjacent areas that are offset from the surface (gray) by 170 µm (violet), and 102 µm (tan).

The feature analysis parameters are adjustable by the user by entering different minimum and maximums, so you design your own analysis, to your specific requirements.
Added Technical Resources
Working with replicas and 4D InSpec
4D InSpec can measure many of the same features you use Replica material for, with the advantage that it does it instantly, and without consumable costs.
But if you have features that are too obscured for 4D InSpec to see directly, there is good news: the gauge measures replica material in 3D too. That means you don’t need to cut a replica and use a shadowgraph, you can accurately and repeatably measure an area of concern.
Learn more about the products

4D InSpec
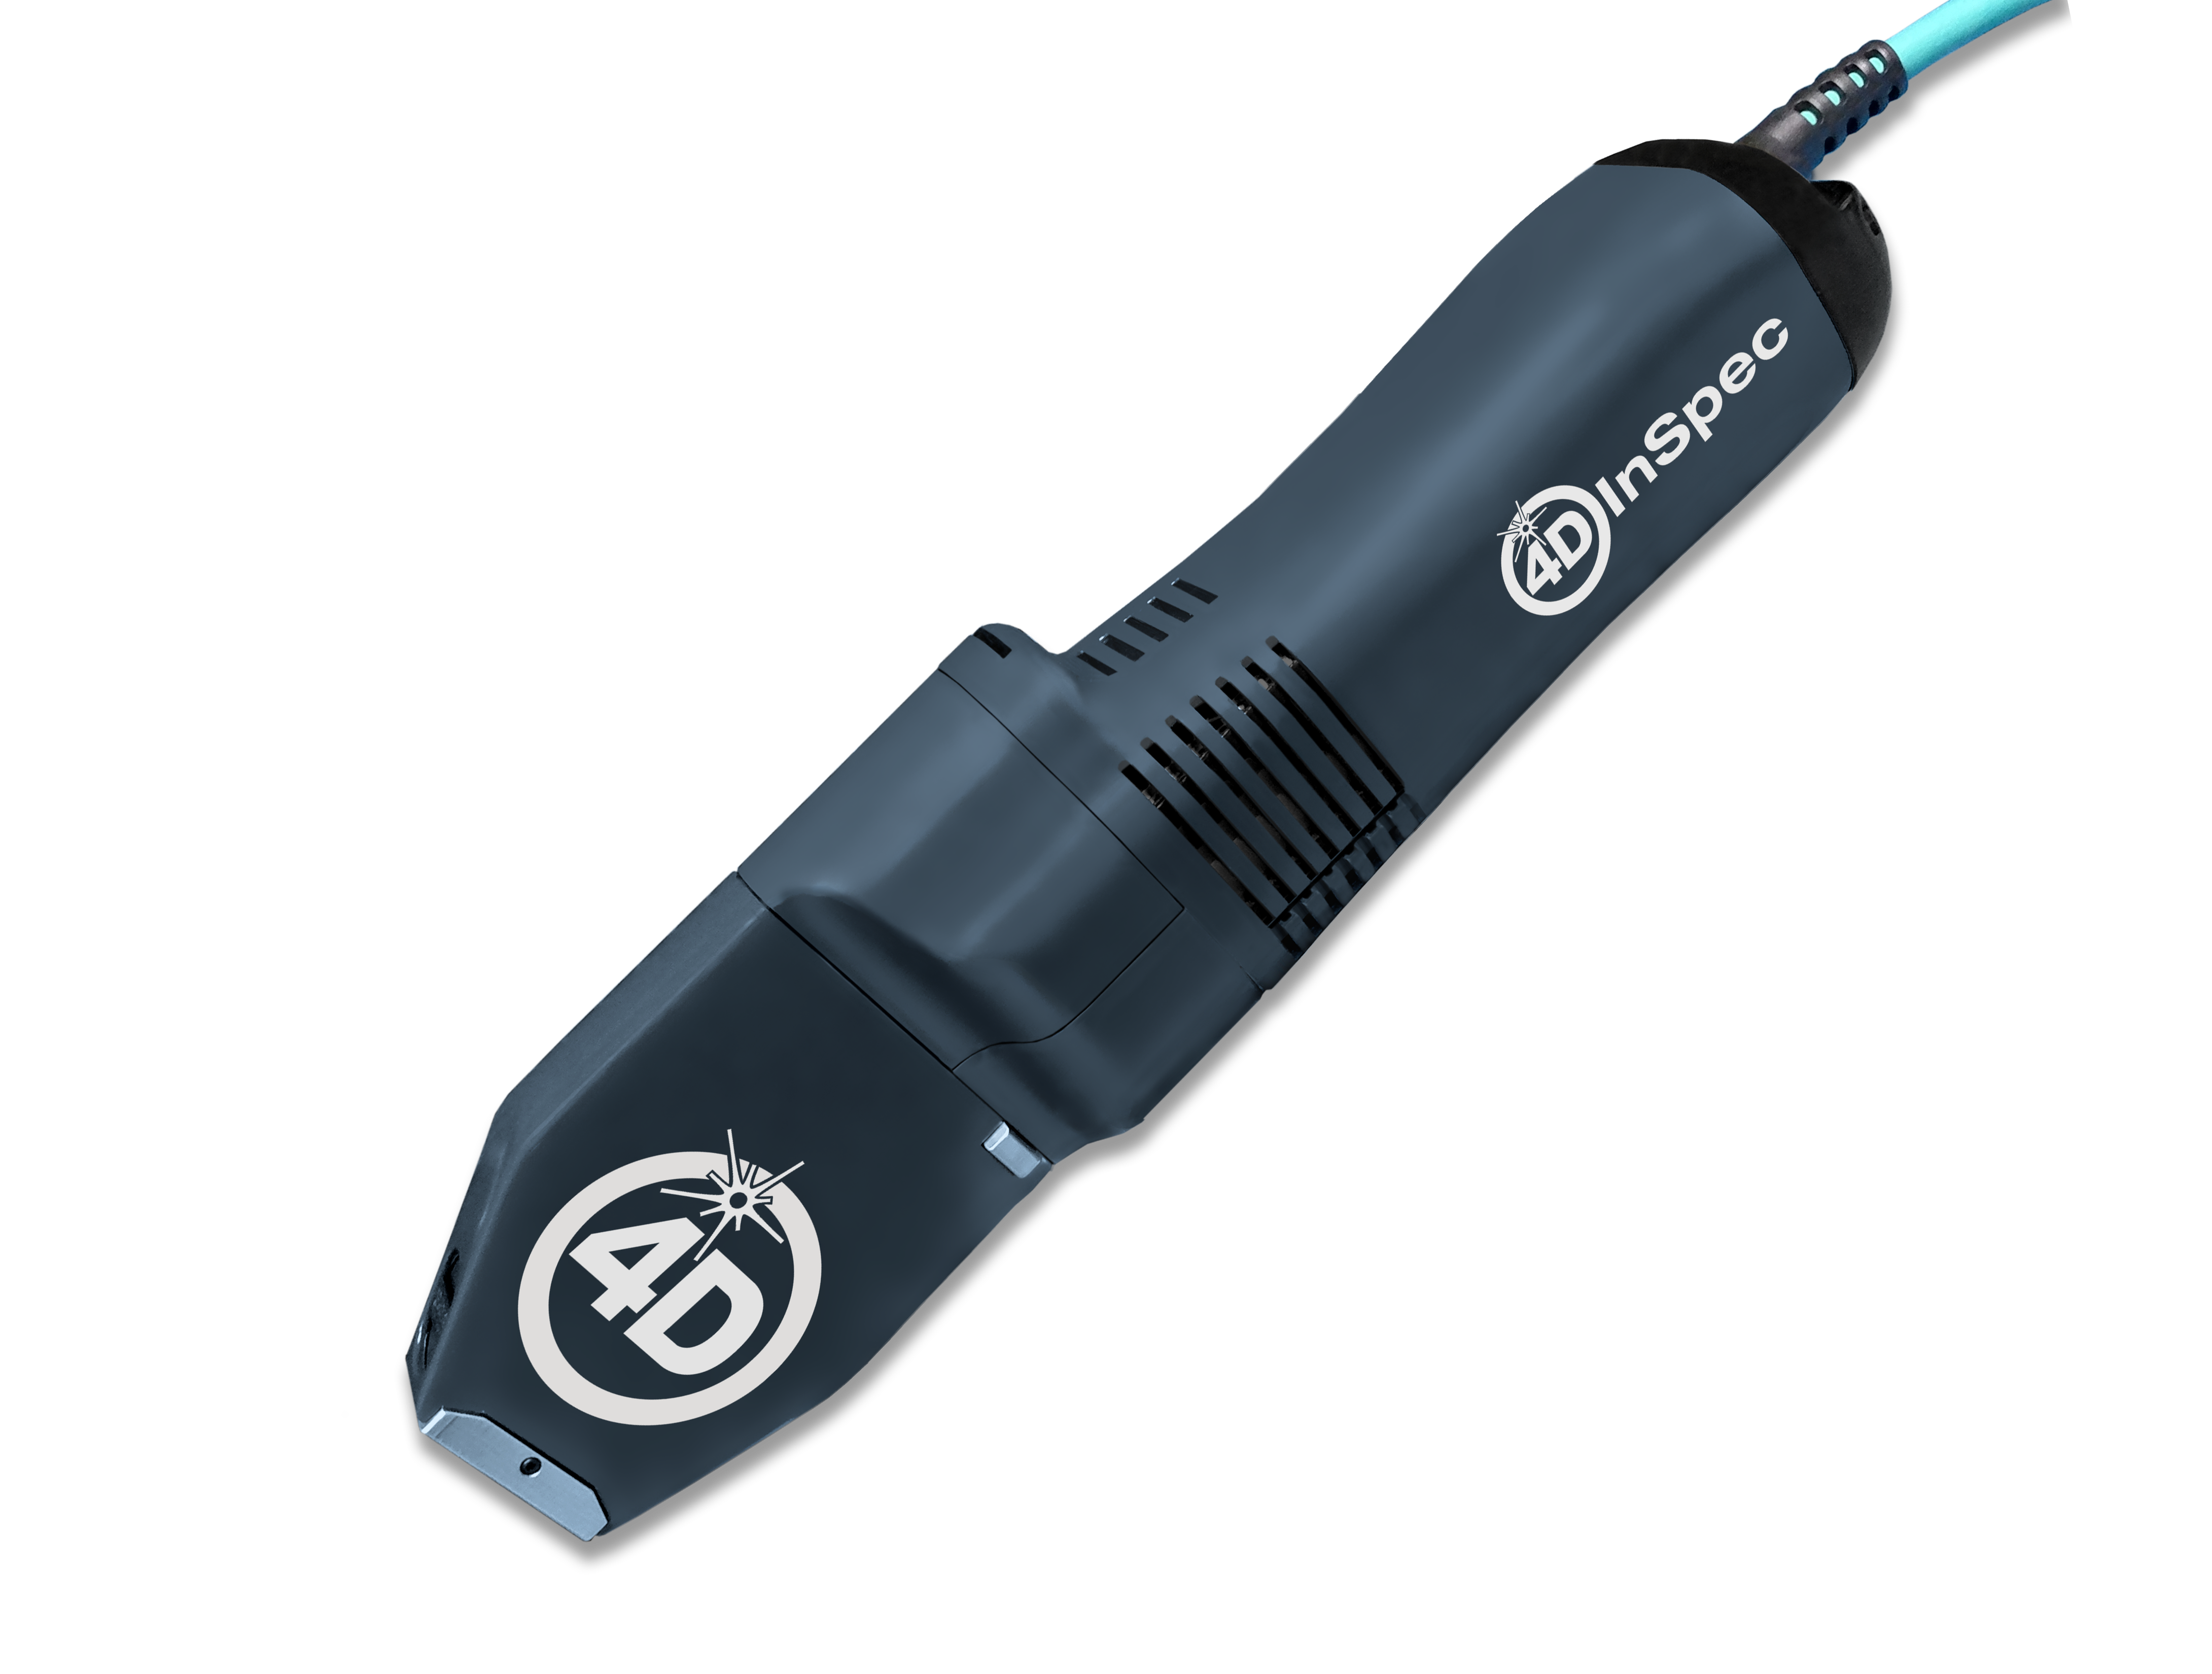
4D InSpec provides non-contact measurement of surface features and defects, on the factory floor, in machine shops and in field service applications.

4D InSpec XL
A handheld defect inspection gauge that works like 4D InSpec standard, but with a larger field of view, to measure wider and deeper features.

InSpec Accessories
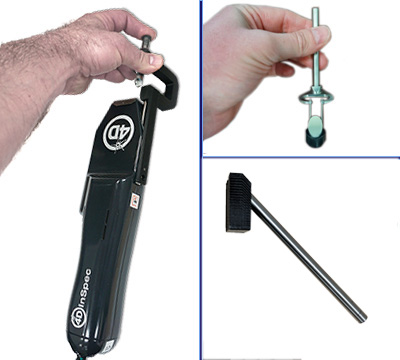
Accessories for improving portability, ease of use, or for accessing hard to reach measurements like sidewalls and through-holes.
Get In Touch
(520) 294-5600
Location
3280 E Hemisphere Loop, Ste 146
Tucson, AZ 85706
4Dinfo@ontoinnovation.com
Office Hours (Arizona Time)
Mon: 8am - 5pm
Tue: 8am - 5pm
Wed: 8am - 5pm
Thur: 8am - 5pm
Fri: 8am - 5pm
Sat: Closed
Sun: Closed
