Scratches
For most users, the worry that a scratch produces is a question of whether it is too deep to leave the part serviceable—perhaps after grinding and backfilling to remove it.
A 3D measurement is superior to a pocket stylus, a comparator, or a fingernail test because it is able to report scratch depth over a continuous length, independent of user error or discoloration.
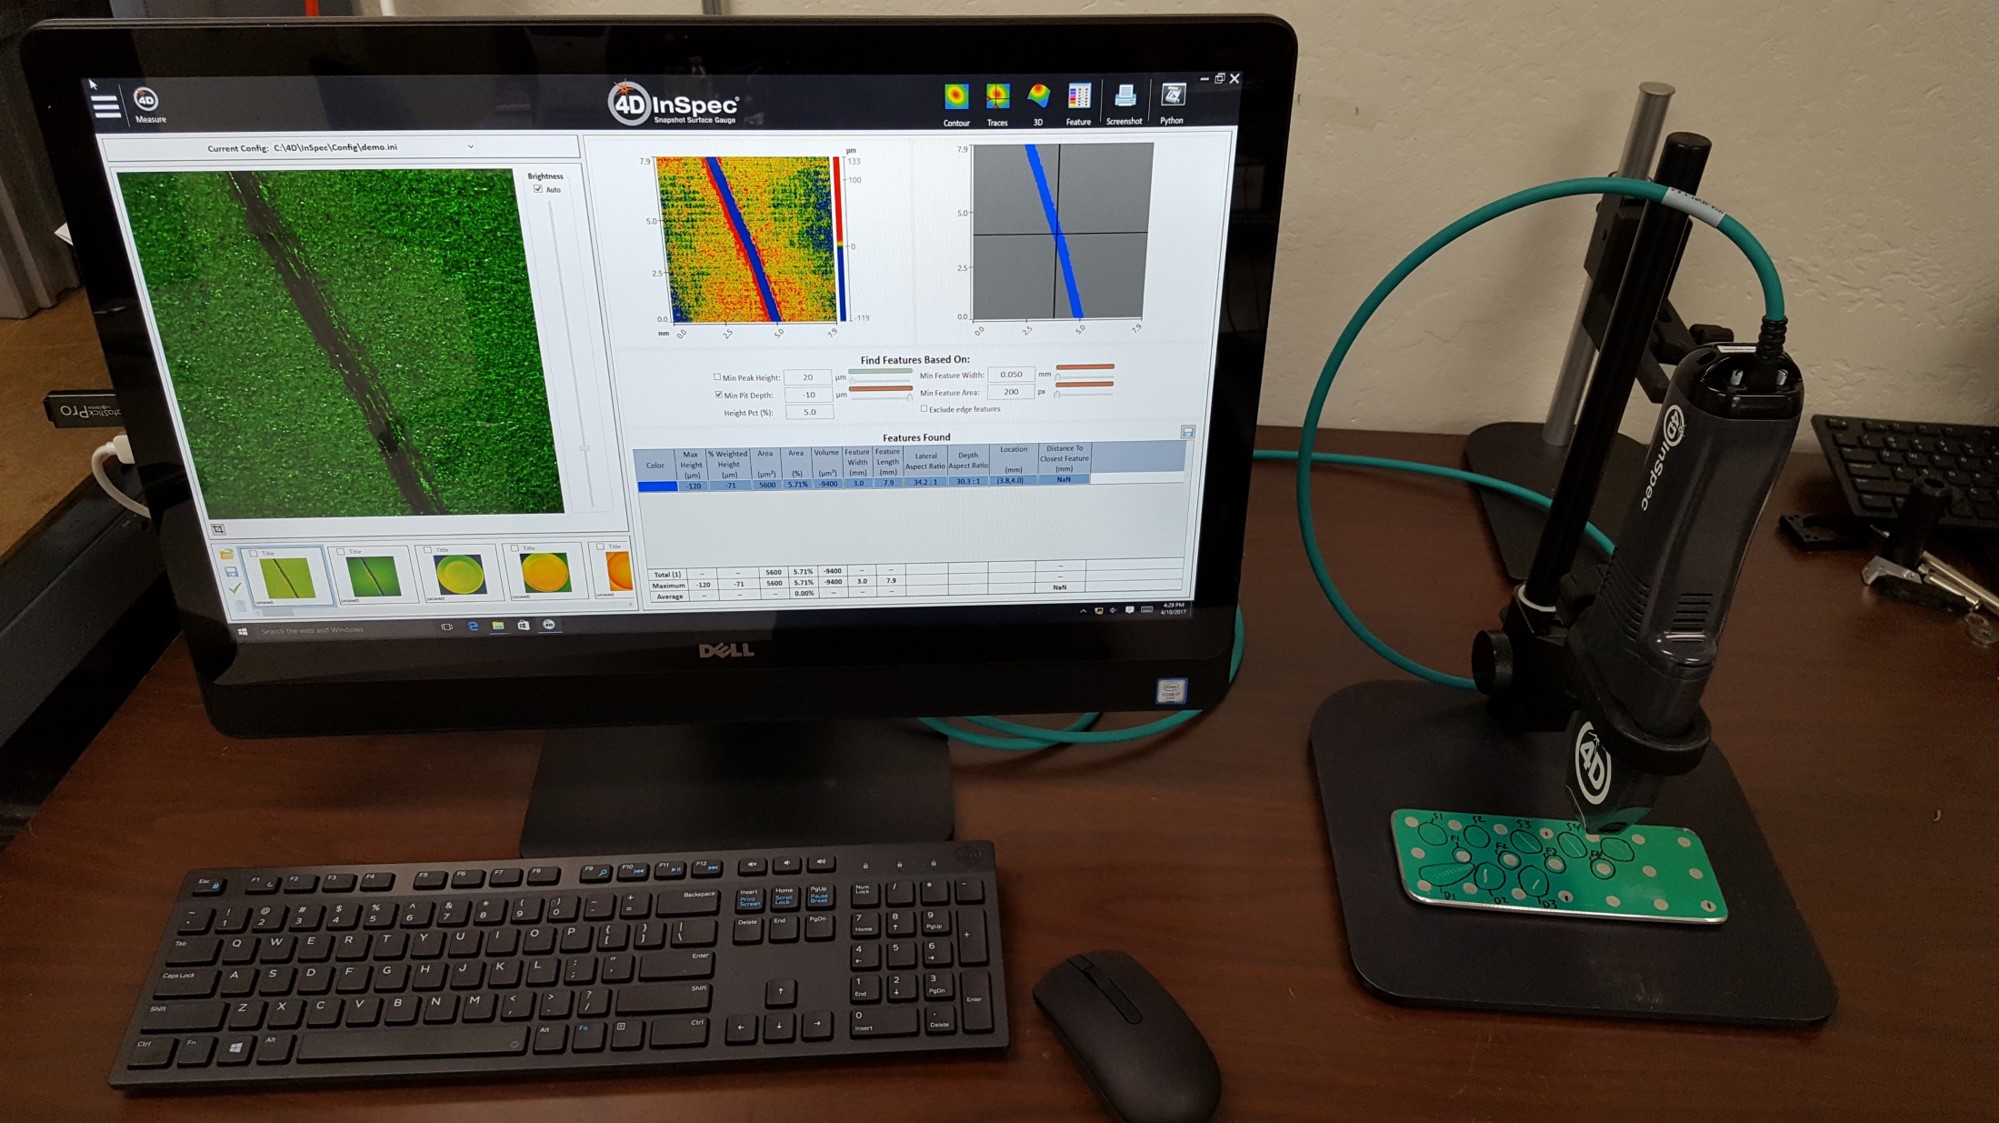
Above and below, a scratch on PCB is measured to 72 microns depth (2.83 thousands of an inch).
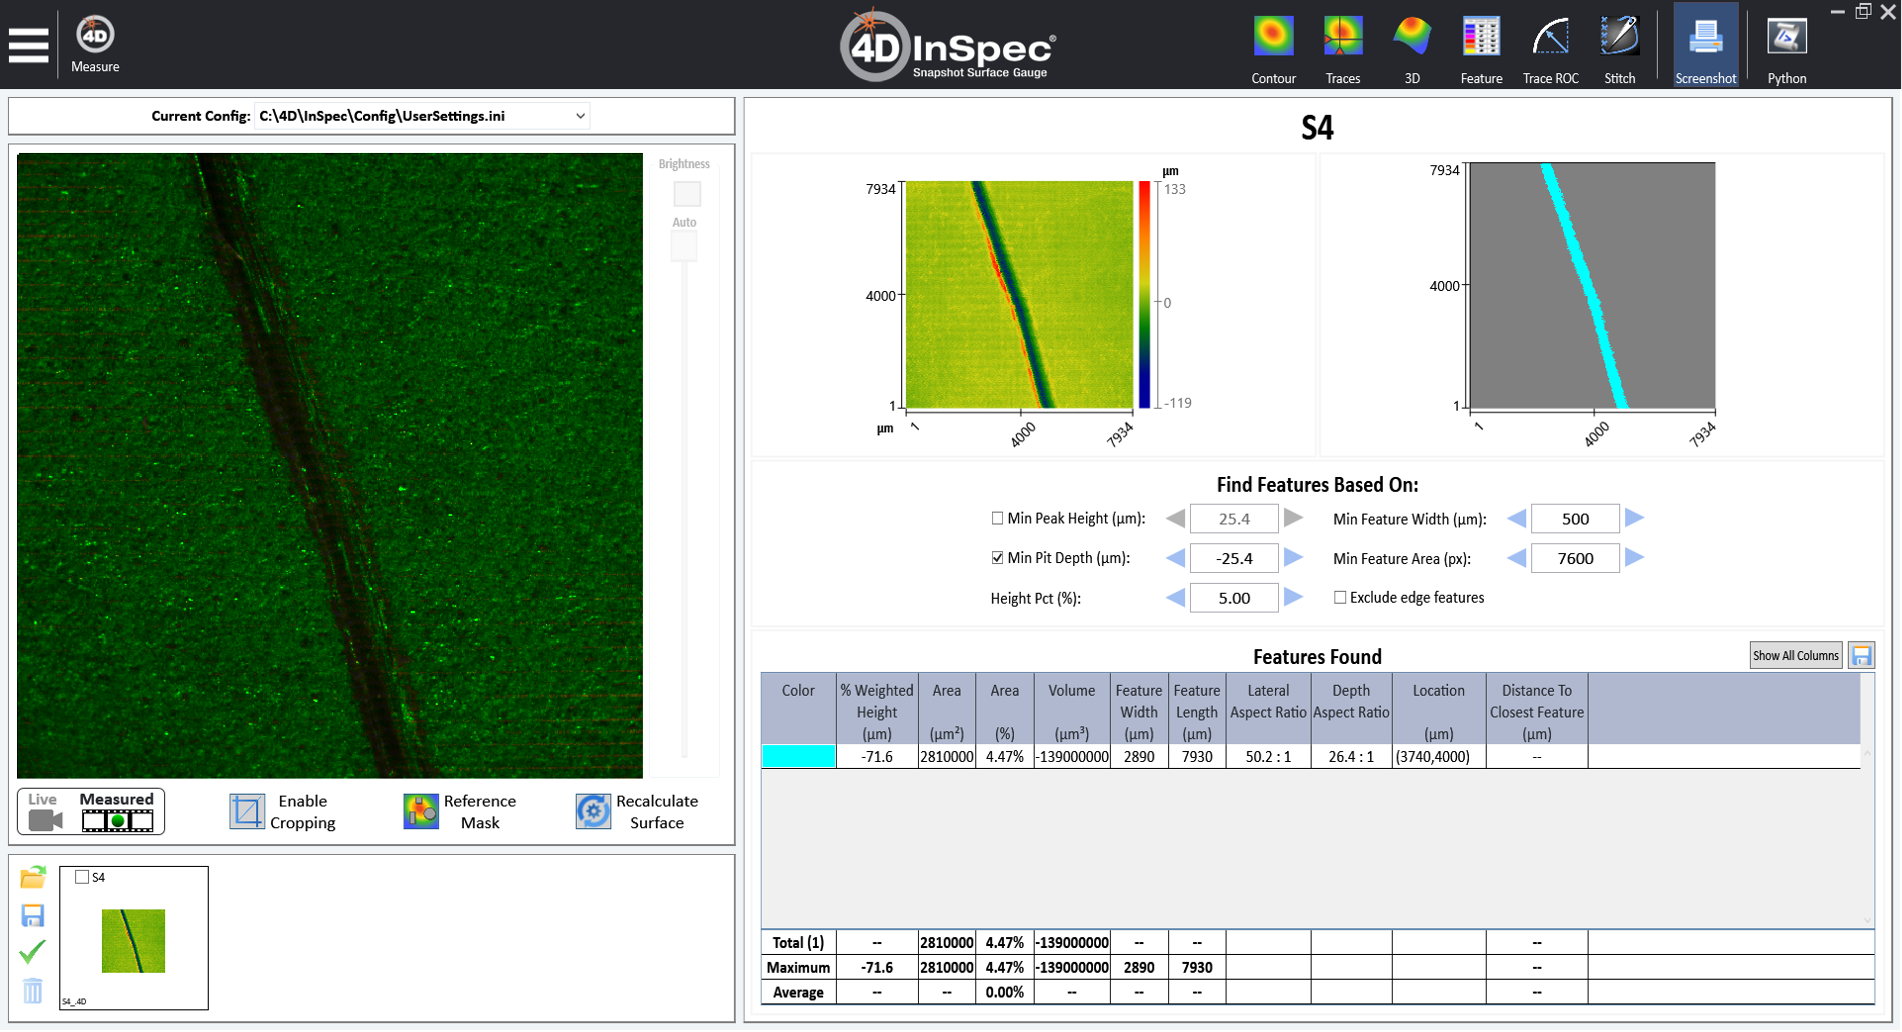
Below, a scratch is automatically detected and analyzed in the measurement, and is no more than 22 mils deep, but its average depth is only .64 mils. Also reported are the area of the scratch, its volume and aspect ratios.
Added Resources
Measuring Surface Features with High Resolution in Factory Environments
Because of the lack of rapid, accurate, shop floor measurement, inspectors often lack confidence in their assessments. The overly cautious estimations that result mean that rejection rates are typically much higher than necessary.
Analyzing 3D defects in machined parts with reference masks
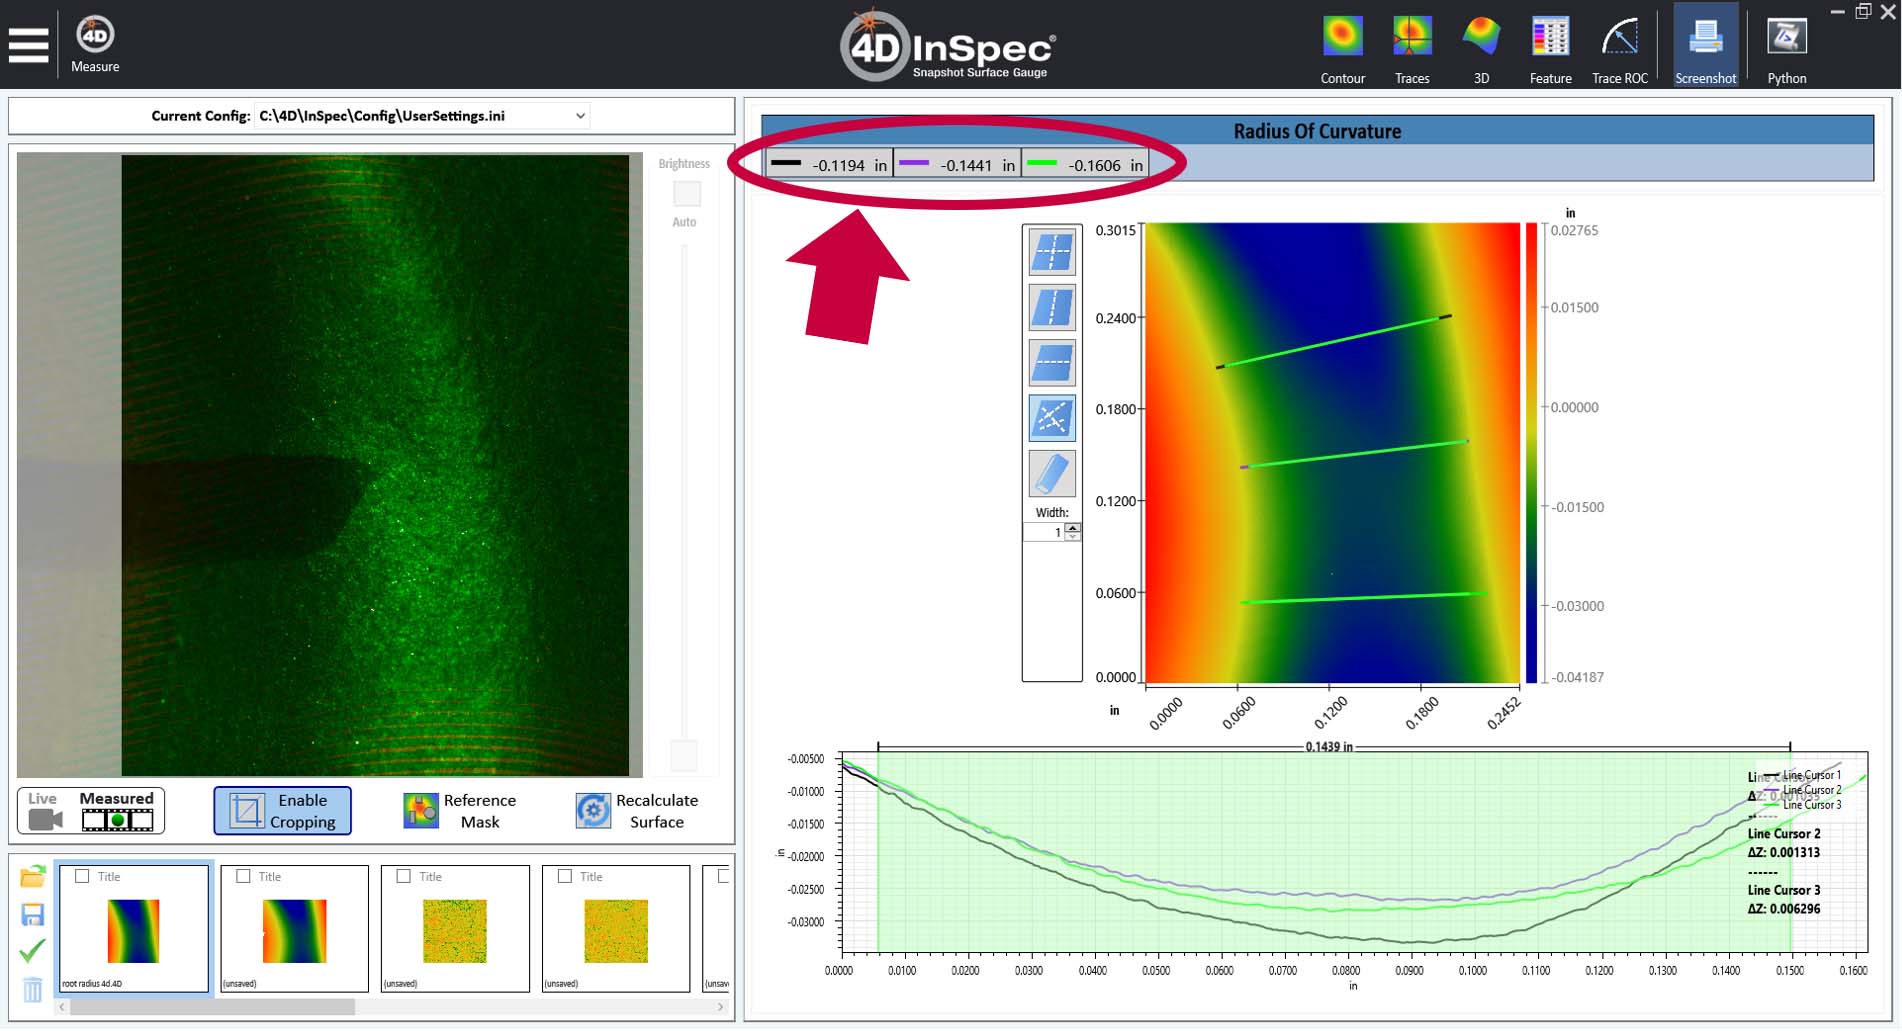
This short video shows you how quickly you can compensate for effects of a cylinder in the analysis software.
Learn more about the products
4D InSpec
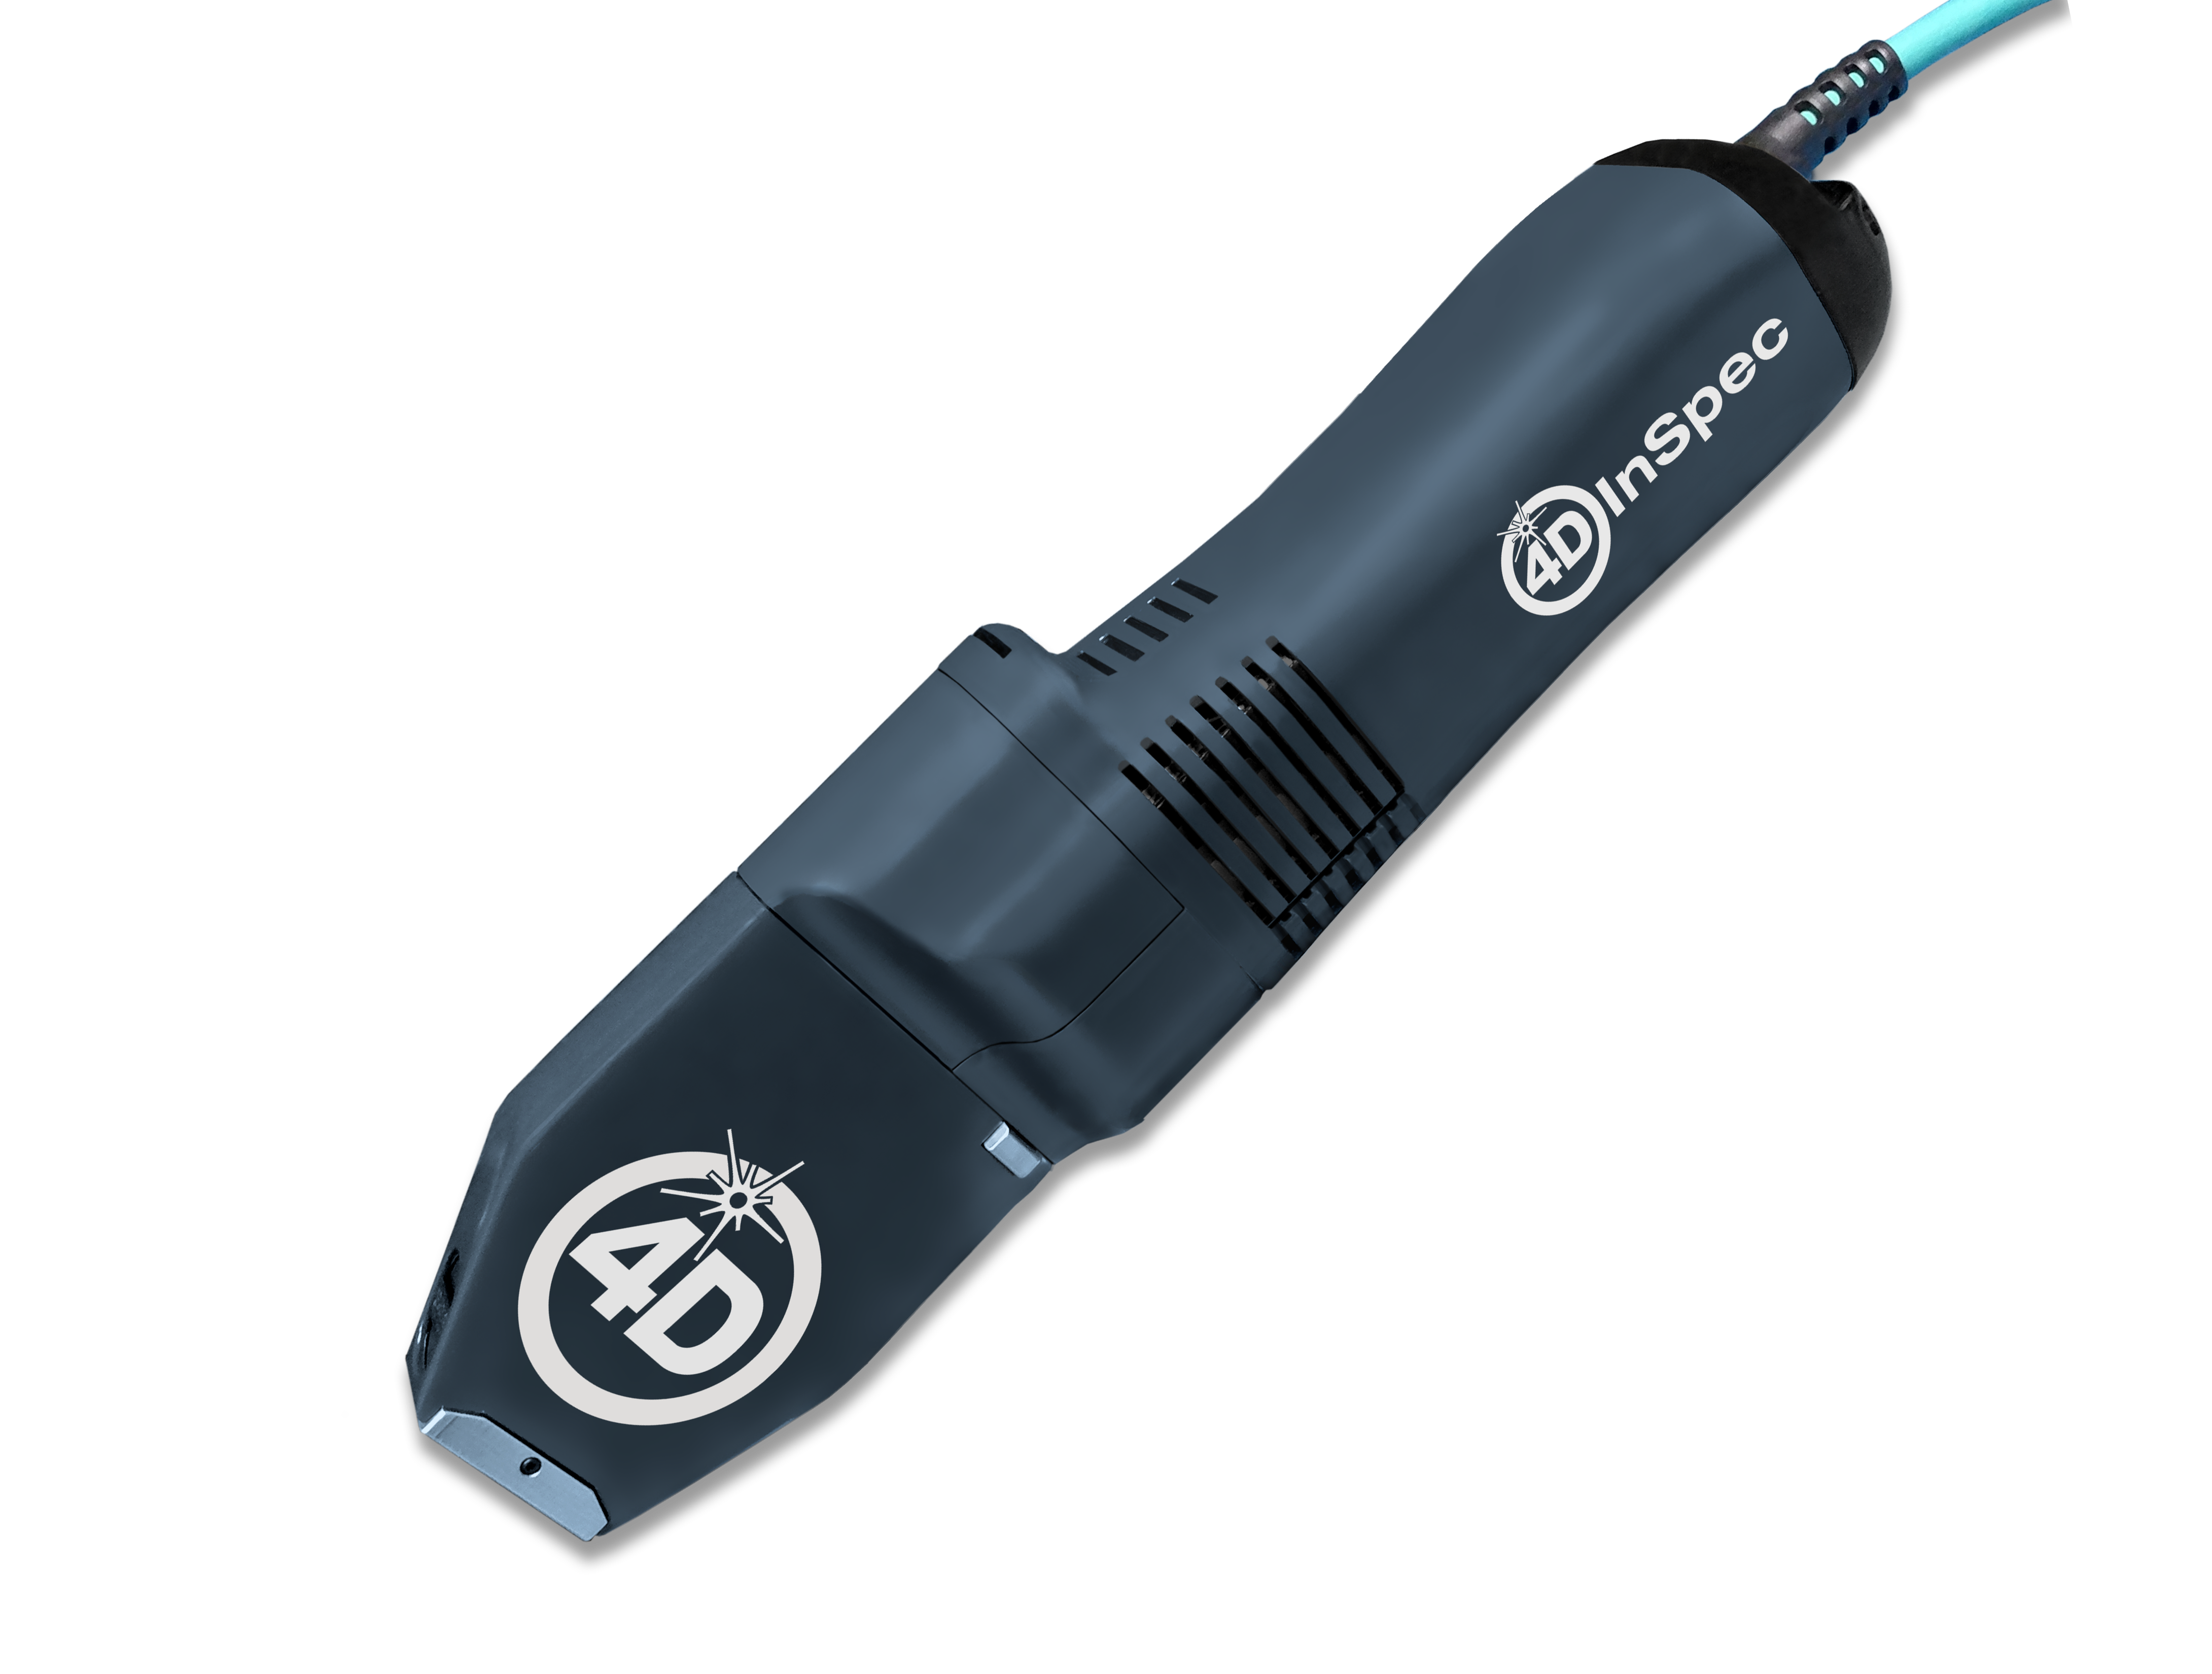
4D InSpec provides non-contact measurement of surface features and defects, on the factory floor, in machine shops and in field service applications.

4D InSpec XL
A handheld defect inspection gauge that works like 4D InSpec standard, but with a larger field of view, to measure wider and deeper features.
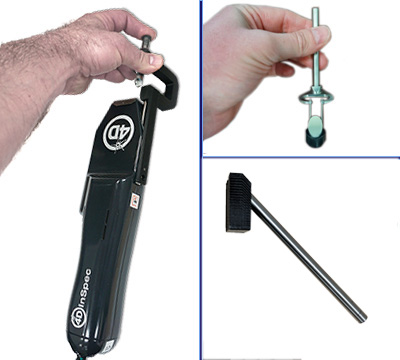
InSpec Accessories
Accessories for improving portability, ease of use, or for accessing hard to reach measurements like sidewalls and through-holes.
Get In Touch
(520) 294-5600
Location
3280 E Hemisphere Loop, Ste 146
Tucson, AZ 85706
4Dinfo@ontoinnovation.com
Office Hours (Arizona Time)
Mon: 8am - 5pm
Tue: 8am - 5pm
Wed: 8am - 5pm
Thur: 8am - 5pm
Fri: 8am - 5pm
Sat: Closed
Sun: Closed
