Jan 29, 2021 | How-To, News, Products, Videos
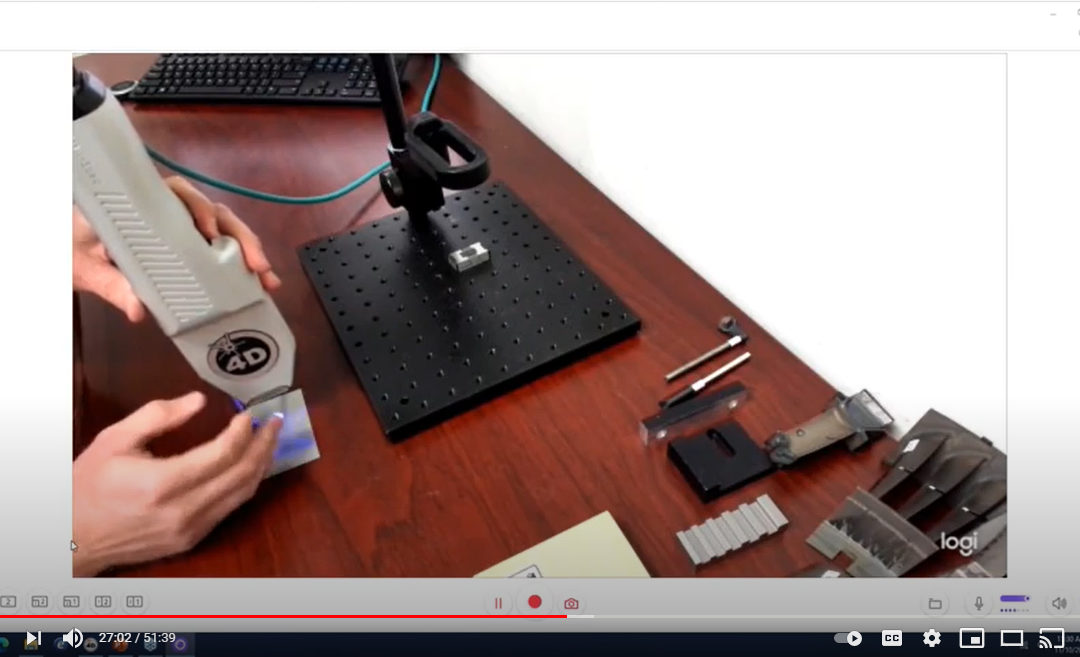
How to Better Control Burrs and other Critical Defects This live discussion of using a 3D optical measurement gauge to measure burrs and other critical defects is intended to introduce manufacturers to quality assurance methods and measurements that provide the data...

Jan 29, 2021 | How-To, Products, Service & Support, Videos
Calibrating Procedure for 4D InSpec XL If your 4D InSpec XL is taking measurements — that is, if it’s functioning — then it’s in calibration. Because we’re using polarized light as the measurement standard, nothing can go out of...

Dec 7, 2020 | How-To, Products, Videos
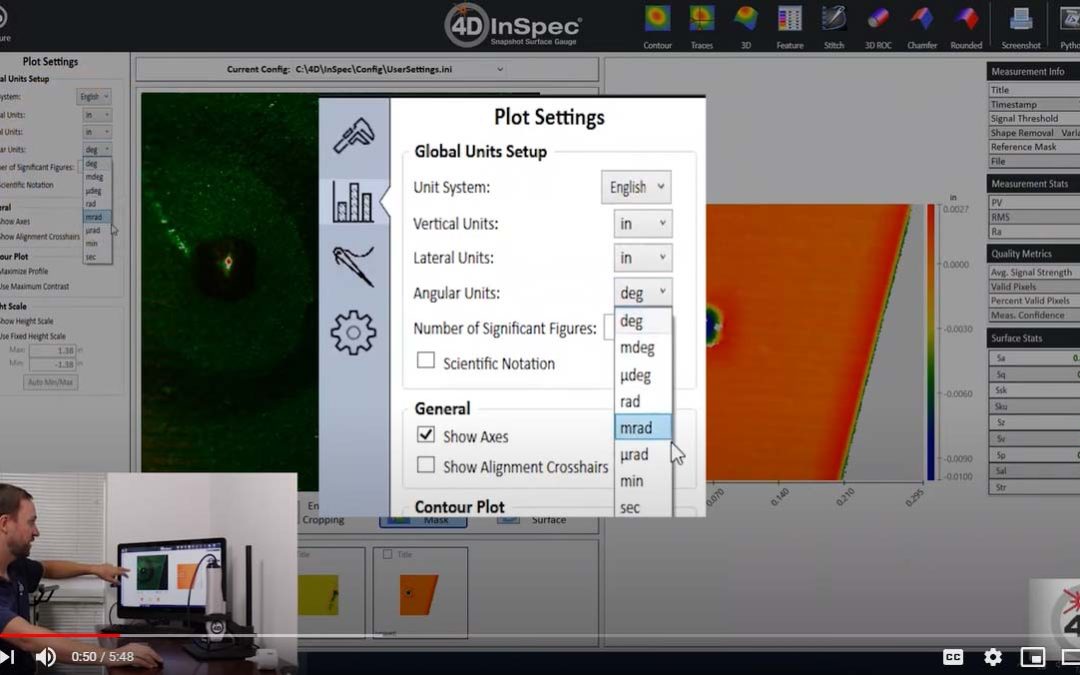
Plot options: what they mean and how to change them Application Engineer Jared Wheeler walks us through all the options for plots. You’ll learn how to decide how many significant figures to use, and the effect of scientific notation on the display of parameter....

Dec 3, 2020 | News, Products, Videos
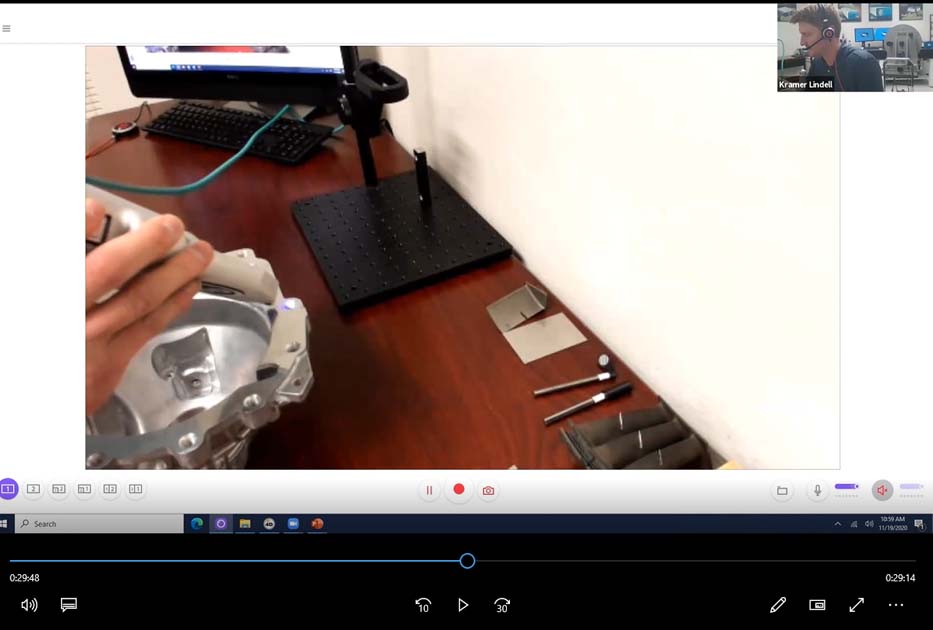
Improve machining parts Throughput, Quality and Safety Even though the in-person event couldn’t be held this year because of the pandemic, Senior Director of R&D for 4D Technology, Erik Novak gave a presentation to IMTS on the value of improving quality of...

Dec 3, 2020 | How-To, News, Products, Service & Support
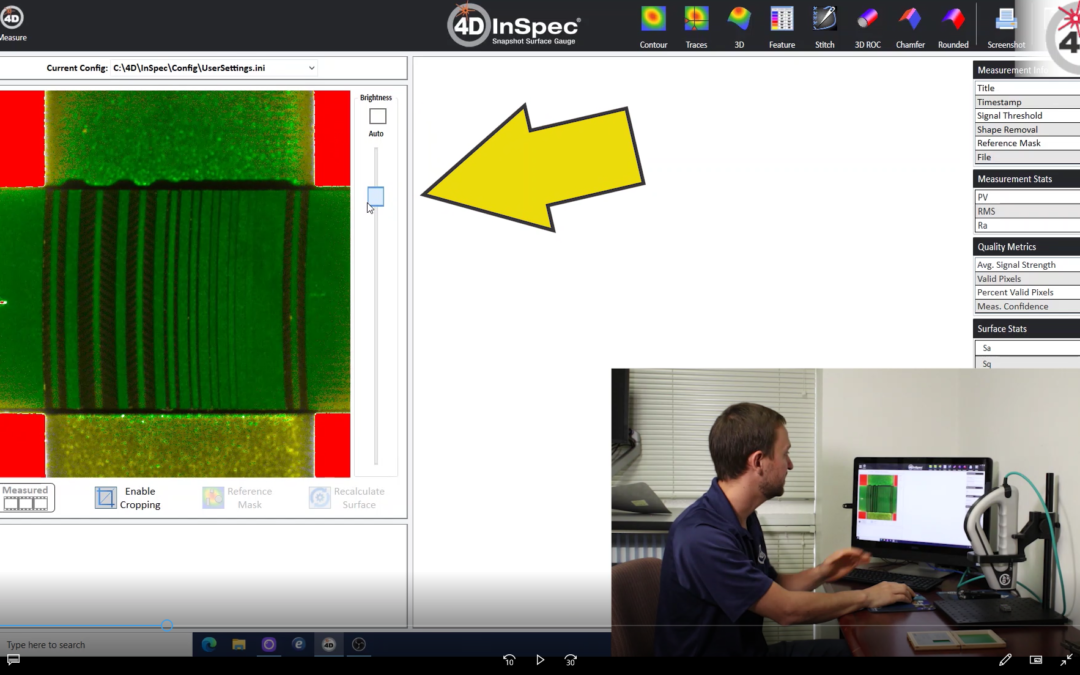
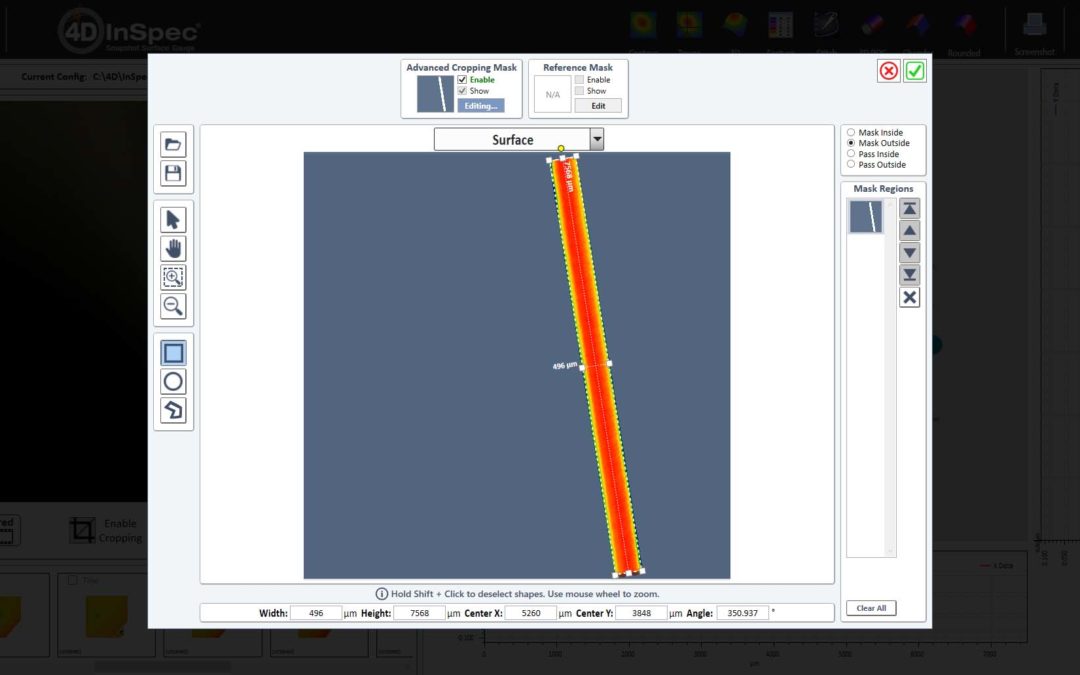
Cropping data with diagonal shapes 4D InSpec’s operating software application is scheduled for an update Below is a measurement of a turbine blade edge, which you can see on the left. It shows clearly as the sharp focus green line in the camera view. But because...
