Apr 19, 2021 | How-To, Products, Videos
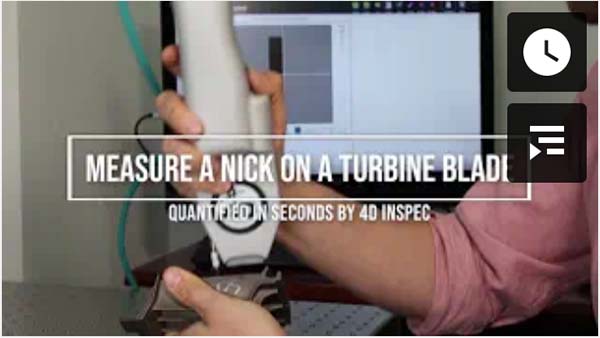
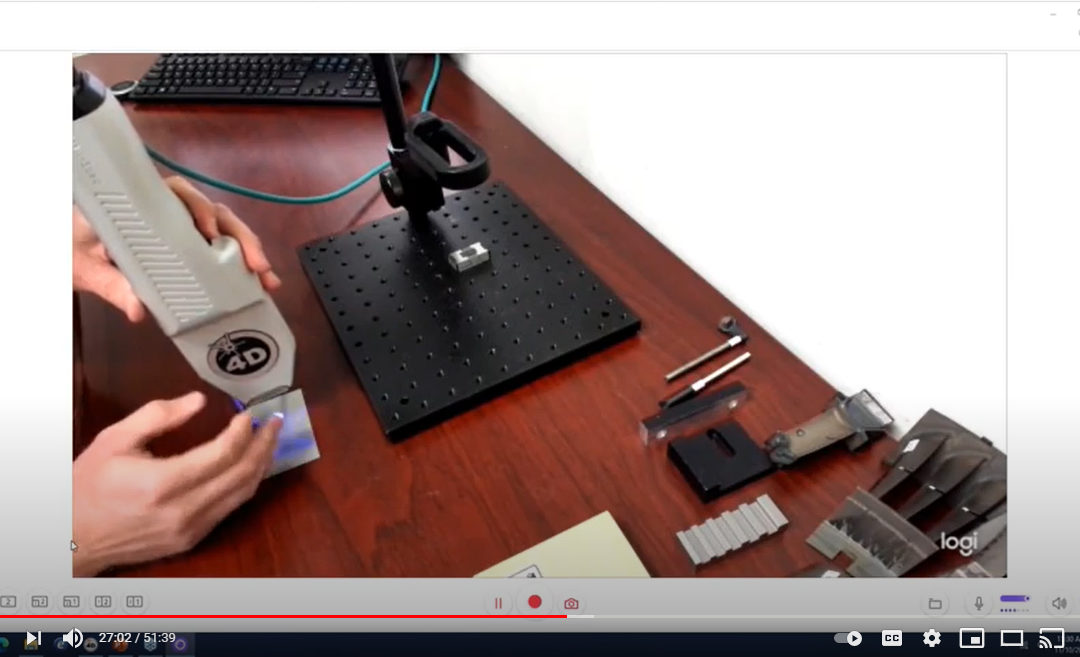
How long to get a Turbine blade measured accurately? People don’t believe us when we say the instrument is fast. So here’s a quick forty-one second video showing how long it takes to measure (precisely) a nick on the edge of a turbine blade. Keep your eyes...

Mar 17, 2021 | How-To, News, Products, Service & Support, Videos
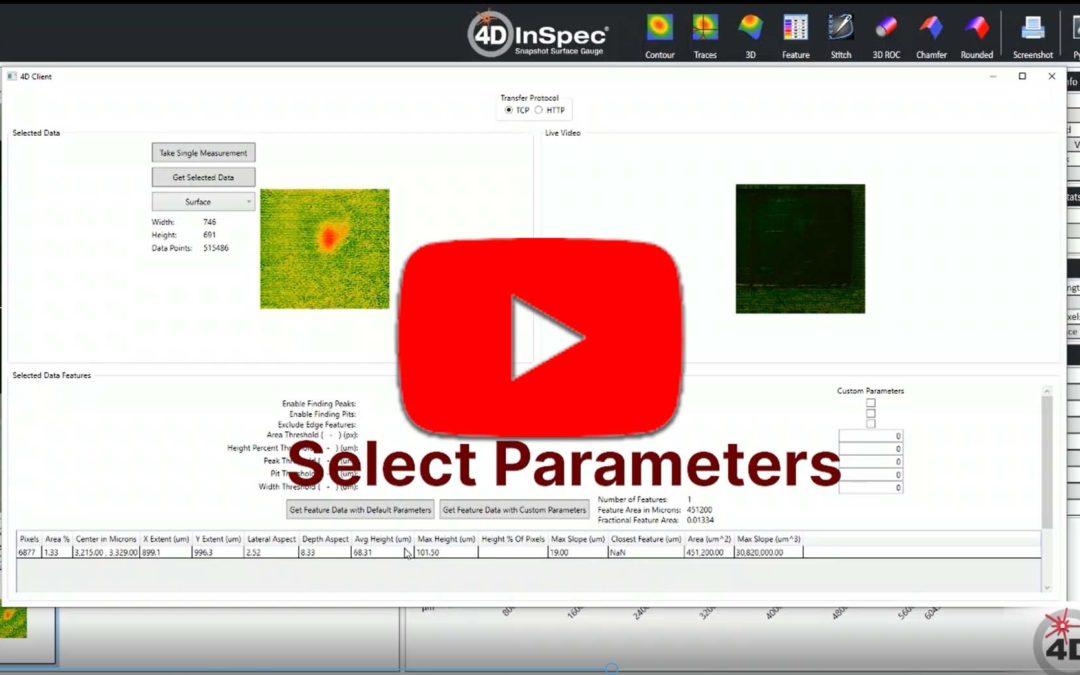
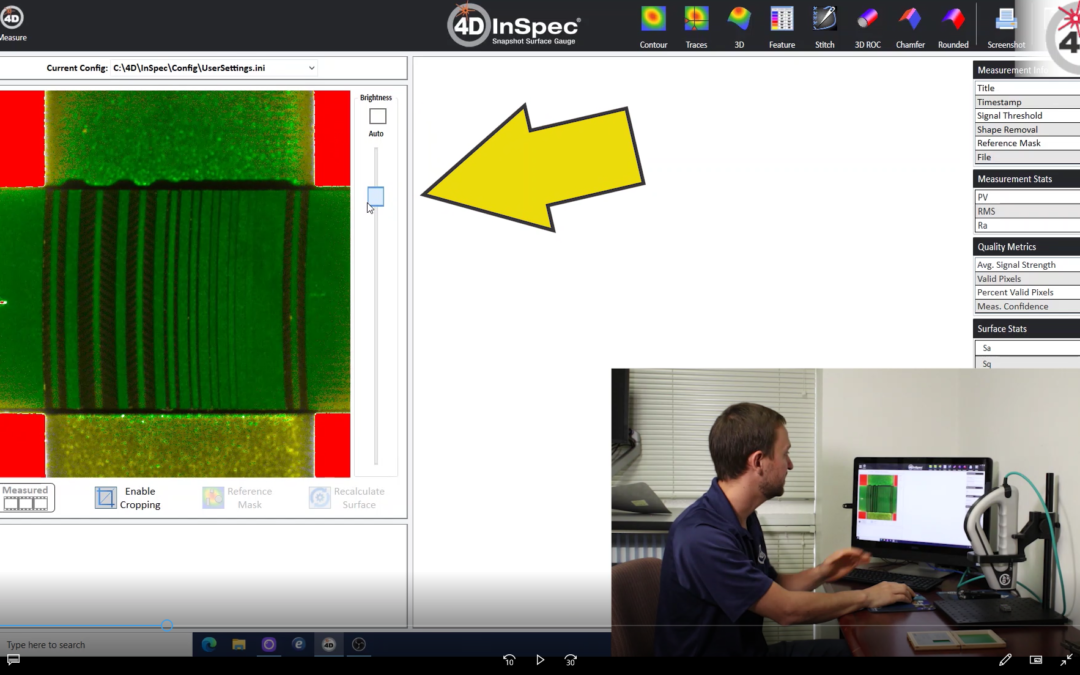
Taking measurements when you’re not near the 4D InSpec The remote-work solution? Many of our 4D InSpec customers are making large numbers of repetitive measurements every day, using robots or other automated platforms. By using a remote access API like Windows...

Feb 4, 2021 | How-To, News, Products
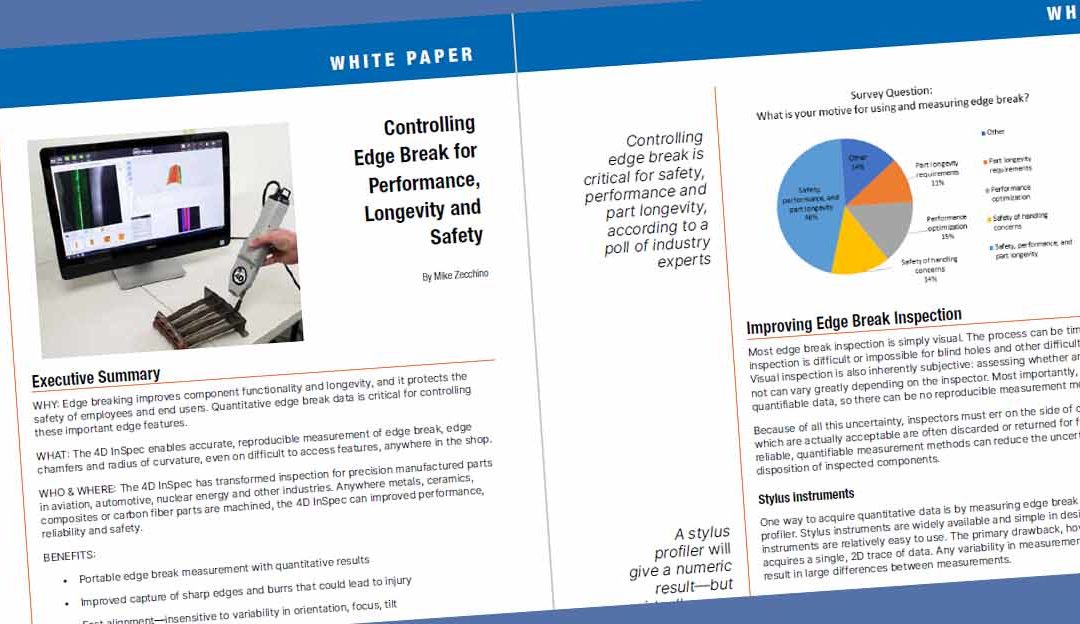
White Paper: Precision in Your Palm A white paper that covers the issues This new white paper provides an overview of what buyers need to know: Why does edge break matter in parts production? If it’s difficult, how do you assess edge break better? How do fast,...

Jan 30, 2021 | How-To, News, Products, Videos
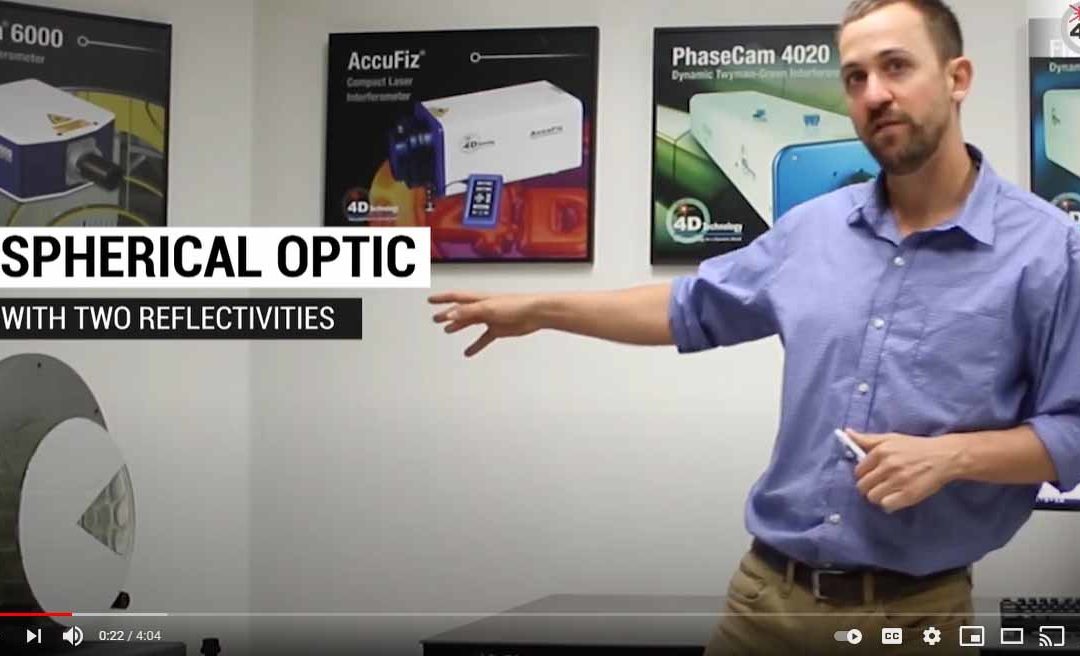
Measuring Large Optics Easily A meter-class spherical poses substantial problems for accurate shape measurements. Large cavities, turbulence control, vibration isolation, microadjustment for alignment and low reflectivity can all create headaches. In this short video,...

Jan 29, 2021 | How-To, News, Products, Videos
How to Better Control Burrs and other Critical Defects This live discussion of using a 3D optical measurement gauge to measure burrs and other critical defects is intended to introduce manufacturers to quality assurance methods and measurements that provide the data...

Jan 29, 2021 | How-To, Products, Service & Support, Videos
Calibrating Procedure for 4D InSpec XL If your 4D InSpec XL is taking measurements — that is, if it’s functioning — then it’s in calibration. Because we’re using polarized light as the measurement standard, nothing can go out of...
