Apr 12, 2022 | Applications, How-To, Products
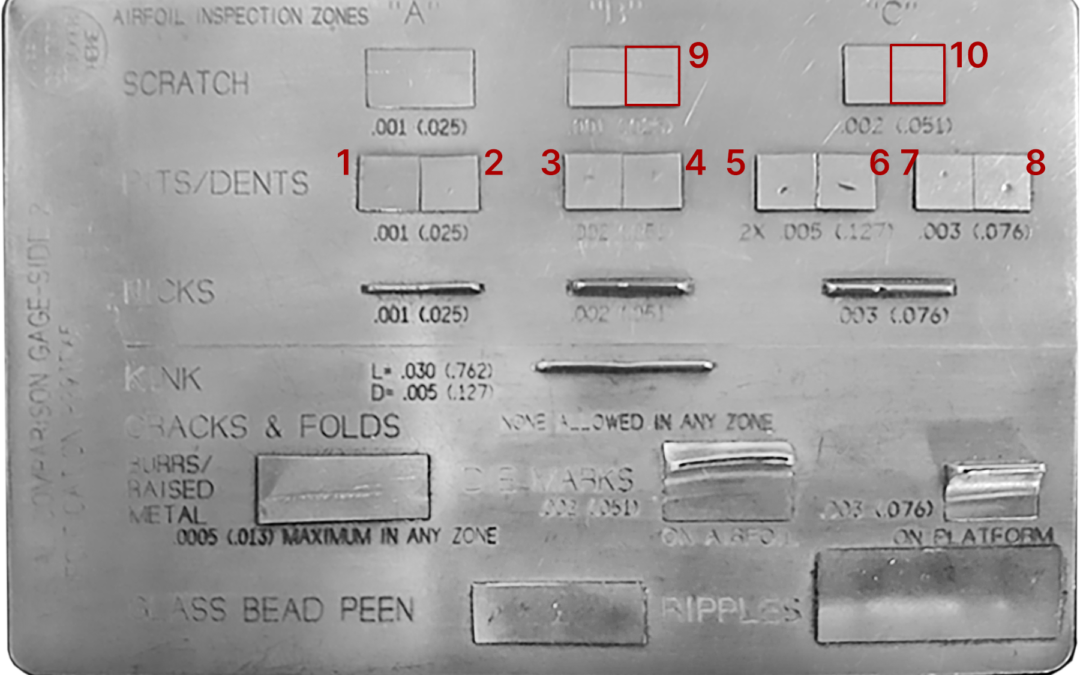
How Gage Capable is the 4D InSpec? DOWNLOAD Gage-Capable Feature and Defect Measurement with a 4D InSpec Surface Gage APPLICATION NOTE: A Gage Repeatability and Reproducibility (Gage R&R) study is used to quantify the variation in measurement data that is due to...

Dec 16, 2021 | News, Products
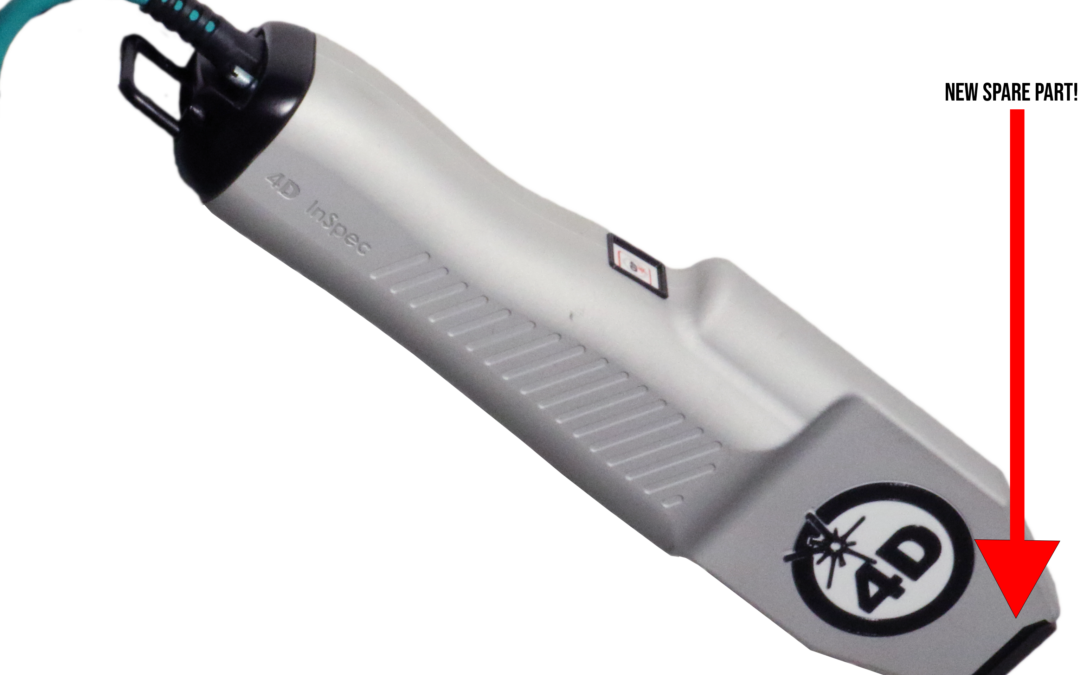
Upgrade the Glass Cover on your 4D InSpec Entropy: If something can break, it will. The glass cover of the 4D InSpec is no exception to this. To help improve the experience of users, we’ve selected a new glass cover replacement for 4D InSpecs. If you are making...

Oct 7, 2021 | News, Products
Aerontii to work with AeroSpace Industry for 4D Technology 4D Technology Corporation announces a strategic partnership with Aerontii to lead business development and expansion activities of their new automated visual inspection tools for the aerospace market. The new...

Oct 7, 2021 | Applications, How-To, News, Products, Service & Support
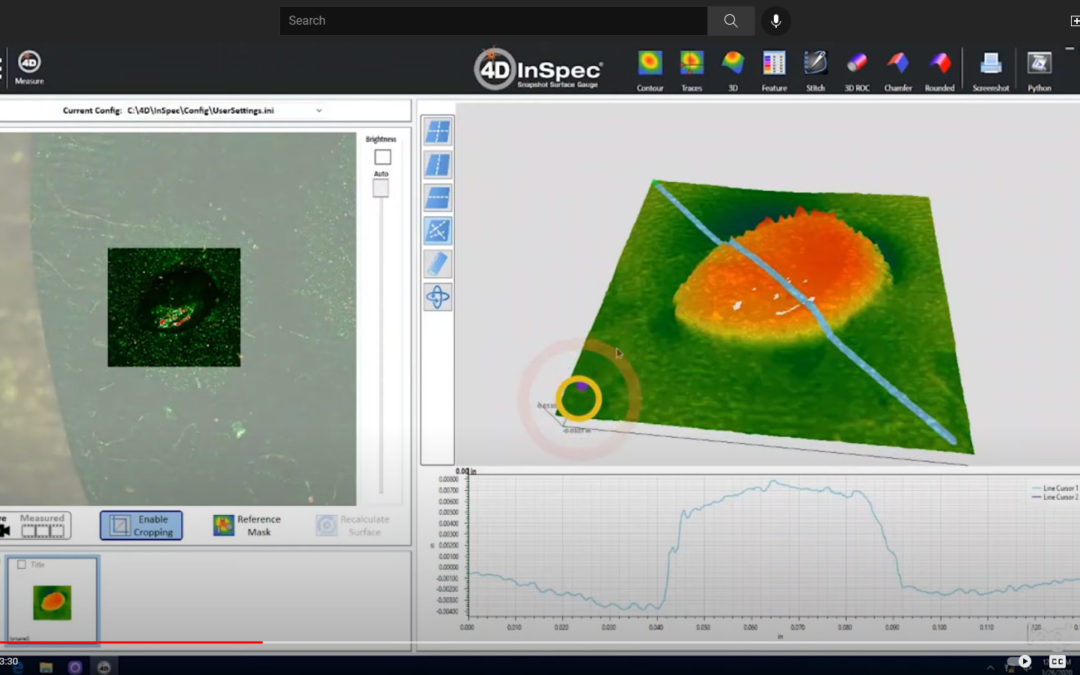
Level measurements and get accurate Profiles Erik Novak explains robot operations with 4D InSpec, and also tells you why we’re “4D”. See 4D InSpec making measurements on the robot arm at the IMTS 2018 show in Chicago. It’s a quick two and a...

Sep 20, 2021 | News, Products
4D is offering an easy way to add a 4D InSpec Surface Gauge to their metrology capabilities. Now U.S. customers can lease-to-own a complete 4D InSpec or 4D InSpec XL system, including software and computer system, with 0% financing for 24 months on approved credit....

Sep 20, 2021 | News, Products, Uncategorized
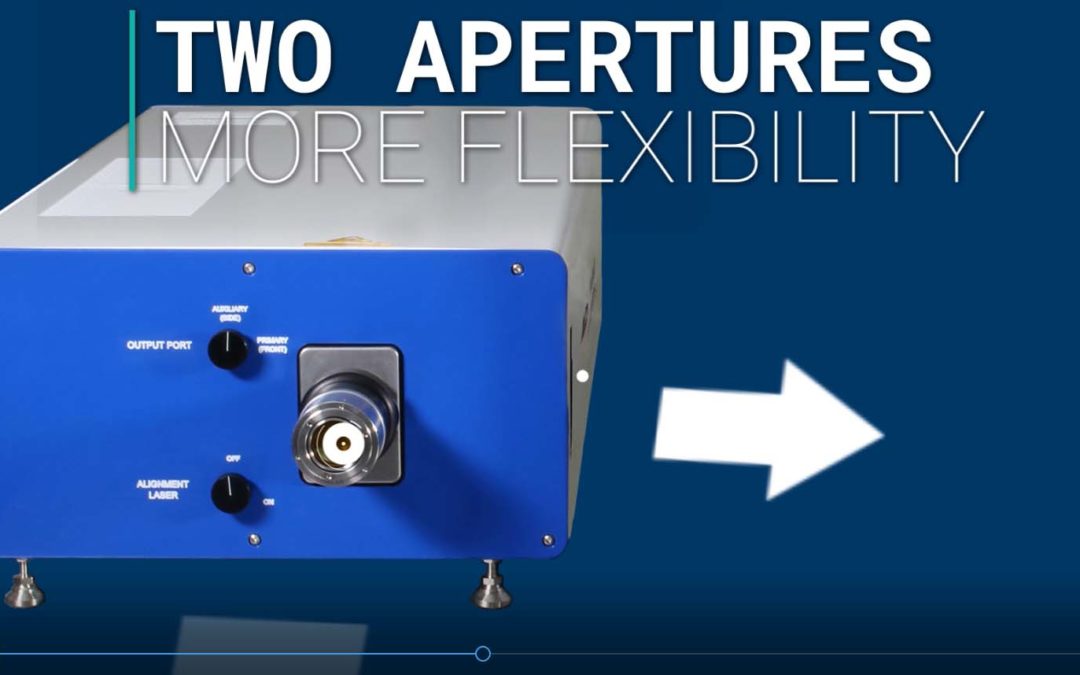
4D Technology’s PhaseCam® MWIR is a dual-port infrared interferometer with blazing fast acquisition, even in turbulence, over long paths, or in vibration. The PhaseCam MWIR measures optical surface shape and wavefront error at a 3.39 µm infrared wavelength. This...
