Surface Error of Thin and Plane-Parallel Optics
Optical Setups
Overview
Verifying the surface quality of plane-parallel windows and reticles, and glass, sapphire, or wafer substrates is simpler and faster with a short coherence laser interferometer.
When measuring plane-parallel or thin optics, all of the surfaces in the test path can cause interference. The result is a complex interferogram which makes it difficult or impossible to measure the surface.
Traditionally, this problem has been addressed by applying an anti-reflective coating to the back surface of the optic. The coating eliminated the back surface reflection so that so the front surface could be measured. The coating was then stripped and applied to the front surface so that the back surface could be measured. It was a messy, time-consuming operation that could also damage the test optic.
With a short coherence Fizeau interferometer, interference only occurs between surfaces within a narrow distance range. With a short coherence interferometer you can isolate a single surface to measure, even in multi-component systems, without having to apply surface treatments. It’s even possible to measure the back surface through the optic, so both surfaces can be measured in a single setup.
RECOMMENDED METHOD
Measuring the Error of Plane-parallel Optical Surfaces
The AccuFiz D short coherence Fizeau interferometer can be used to measure the quality of both surfaces in a single setup.

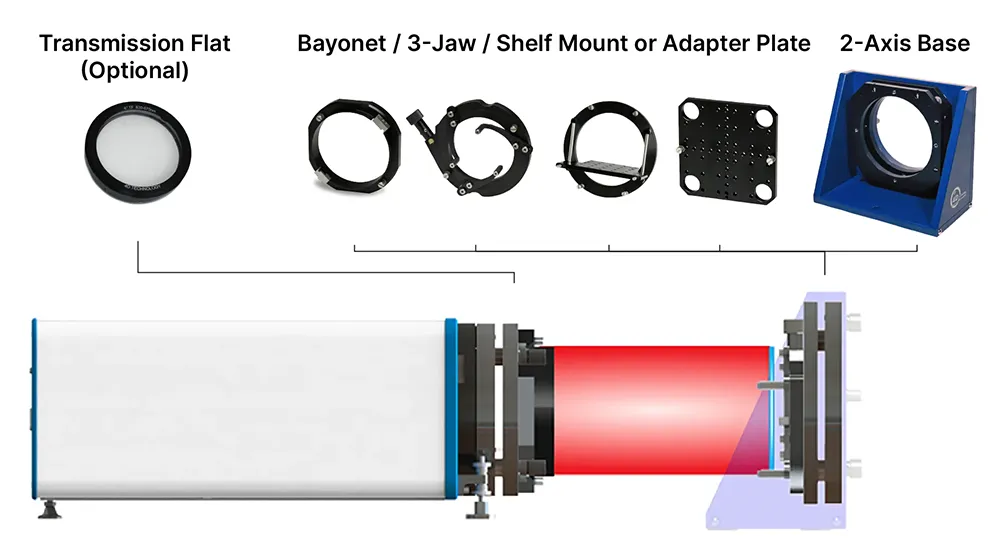
Standard setup for measuring the optical surface quality of a plane-parallel optic.
With the AccuFiz D an internal path matching system can be adjusted to produce fringes between any two parallel surfaces in the beam path, such as the transmission flat and the front surface, or the transmission flat and the back surface.
A “remote cavity” measurement can also be achieved by setting the path match to the optical thickness of the test optic. The front and back surfaces then become the reference and test, and no transmission optic is required. A remote cavity measurement also enables accurate measurement of optical thickness and homogeneity.
The maximum cavity length for measurements with the AccuFiz D is 2 meters.
Required Equipment

| Required Components | |
| AccuFiz D Short Coherence Interferometer | More Information |
| Transmission Flat (not required for remote cavity measurement) | Specifications |
| 2-Axis Base with Tip/Tilt | Specifications |
| Bayonet , 3-Jaw or Shelf Mount, or Adapter Plate | Specifications |
Other Considerations
Measuring Larger Optics
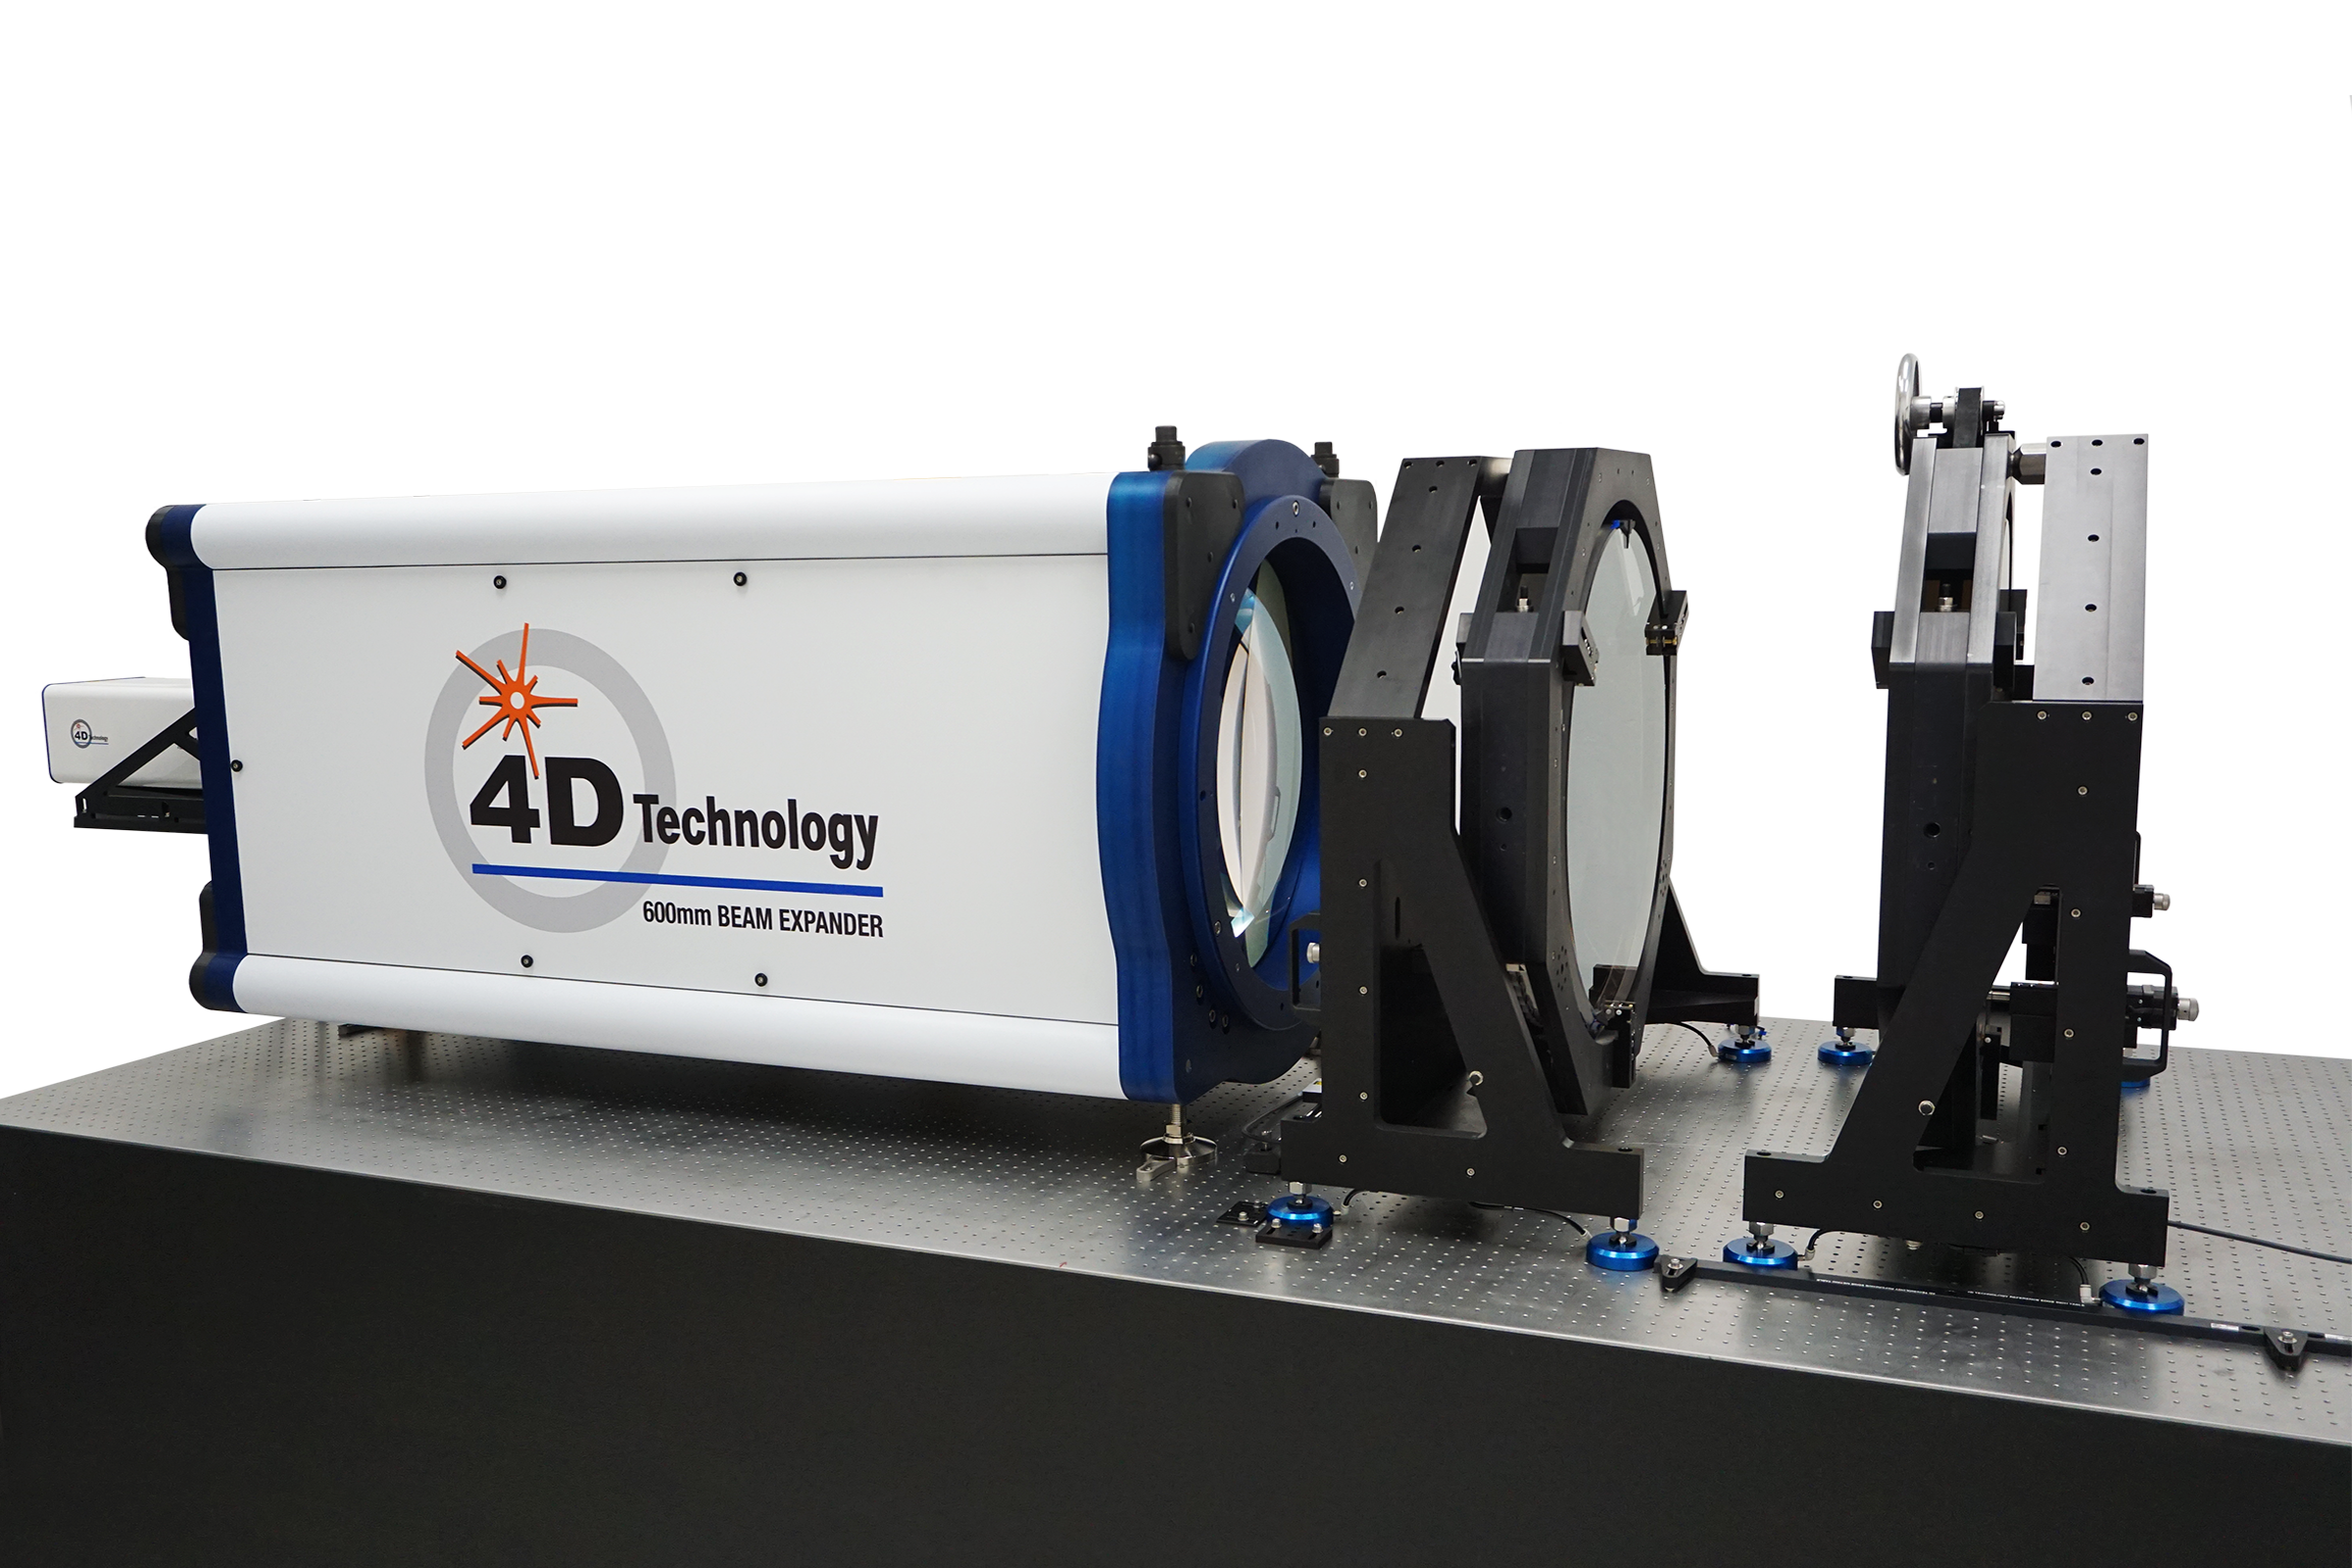
A beam expander enables measurement of flat optics larger than the instrument aperture. Beam expanders up to 600 mm are available for AccuFiz interferometers. Kinematic mounts enable the instrument to be removed, used separately for smaller setups, then returned to the larger setup without realignment.

An AccuFiz D 100 mm aperture interferometer (left) used with a 600 mm beam expander and motorized, large optic mounts.
Measuring in Vibration
With a traditional, phase-shifting interferometer, measurement data is acquired sequentially—a long enough process that vibration and air turbulence will degrade or even prevent measurement. The interferometer and all mounts must be situated on an air table to isolate the system from vibration.
Air isolation can be expensive—prohibitively expensive for very large optics or long measurement paths.
The on-axis AccuFiz D interferometer features Dynamic Interferometry®, which enables measurement data to be acquired simultaneously. Because acquisition speed is so fast, vibration is no longer an issue, and an isolation table is not needed.
ALTERNATE METHOD
Measure Using a Standard Fizeau with Surface Isolation Source
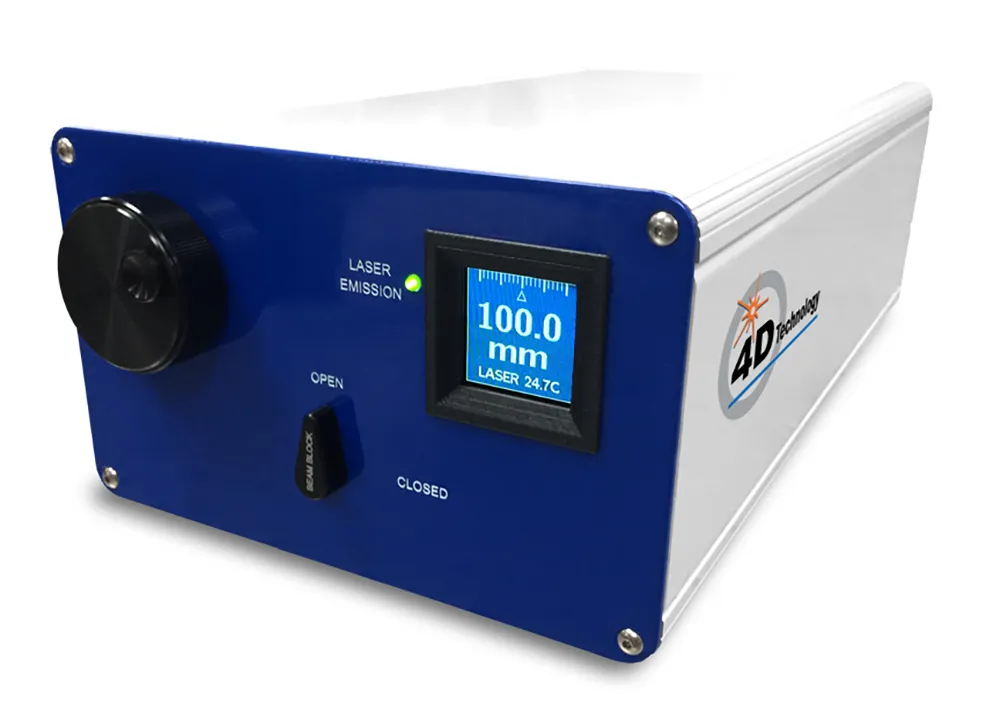
A standard AccuFiz interferometer can also be used with a Surface Isolation Source (SIS) to measure plane-parallel optics. Two options are available for the fiber-coupled SIS module to you dial in any surface that is either 88–112 mm from the aperture, or 450–550 mm from the aperture. You can make solid cavity measurements of thin optics as well. Switch back to the primary source to use the AccuFiz to measure a broad range of optics.

Need Assistance with Measuring Thin or Plane-Parallel Optics?
Contact our applications staff today for expert opinions on optical measurement and on measurement equipment.
Get In Touch
(520) 294-5600
Location
3280 E Hemisphere Loop, Ste 146
Tucson, AZ 85706
4Dinfo@ontoinnovation.com
Office Hours (Arizona Time)
Mon: 8am - 5pm
Tue: 8am - 5pm
Wed: 8am - 5pm
Thur: 8am - 5pm
Fri: 8am - 5pm
Sat: Closed
Sun: Closed
