measuring 3D Printed Parts
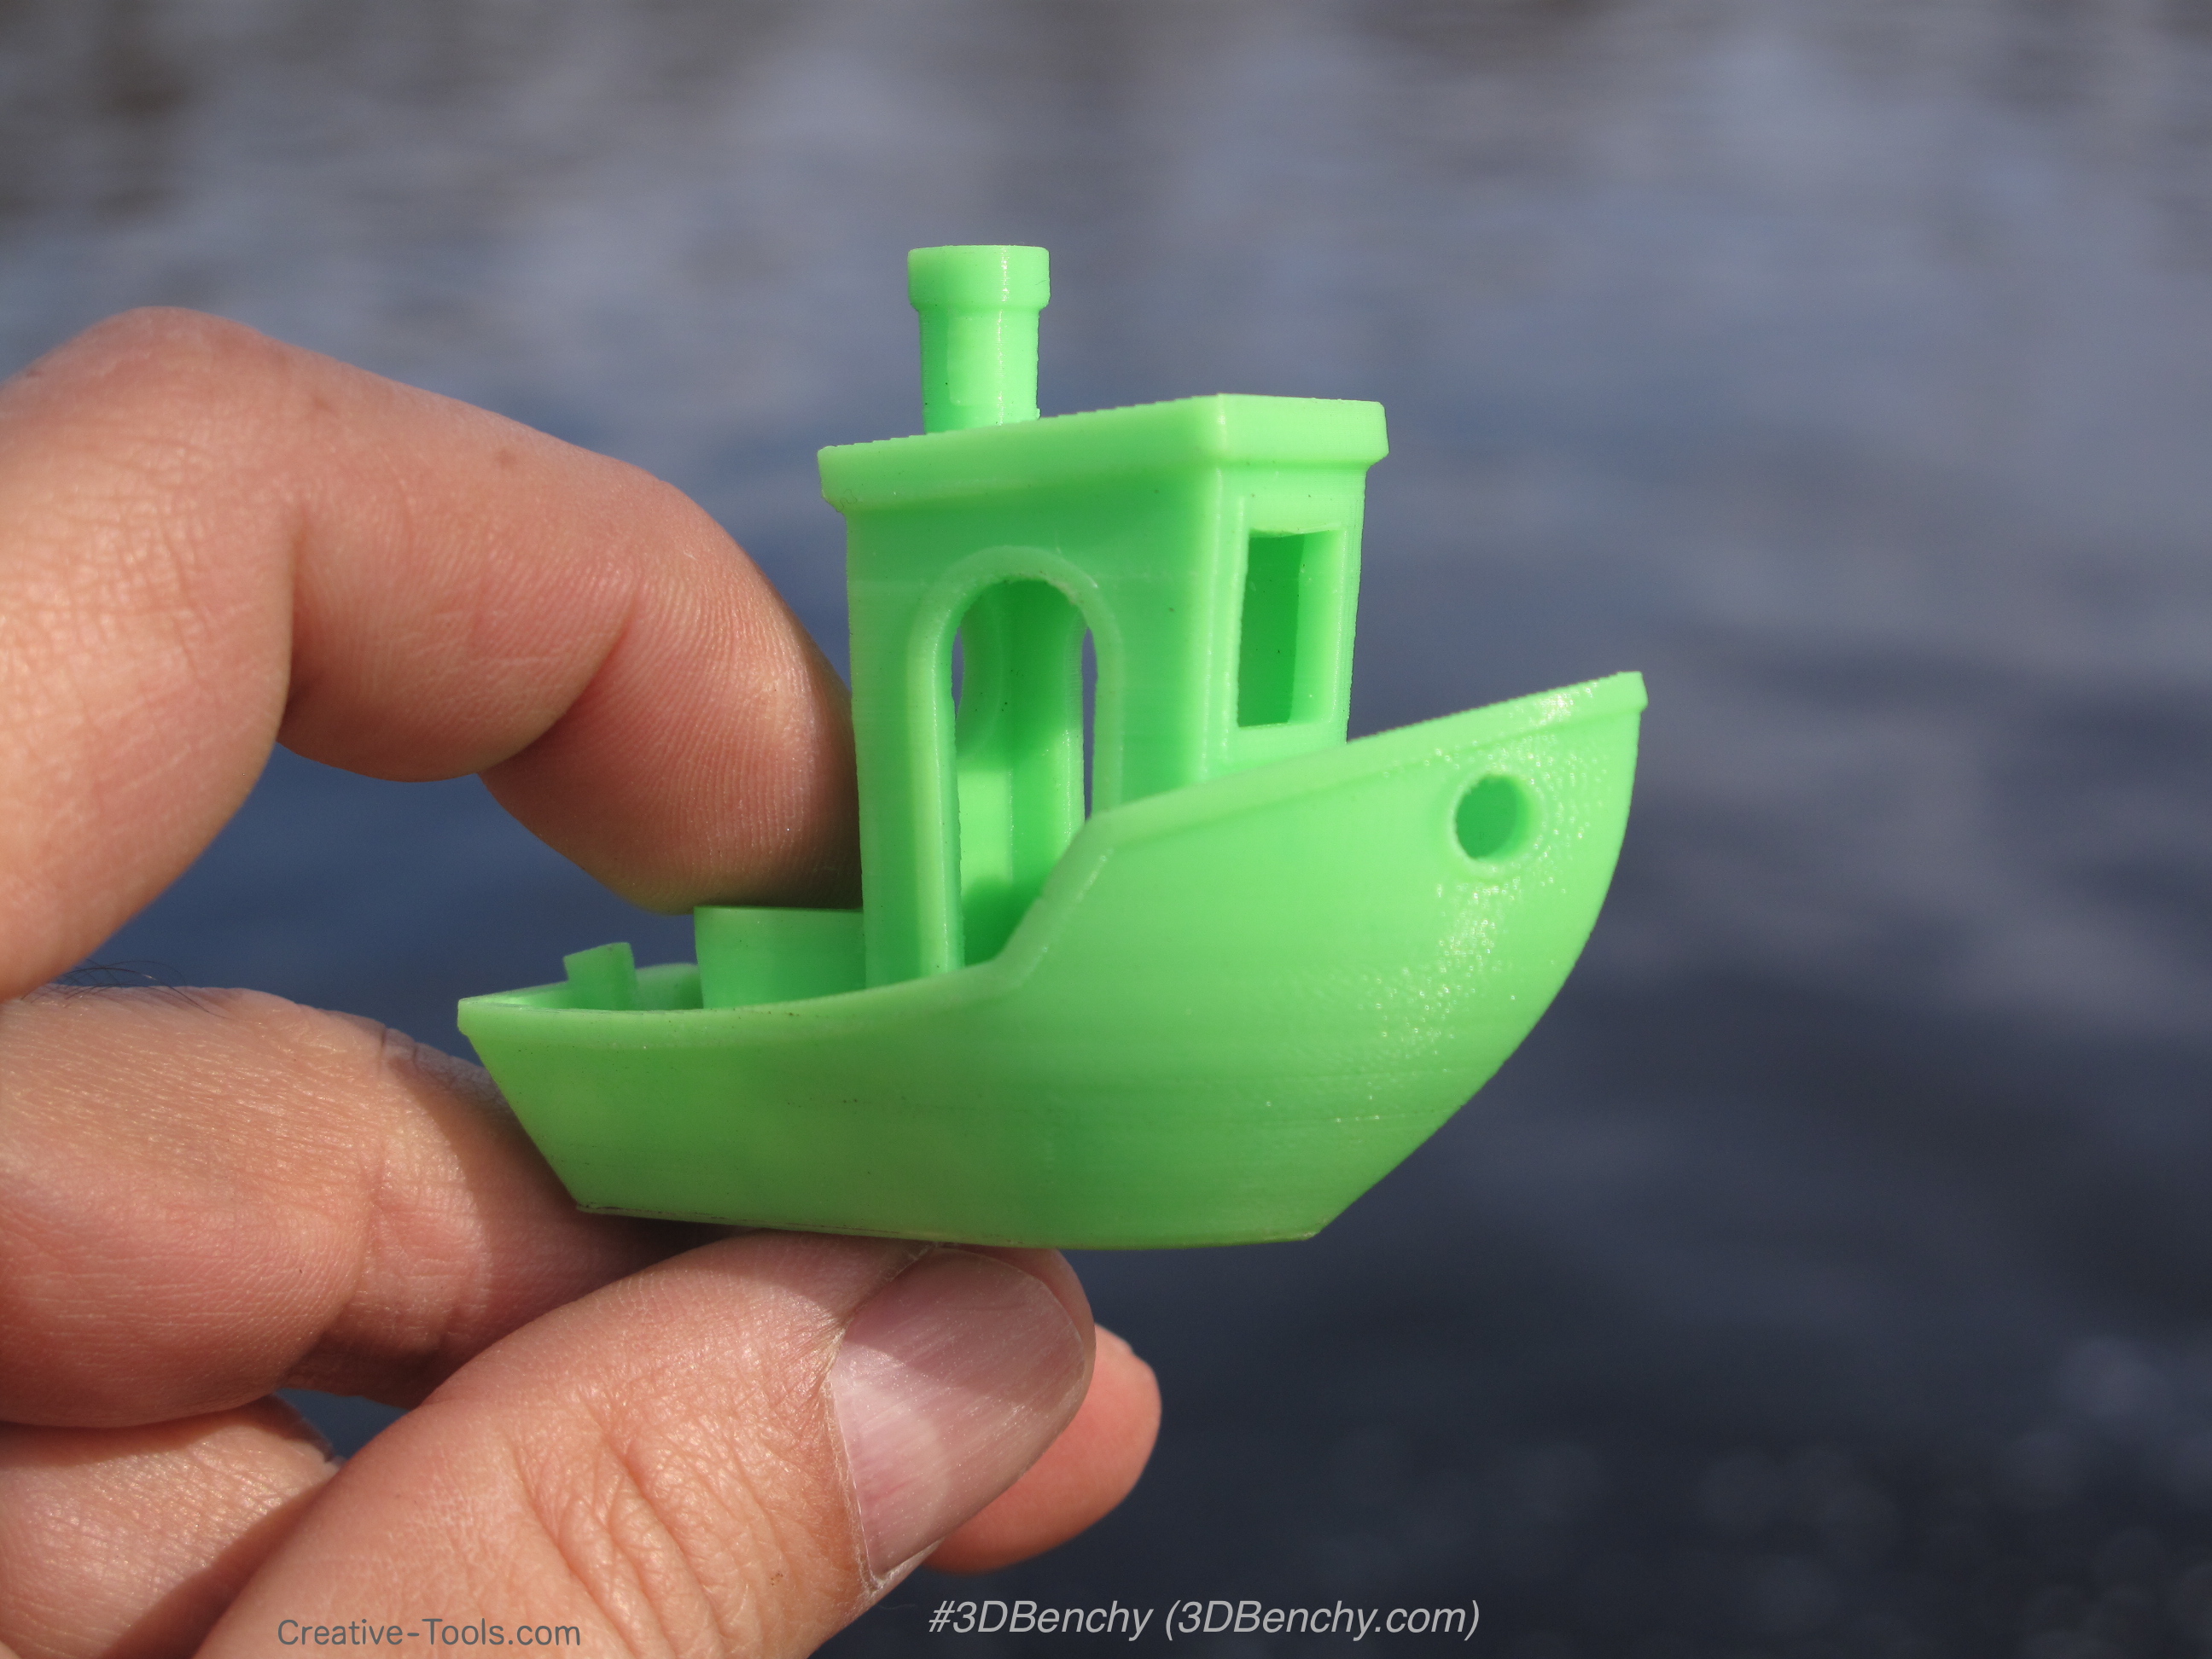
The first concern in calibrating a 3D printer is making sure that offset layers are smooth and transition-free. A sloped side with a terraced look is inferior.
A second concern is the presence of voids and sprue on edges and surfaces.
Quantifying your three-d printed part’s surface is the way to establish and maintain quality over time.

On parts, whether plastic or metal, or nearly any other material, you can measure surface parameters and surface shape features like:
- Radius of curvature
- Cracks, pits and dings
- Stair-stepping and terracing
- Chamfer and edge-break
- Surface texture
- Striations and linearity

Video tutorial
Video: Measure Radius of Curvature
This six-and-a-half minute video demonstrates how to take a measurement and get the Radius of Curvature profiles you need from it. You can see more tutorials on our Training Video Page.
App Note: Compare Measurement to CAD
This 4D InSpec application note shows a simple example of exporting a 3D measurement from 4D InSpec as .XYZ, then importing that and the CAD file for the part surface in a third-party software package, comparing the measured part to the designed CAD model.
You can find more application notes on our Support Applications Page.
Learn more about the products

4D InSpec
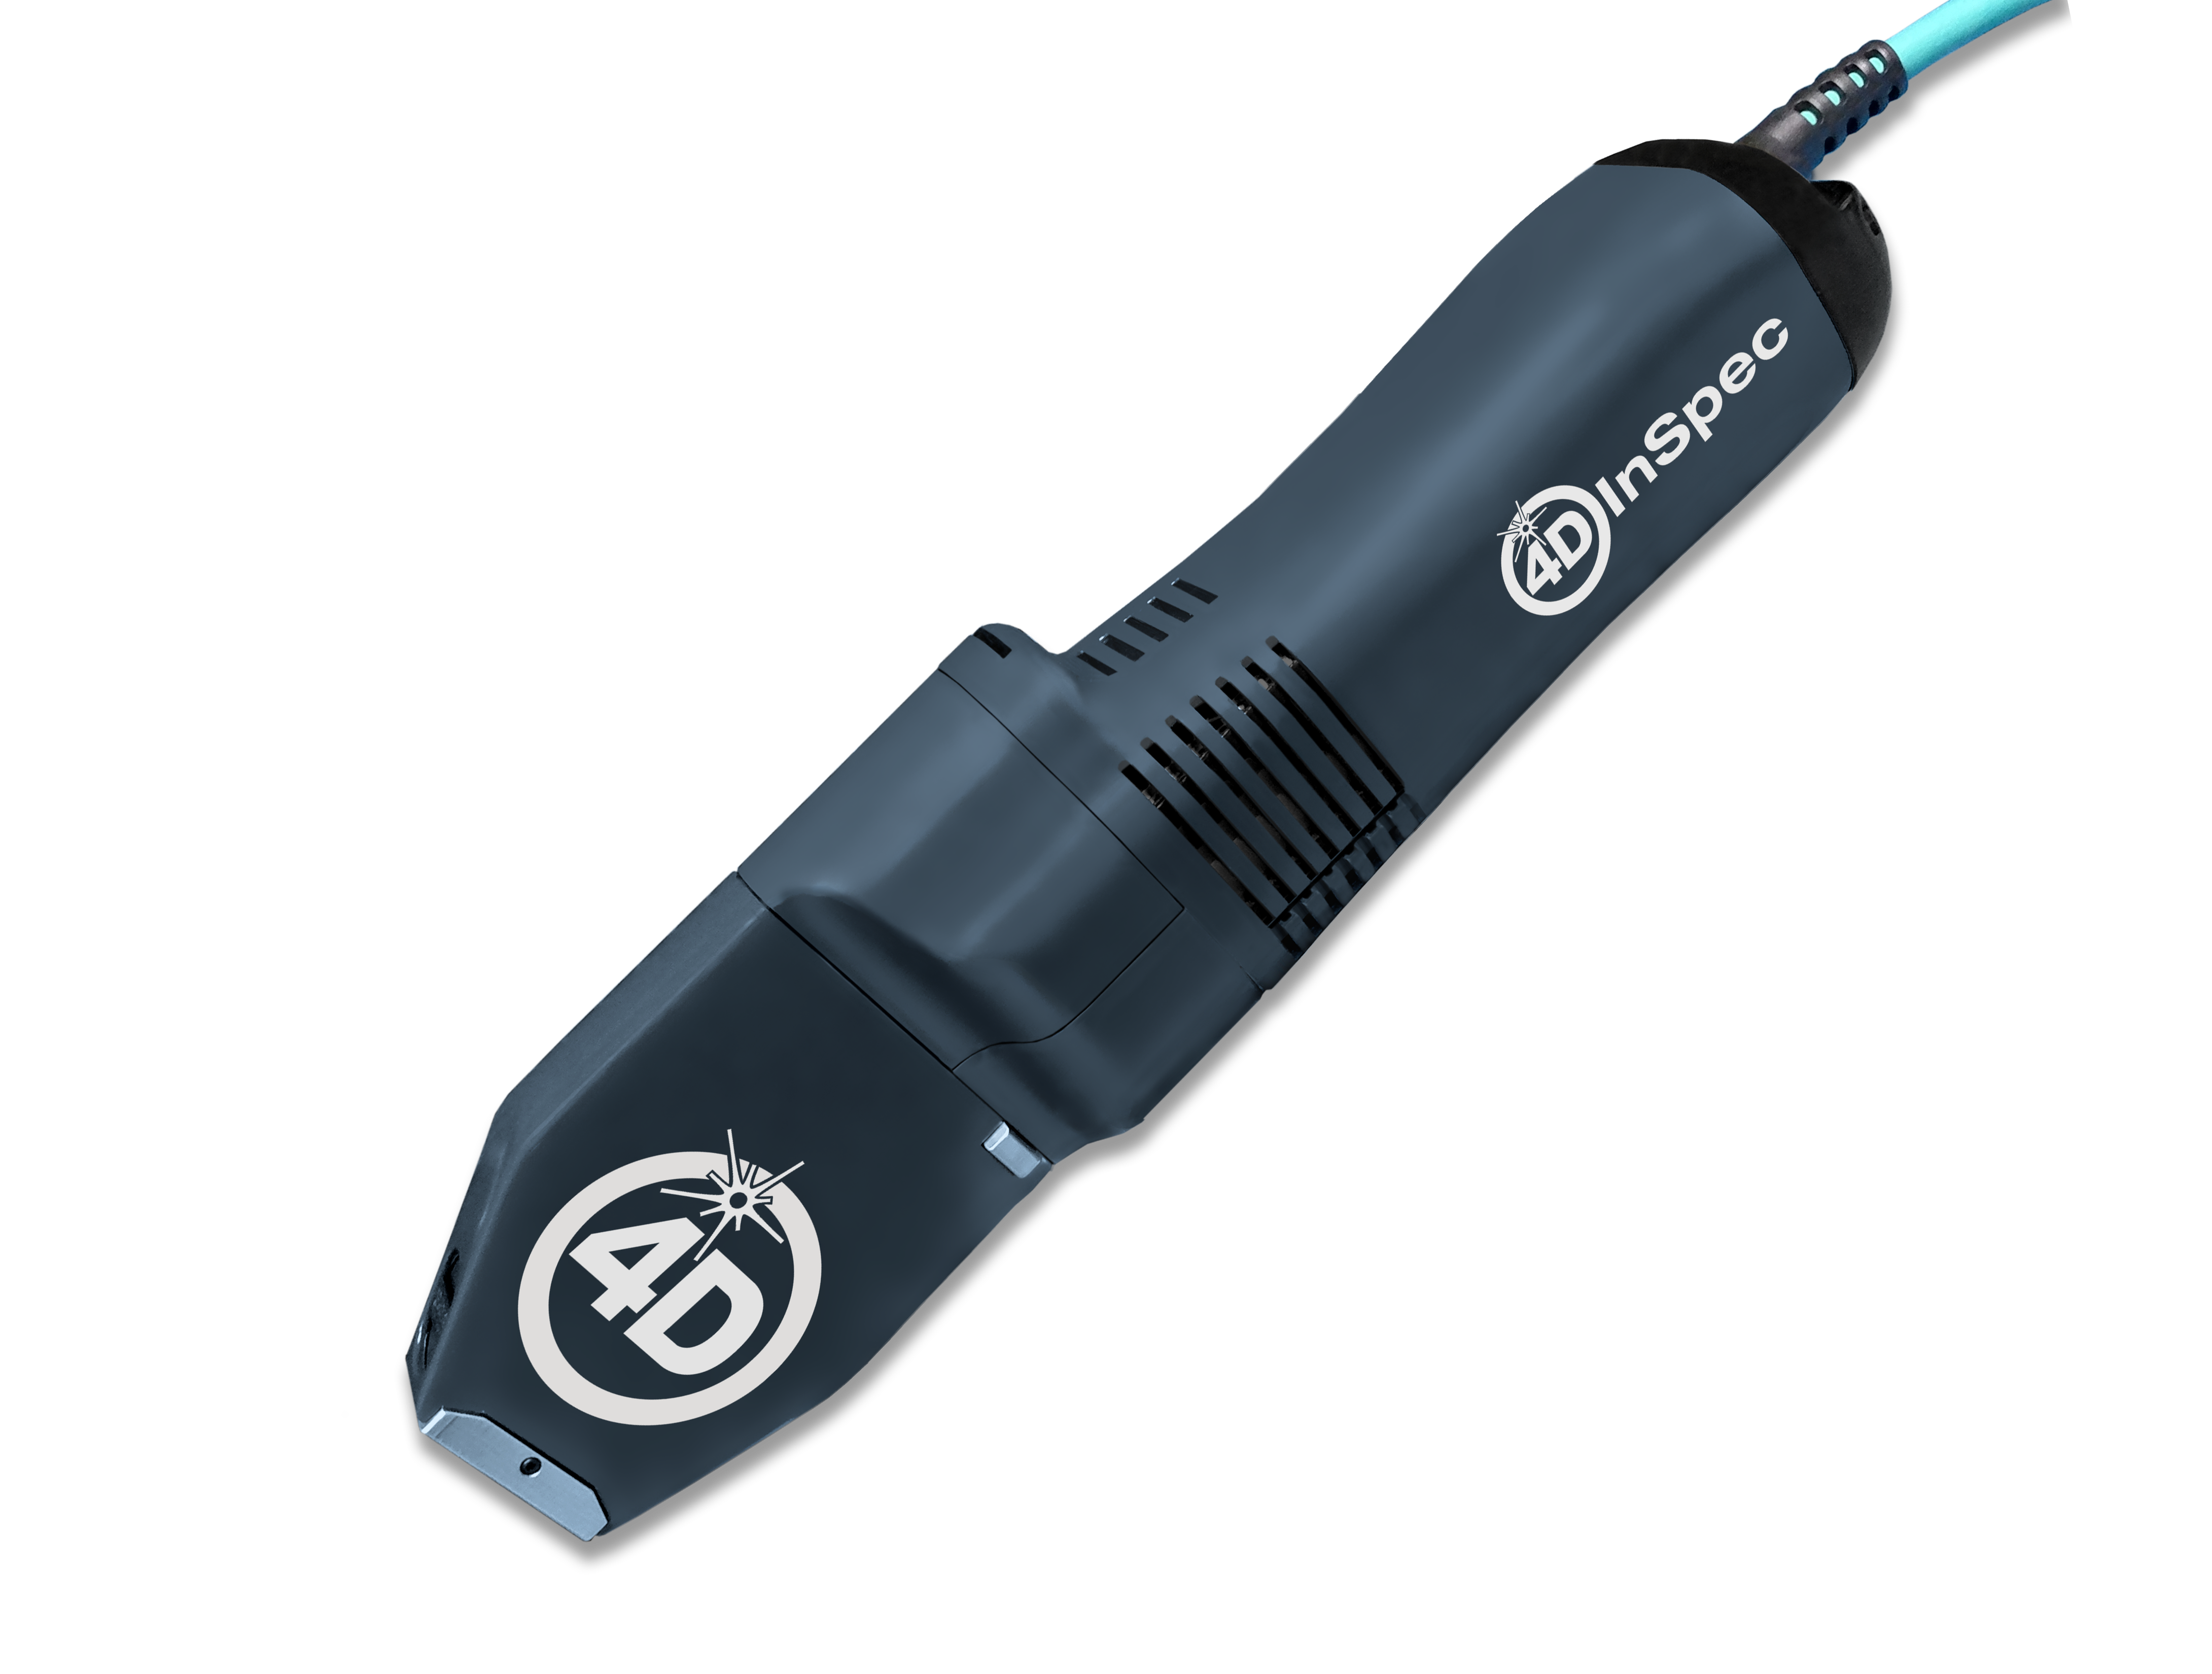
4D InSpec provides non-contact measurement of surface features and defects, on the factory floor, in machine shops and in field service applications.

4D InSpec XL
A handheld defect inspection gauge that works like 4D InSpec standard, but with a larger field of view, to measure wider and deeper features.

InSpec Accessories
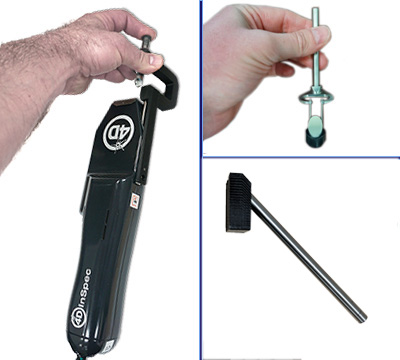
Accessories for improving portability, ease of use, or for accessing hard to reach measurements like sidewalls and through-holes.
Get In Touch
(520) 294-5600
Location
3280 E Hemisphere Loop, Ste 146
Tucson, AZ 85706
4Dinfo@ontoinnovation.com
Office Hours (Arizona Time)
Mon: 8am - 5pm
Tue: 8am - 5pm
Wed: 8am - 5pm
Thur: 8am - 5pm
Fri: 8am - 5pm
Sat: Closed
Sun: Closed

