Jan 29, 2021 | How-To, Products, Service & Support, Videos
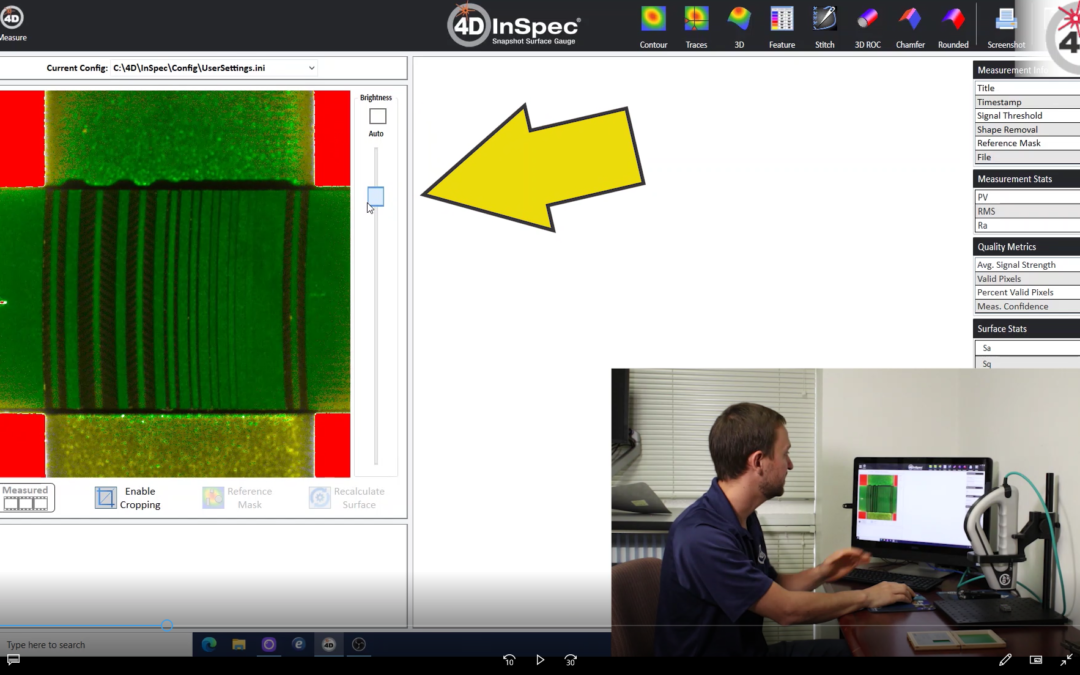
Calibrating Procedure for 4D InSpec XL If your 4D InSpec XL is taking measurements — that is, if it’s functioning — then it’s in calibration. Because we’re using polarized light as the measurement standard, nothing can go out of...

Dec 3, 2020 | How-To, News, Products, Service & Support
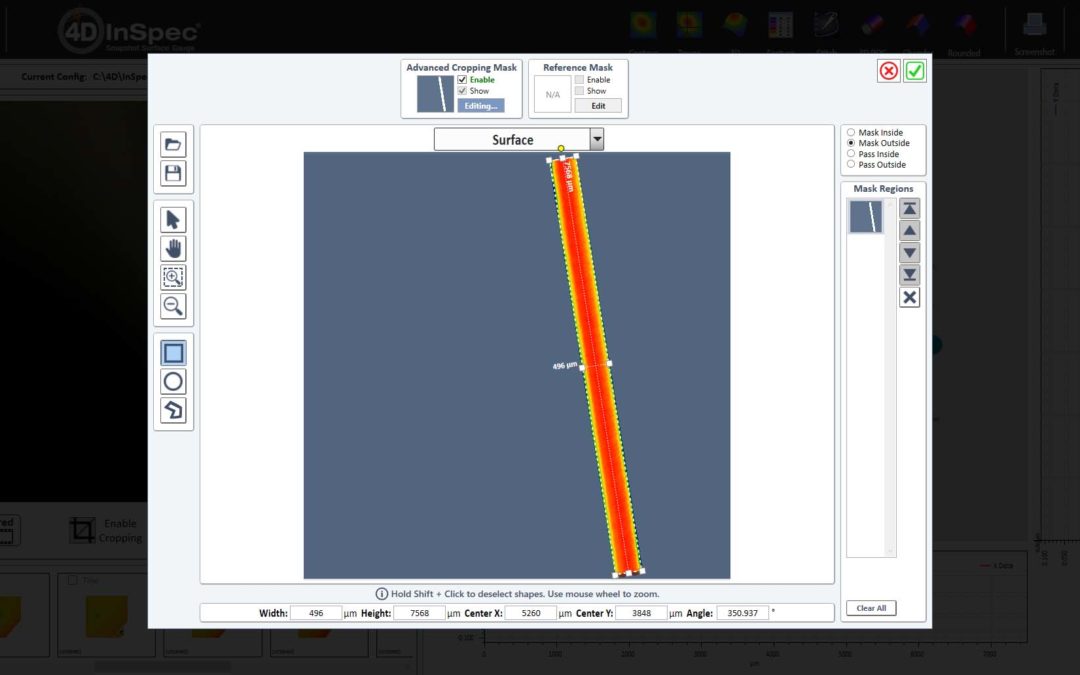
Cropping data with diagonal shapes 4D InSpec’s operating software application is scheduled for an update Below is a measurement of a turbine blade edge, which you can see on the left. It shows clearly as the sharp focus green line in the camera view. But because...

Nov 30, 2020 | News, Products, Service & Support
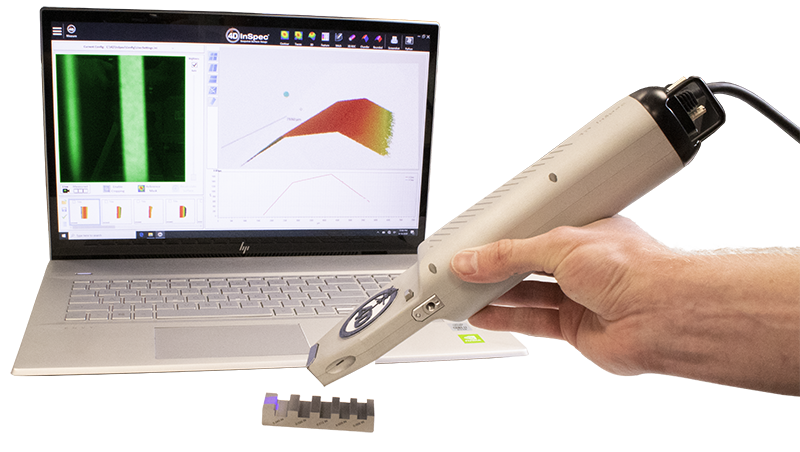
Watch for the upcoming software release 4D InSpec’s operating software application is scheduled for an update Coming for the end of 2020, we’re hoping to have 4D InSpec Software version 1.4 ready for release. The new version will have some improved...

Jul 21, 2020 | How-To, News, Products, Service & Support, Videos
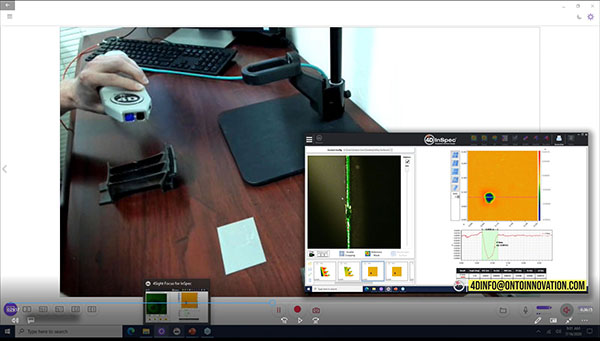
Edge Break and defect measurements made easy 4D InSpec’s Edge Break and defect analysis applications Measuring pits and scratches, dings with a handheld, high precision 3D verification of the result. In this webcast recording, you see the device in use,...
Jul 21, 2020 | How-To, Service & Support, Videos
How and When to adjust Signal Threshold Signal threshold is a setting for filtering out noise If your signal threshold is too low (too sensitive), it might include stray light from out-of-focus areas –like the air next to an edge in your field of view. But some...
Apr 30, 2020 | How-To, Products, Service & Support, Videos
Finding the Correct height of a 3D surface feature Using a 3D gauge to inspect defects like pits is different from a shadow graph or stylus check, because it automatically includes the highest/lowest point on the feature you’re measuring, so you don’t have...
